
 Reply With Quote
Nice work Goodwood, thanks for sharing it!

 Senior Member

Hello everyone, and welcome to Dr. Goodwood's class in computer graphics, Aircraft in Profile 252. Today we will be discussing how to render a P-51B Mustang of the 357th Fighter Group. This course assumes basic familiarity with Adobe Photoshop and the use of layers. Everyone ready? Here we go!
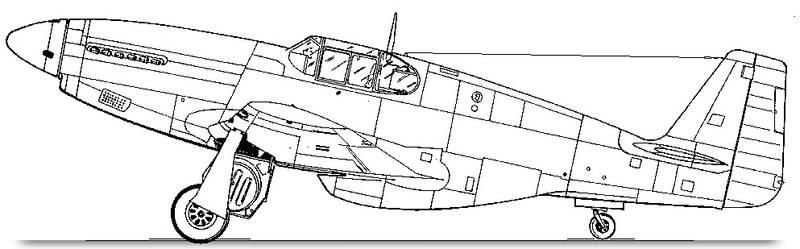
#1: The first image is the source, a line drawing gleamed from the Internet. This is typically public-domain stuff, but if it held a copywright this would still fall under "fair use". To this is applied the Photoshop filter "Remove White", which when applied to a layer removes all white from whatever is contained within. This allows for use of line drawings as base material.
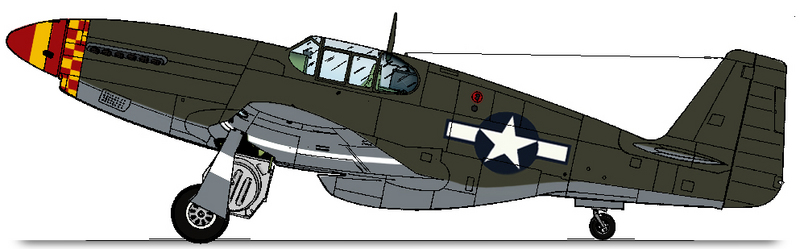
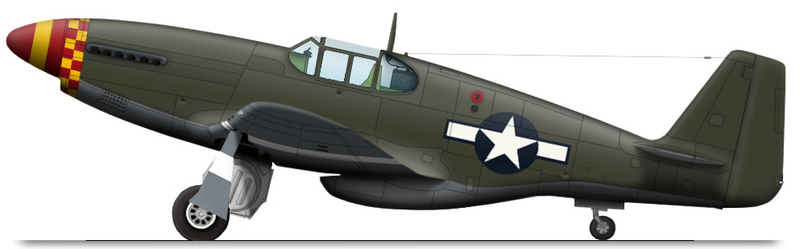
#2: Next up is basic colorization. Using the line drawing, I can make a basic shape for the object to be made in profile, adding color as needed to create whatever scheme is desired, in this case a P-51B from the 357th Fighter Group circa late 1943. Remember that with line drawings, you're defining the edge of the overall shape of the profile. The beauty of this step is that the coloring can be whatever you want; in addition, this layer (or duplicates thereof) allow one to swiftly plug a new paint scheme into the template or alter an existing one.
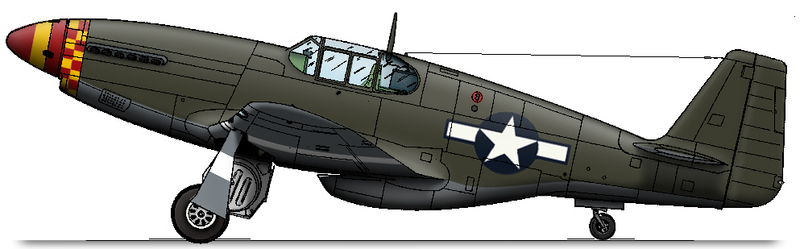
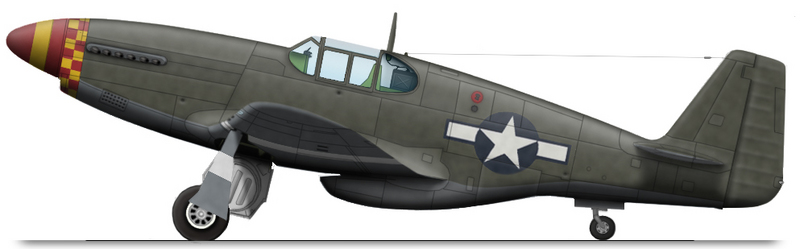
#3: Following this I apply basic shading to the object, as well as a shadow layer to reppresent that cast by the wings, elevators, etc.. This typically involves a process of adding layers of airbrushed white and black, blurring and sculpting them to contour with the three-dimensional shape of the object. The shadow layer is an easier extension of this process.
#4: Once the basic work is done it's time to re-scribe the panel lines, this time using an anti-aliased 1x pixel brush. As can be seen when comparing this image with the ones previous, it is simply a matter of drawing over (or under, however you wish to orient the layers) the source material, making corrections as needed depending on quality of source material. In addition, specific areas can be "filled-in" to represent shade variations in different panels. This is also the time to smooth out the shape of the base layer for the profile as well as the shading; this produces a crisp, well-defined outline.
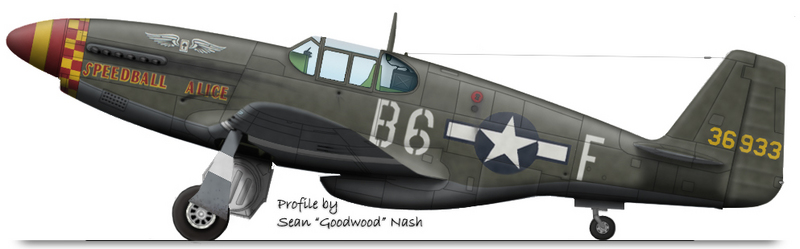
#5: Now comes the really fun part, advanced shading and sculpting. This process, depending on how detailed one wishes to get in regards to the project, can be the longest stage of creating the template for a profile. The process for this step is ambiguous, as it largely depends on how familiar one is with the material involved or whether or not one possesses other forms of source material. To provide shader details, for example those that would show a panel as being elevated slightly from its neighbor, I simply use a 1x pixel brush to draw another line over the panel, either white or black depending on circomstances, and then apply the blur tool. Once that is finished, select the eraser tool and erase the excess blur from one side of the line; repeat as needed. 3D objects not already sculpted in primary shading are attended to here, such as the rudder ribbing and exhaust stacks.
#6: The final step is to finish the profile and to add "weathering" or "exposure" to it. For this example, this can be anything from "factory-fresh" or a simple light exhaust stain and minor mud spatter to elaborate depictions of a war-weary aircraft that has a greater proportion of chipping and staining then it does its original pigmentation. It is in these last two stages that the profile artist truly applies his craft; it can also be the difference between an average piece to a work of art.
I hope you enjoyed this lesson as much as I enjoyed putting it together.
Last edited by Serval; 17th October 2007 at 20:44. Reason: Included images into article
Forum Guy
Nice work Goodwood, thanks for sharing it!
Grand Wazoo
OH! OH HO! Like it's THAT easy!!!

Very nice work indeed Goodwood!
This reminds me of those DIY shows where they start a project and then like magic, it's all finished perfectly without showing all the hard work that goes into it
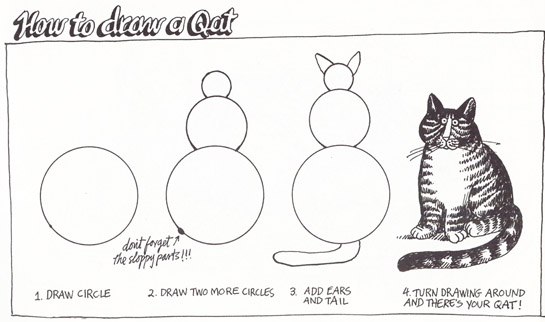
It also reminds me of this funny cartoon-
Seriously though, very nice work!
FAST AND BULBOUS!
Member
brilliant!!!
R
Senior Member
Great tut there blowhard on the catgonna try this when i get time to c if i can improve my style
too true tho!
Sparty
Immortal Thread Killer par excellence!
Senior Member
I can't believe you have that book of cats too, Blowhard! Mine's in French IIRC. Nice choice, too.
Nice work, Goodwood. But I'm afraid I agree with Blowhard on this - you're making it sound easier than it is! Not that it's horribly complicated.
Grand Wazoo
hehehe, yes, that book is one of my all time favorites! Not only is it funny and well drawn, but that guy REALLY knows the nature of cats!
FAST AND BULBOUS!
Senior Member
This shows the void between the people on simmers and those on the other forums. This is not a dig, but the plain facts. Prpfile art is as easy or as difficult as one wants to make it. Goodwood has fair results there, but I am sure in time he will look back and cringe at what he was pushing. Don?t take it as a knock Goody, but this is (as I?ve said), a very long road of discovery.Originally Posted by gamary

Grand Wazoo
It is interesting. We all need to make a conscious or unconscious decision about what we want out of what we create. One approach is as good as another so long as the end result is what was intended. That does fit the "as easy or as hard" profile for sure.
It also proves Goodwood's "How to" is as important as a discussion topic as it is instructional
(I still have trouble drawing cats BTW
FAST AND BULBOUS!
Retired member
I had better luck drawing the qat. Where are the layers during all of this? How many of them are there? What's the stacking order? How do you achieve the shine and shadow? I bet it's a lot tougher when you get into more complex cam schemes like mottles and stuff. Good tute but it could use a lot more "fleshing out" so to speak. I'm soooo close to being able to do this, but I could scream in frustration because I'm missing those few critical keys!
 Posting Permissions