-
Aussie Hind
I might try that again ...
1:35 Mil Mi-24 Kangaroo Model Build
I was fortunate enough to be given this mammoth kit as a leaving present from my last job. I can only think they were really happy to see me go! I've been researching colour and marking schemes since. I found many schemes, but none that I found attractive. I'm a visual kinda guy and I knew I wouldn't be able to do the kit, and the thought behind the present, justice if my heart wasn't in it.
Then the final flight of the Australian Army Hueys was announced and it got me thinking: What if the Tiger hadn't been selected as a replacement, but we bought some Mi-24s instead? Bingo. All the pieces fell into place and the decision was made. I'd build the Mi-24 as a second-generation Bushranger gunship. The colour scheme would be taken directly from the Army Black Hawk and the weapons and some of the systems would be Westernised. A name for this beast? Looking at the shape, it just had to be "Kangaroo".
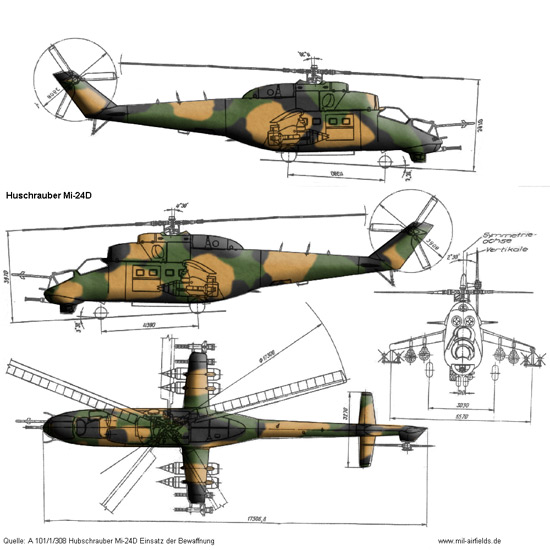
Mi-24K "Kangaroo" colour scheme
The Kit

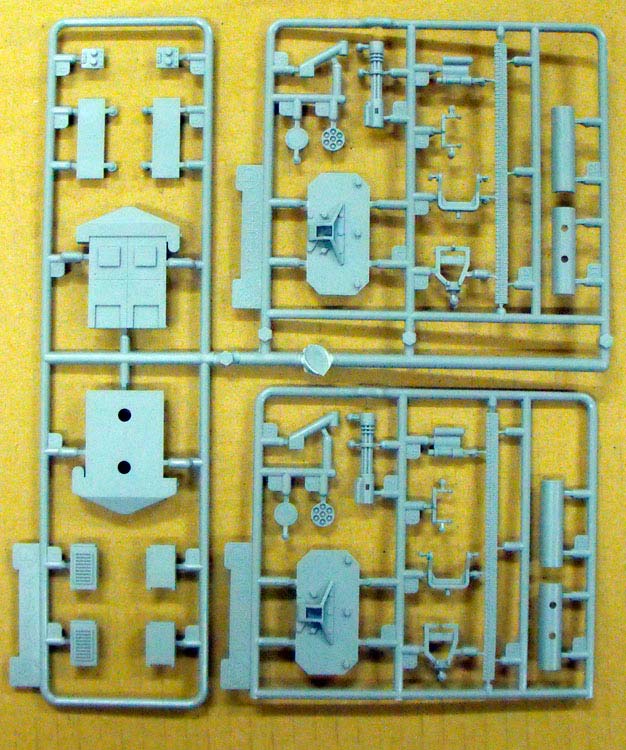
I'm sure most of you would be aware of the existence of this kit. It caused quite a stir when it was released in 2005 and has proven very popular with many examples appearing in model comps and website builds.
Cybermodeler's review can be found <a href="http://www.cybermodeler.com/hobby/kits/tru/kit_tru_5103.shtml">here.</a> There are pics of the sprues etc there, so I won't reproduce them here. There's also a build thread in the Large Scale Planes forum where one guy has really gone to town to correct the small errors in the kit's shape. More power to him! You can see his work <a href="http://forum.largescaleplanes.com/index.php?showtopic=22818&hl=hind">here.</a>
My point of view is that the kit is close enough to keep me VERY happy, and seeing as I'm doing a "What-if?" build anyway, it hardly seems relevant.
Modifications
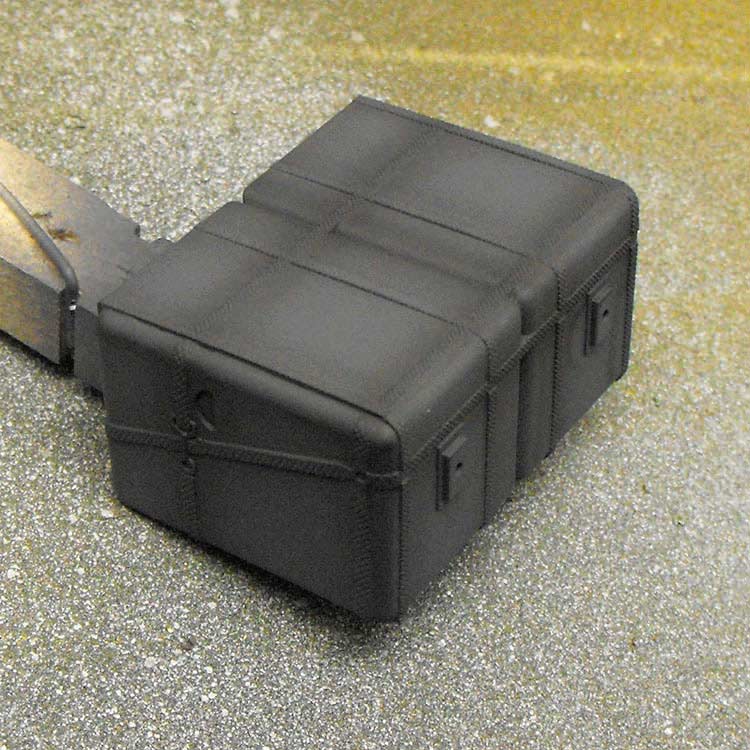
So, time to raid the spares box and see what I have lying around to Westernise this Rhino. The R.A.A.F. Bushranger Huey gunships had seven-tube rocket pods and 7.62mm miniguns on the racks and two pairs of M60s on pintle mounts. In keeping with the spirit of the original, I'm thinking guns and rockets as primary weapons are the go. A pair of floor-mounted Miniguns poking out the doors would be nice. I can get these from the Dragon UH-1N kit, along with their ammo bin.
Under the wings, a pair of 19 tube launchers from the Black Hawk DAP kit and the canon pods from the Hind should work well. For the wingtips, what could be better than a full complement of four Hellfires under each tip. These are from the MRC AH-1W.

For defense against air attack a pair of Sidewinders mounted over the wings, or on the outer ends, will be added too. I can scrounge these from a Revell 1:32 Phantom II I have in Pandora's Box (the garage).
<p>Under the nose, replacing the Russian gun with a Bushmaster chain gun would seem most appropriate. I may have to scratch that one up, based on the Tiger unit. Or see if I can get one from an Apache. An internal fuel tank, ala DAP Black Hawk, would be good too. That particular part is way too wide for the Hind, so I'll use something else.
<p>The list of intended mods includes:<br>
- Refuelling Probe from DAP Black Hawk<br>
- Internal fuel tank in cabin<br>
- Miniguns firing out cabin doors<br>
- 19-tube rocket launchers, cannon pods, Hellfire missiles and Sidewinders on, under and around the wings<br>
- Bushmaster chain gun under nose<br>
- IR beacon from AH-1W<br>
- Aerial suite as per the ADF Tigers<br>
- Other bits and pieces like steps, tie-downs, Black Hawk seats, cabin interior walls etc.<br>
The Build Begins
First thing is to plan where all the different new bits are going to fit in the interior. So the fuselage and main interior bits are dry assembled so the real planning can begin (Has horrible thought: What if none of this stuff actually fits?)
We shall see!
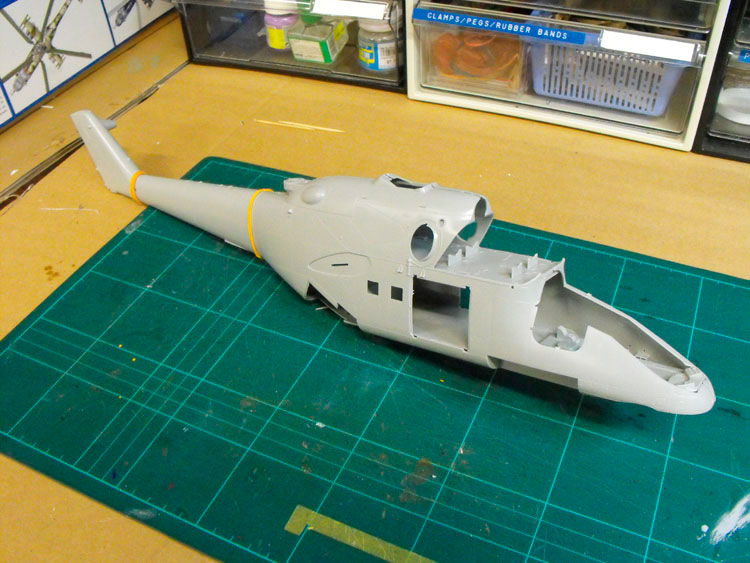
I've snipped off a few of the critical interior parts and put them together in a bit of a dry run to see if the whole thing will actually fit.
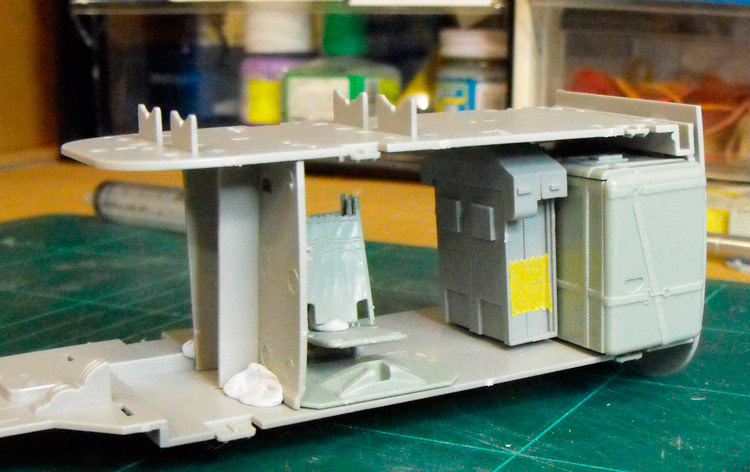

It looks like I can shorten the fuel tank back to the outside straps and that should then fit within the fuselage. That's good. The ammo bins sit nicely in front of the tank, that's good too. I can see the ammo belts being run along the ceiling and dropping down to the guns.
I found the minigun base plates from the Dragon UH-1N were very large, and that the Black Hawk had similar mounts, but considerably smaller. With space at a premium, the smaller ones have been dropped in with some Black Hawk seats behind. It is all looking a bit squishy. I may need to shorten the squabs on the gunner's seats. I'll decide that once the guns are positioned. It appears that sometimes the gunners didn't have seats and stood or crouched behind the miniguns. The miniguns and seats may need to be slid backward so they match up with the door openings. This would also facilitate access to the avionics area.
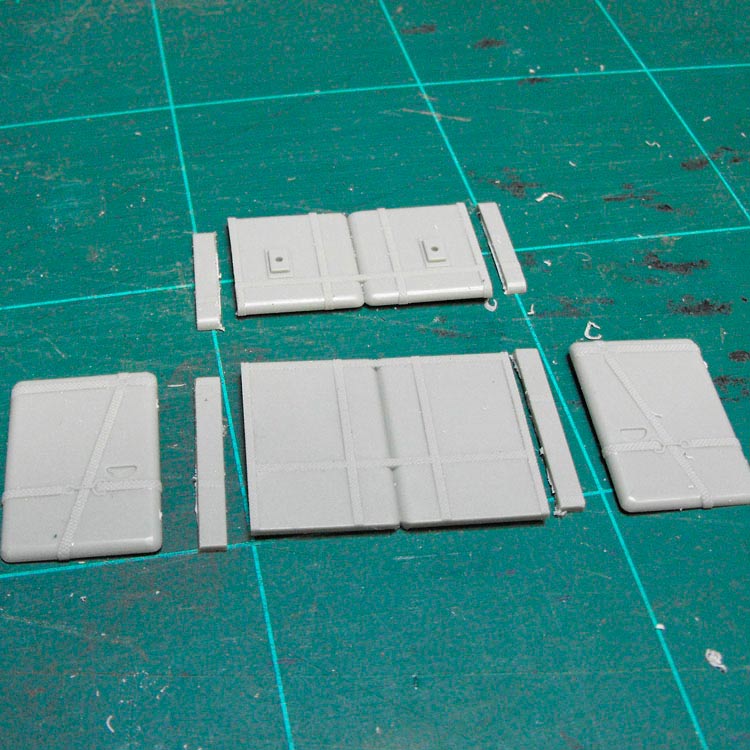
The straps on the tank proved to be ideal guides to cut down the tank. show is the tank top and front with the edges removed.
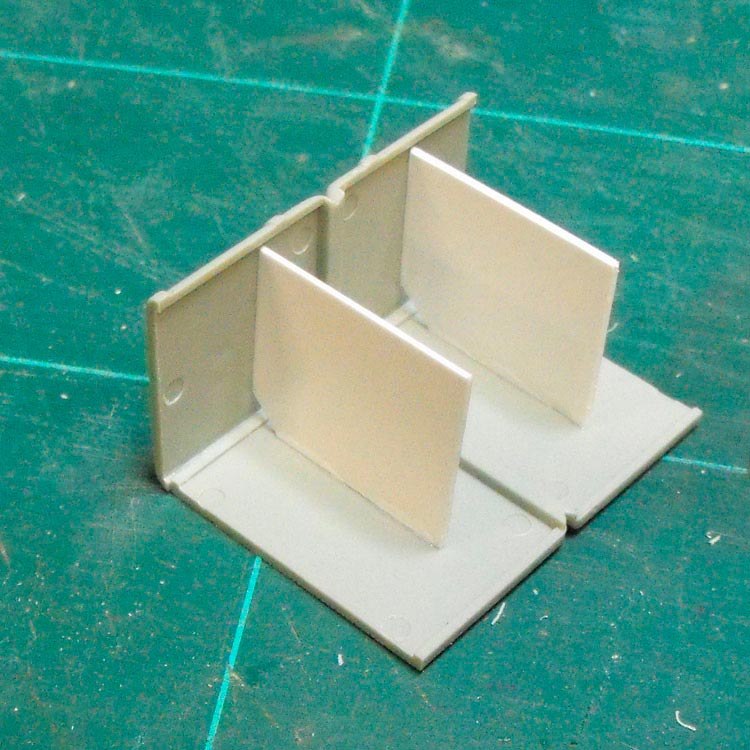
The tank top and front were glued together with some braces from scrap sheet styrene to ensure they sat at 90°.
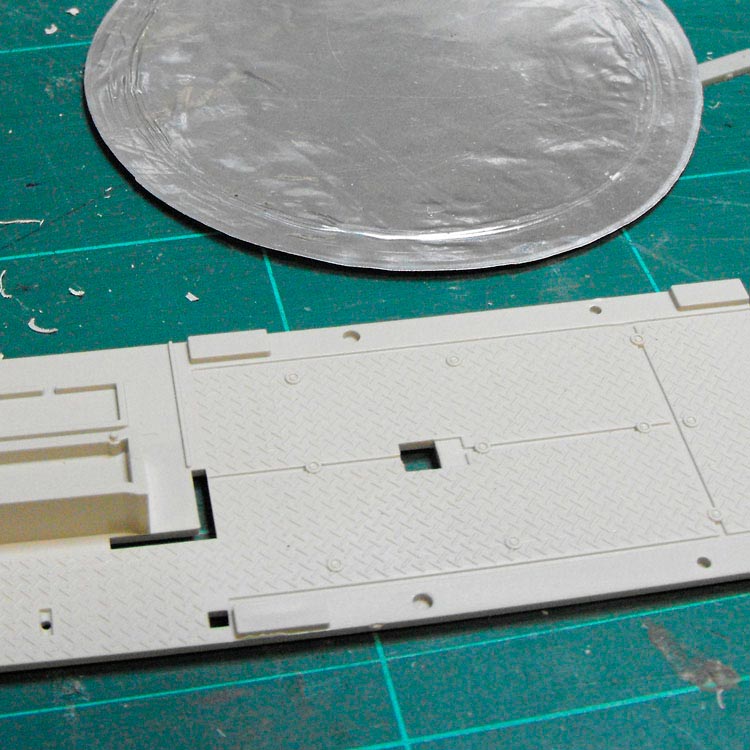
The kit cabin floor is simply flat plastic and looks rather dull. I thought about different ways to introduce some texture without adding too much thickness. I dug out a floor from an unbuilt Tamiya M113 APC kit. The size and texture were just what I was looking for, but simply glueing this over the original floor would add about 10 scale cm to the height of the floor. I could cut the M113 part into the Mi-24 floor, replacing a section of the kit floor, but then I lose the M113 interior. Then I thought of making a rubbing of the M113 floor using that wonderful thin aluminium sheet you get in the top of drink powder tins like Milo or coffee.
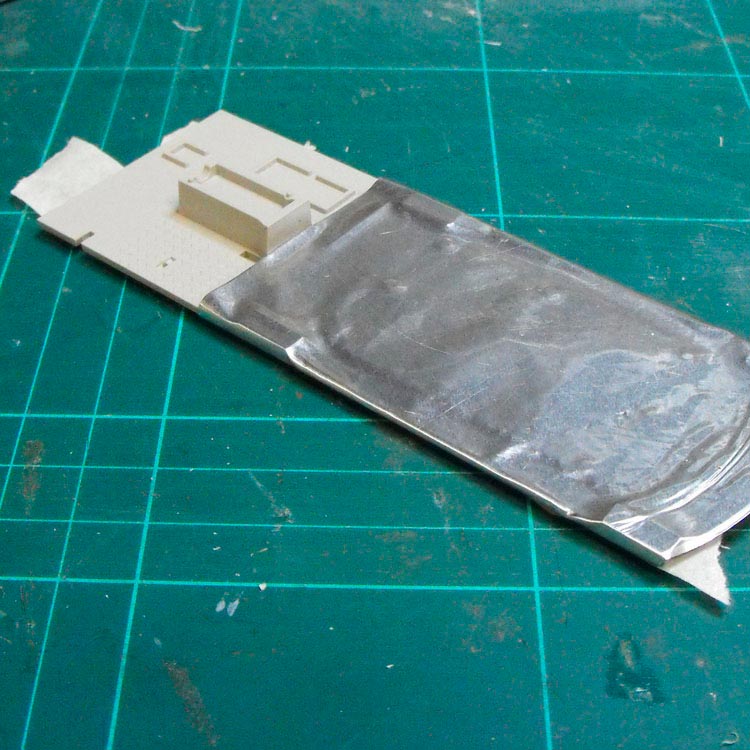
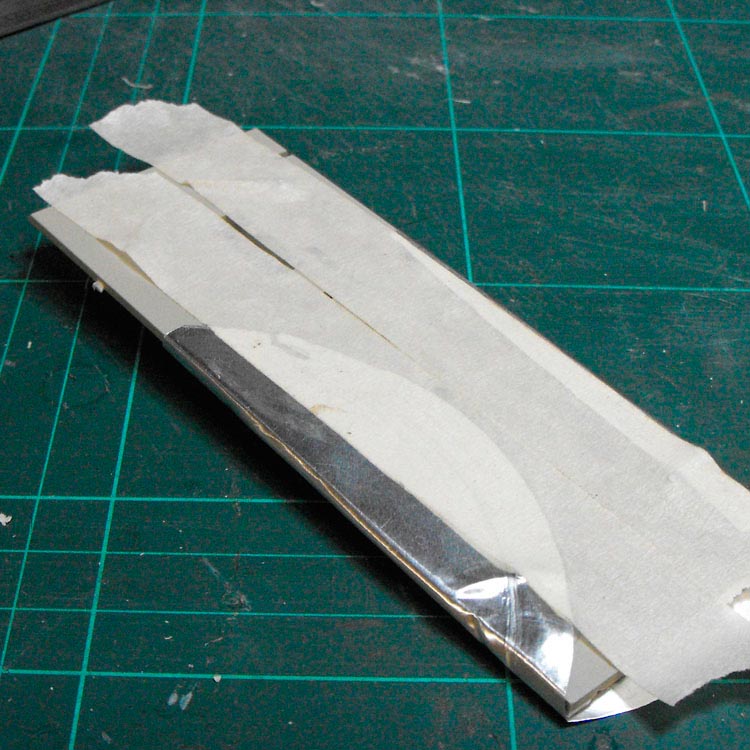
One of these sheets was stretched over the donor floor part and secured at the back with masking tape.
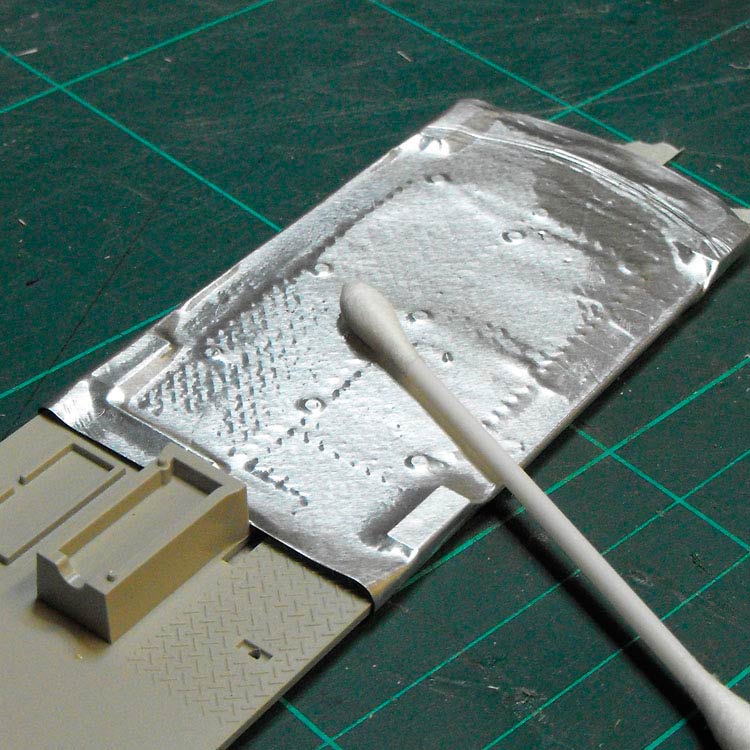
The aluminium was then rubbed down over the surface detail of the M113 floor with a cotton budto transfer the detail onto the metal.
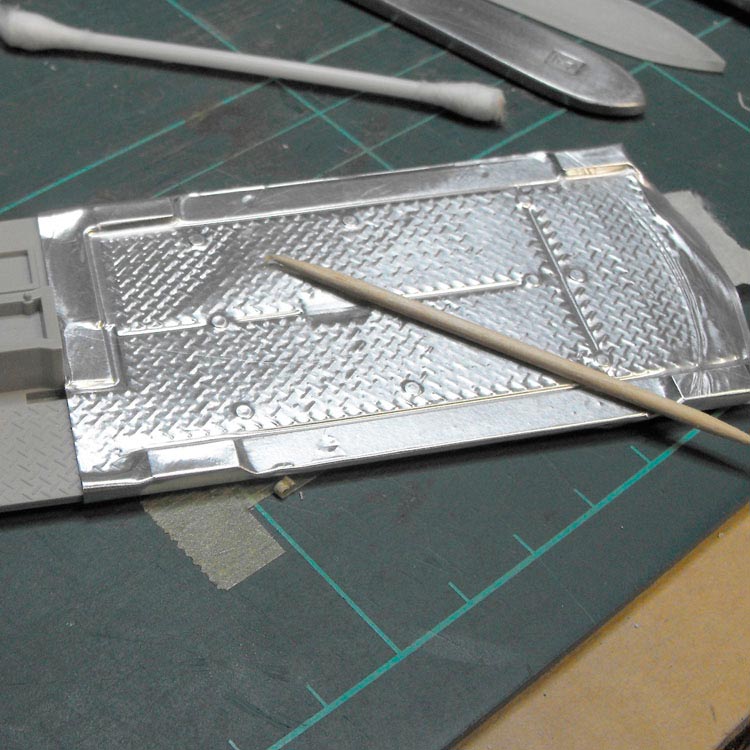
I then used a toothpick to bring up more detail and push the metal right into the recesses and crevices.
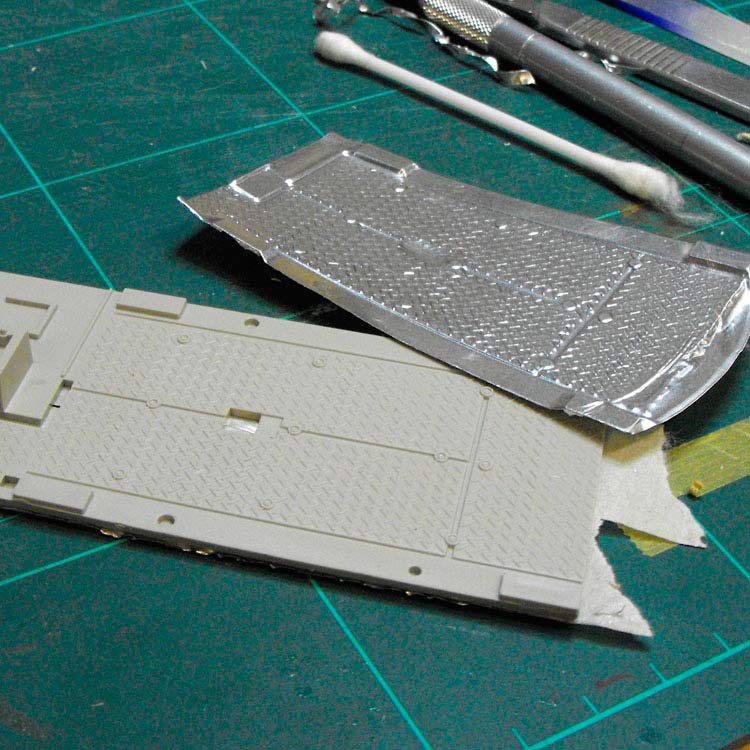
Once I was happy I'd got most of the detail I wanted, I trimmed the aluminium away from the donor floor.
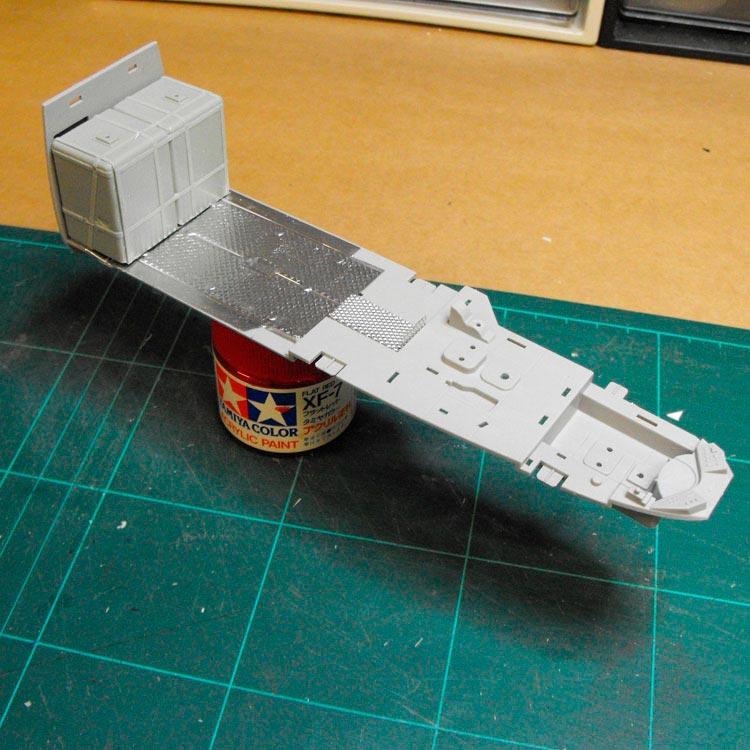
This metal relief was then glued to the helicopter floor and we ended up with a helo floor now with texture. Here it is with the trimmed down fuel tank in place on the floor. Notice that I have reversed the rear bulkhead so the moulded-on detail doesn't interfere with the positioning of the fuel tank. The bulkhead will be all but invisible behind the tank, so the detail won't be missed. You can see here I have bent up a rectangle of scale expanded mesh to act as a walkway in the avionics bay.
Last edited by GrubbyFingers; 24th July 2009 at 04:44.
-
Re: Aussie Hind
I love following model-building threads, particularly for unusual subjects. This is gonna be good. 
-
Re: Aussie Hind
Oh yes, very nice project!
-
8th August 2009, 15:58
#4
-
8th August 2009, 16:39
#5
Re: Aussie Hind
Who said you could take a holiday and do some model building?
Get back to drawing . . . .
Good work on the Hind btw.
-
10th August 2009, 01:44
#6
Re: Aussie Hind
Trouble with modelling is you can't turn off or adjust any of the layers!!
 Posting Permissions
- You may not post new threads
- You may not post replies
- You may not post attachments
- You may not edit your posts
-
Forum Rules


 Reply With Quote
 Antipodean Pixelscratcher

The tank top and front were glued together with some braces from scrap sheet styrene to ensure they sat at 90°.