
 Forum Guy

This article will outline my own methods for making canvas control surfaces. This technique will work for most any flight sims. I am using Photoshop Elements 2 for this article, and all the reference images are shown at 2X actual size for extra detail. This particular example elevator is not from any game, it's custom made for this guide.
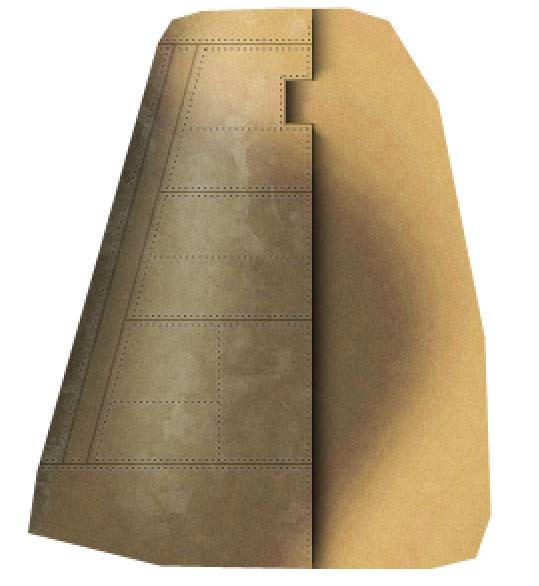
We'll start with the elevator untextured. From here I use the rectangle marquee tool to select the area of the elevator to shade:
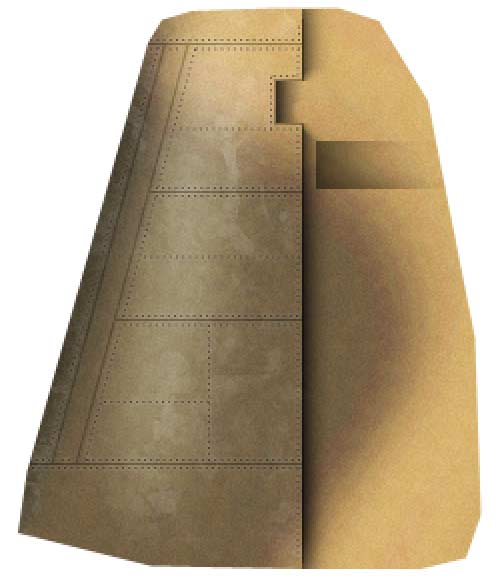
Now with the selection made in the shape of the depressed area to be shaded, I use the brush tool with a soft feather, and a size about the same as the narrow end fo the selection. I use black color, and gently shade towards the interior of the control. Be sure to let the shading feather to a very light level or even completely fade out towards the tailing edge:
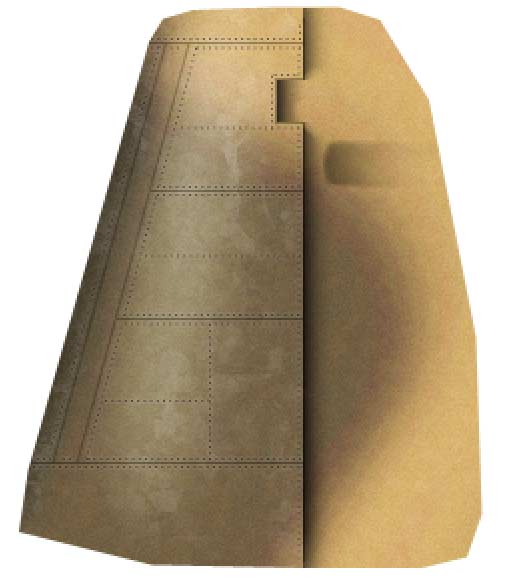
Now, the above image shows the shaded area, but it's too mechanical and squared off to look really nice. So I use the eraser tool, and carefully feather away the edges of the selection to soften them, and I also use the eraser to round the corners off a bit, shown below:
That looks much better I think. Now we need to repeat this along the lenght of the control surface. Rather than manually repeating this process, you can use the copy/paste commands to make copys automatically. Here's a step by step on how this is done:
1. Select the area to be copied
2. Press the "V" key to switch to the move tool.
3. Press and hold the "ALT" (creates a copy) and "Shift" (nudges by 10 pixels) keys on the keyboard, and press the arrow key on the keyboard once. This will create a copy and nudge it 10 pixels away from the original (in the direction of the arrow key you pressed), all in one easy step!
4. Now you can relase the "ALT" key (as we don't need another copy at the moment) and use the arrow keys to align the new copy in exactly it's correct place. Remember that holding "Shift" while using the arrow keys will move the selection by 10 pixels, while the arrow key alone will move by one pixel.
5. When you're ready for the next copy, just ALT+Shift and arrow key again and the selection will be copied again for placement as above. Very easy to do, easier than writing it.
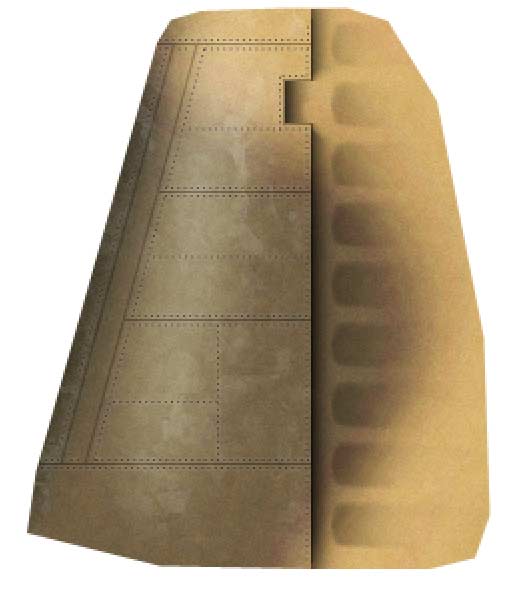
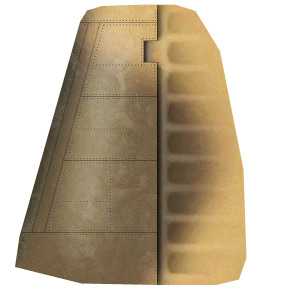
Here's my results by nudging the copy up and down:
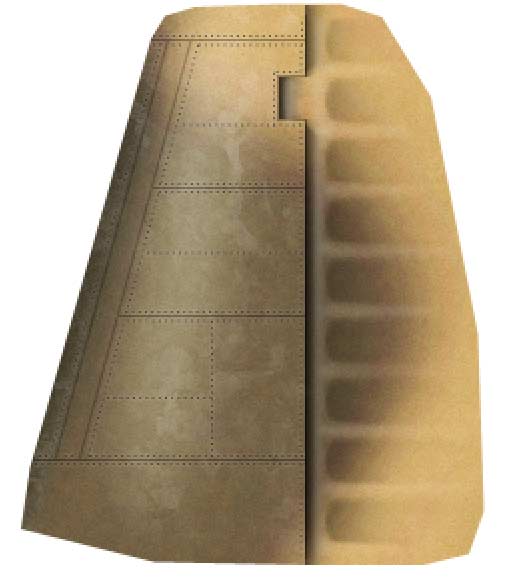
Ok, we're getting there. If you would like to add a bit more depth to the effect, then try highlighting slightly with a small feathered brush in white paint on the areas between the dark shading. This can be useful as well along the leading edge of the control surfaces to simulate a rounded look. I've done both below:
And now shown at actual size, 100% zoom:
Hope this helps out!
-adlabs6
Last edited by Serval; 13th December 2015 at 20:34.
 Posting Permissions


 Reply With Quote