


 Reply With Quote
Hi Blowhard,
could you make some precisions on some sentences I don't understand? Cheers.
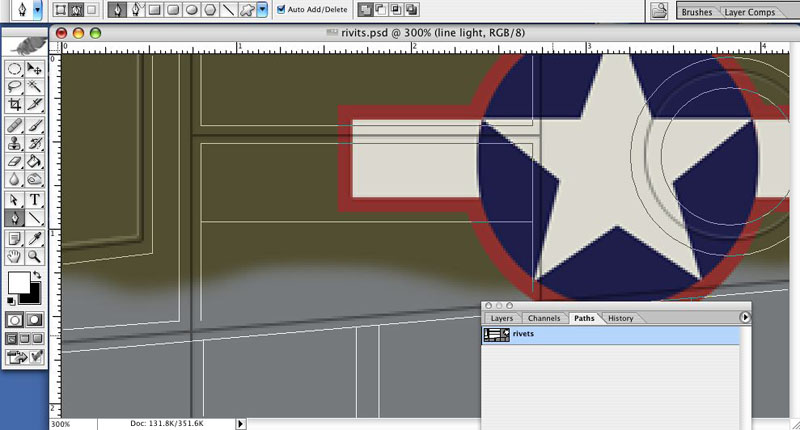
Do you mean the original rivet layer? Shouldn't it be a copy?"select all" on the rivets layer and nudge the selection 1 pixel up and then one pixel down to it's original place using the move tool
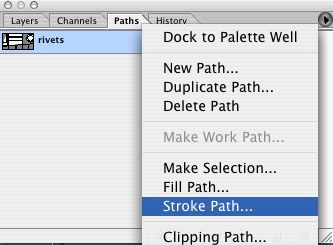
When I select all then select inverse, I get the warning "no pixel is selected". What am I doing wrong?Next "select inverse"


