Reply With Quote
I think his early works were done the "old" way, as in real drawings/paintings.
His new stuff looks more like what we are doing here DTP.

 Grand Wazoo

Yep, Photoshop, or Gimp if you're Adlabs
I didn't do too good of a job on the prop Jester. I think you're right
Plus, getting it backwards the first time around didn't help :P I'll look into fixing it, thanks
BTW, as I'm struggling with a modest 45-50 layers at 2700x2756 pixels, 20x7.6 inches at 360 dpi. I see my idol Cleas is doing 41 inch prints!!!!!!

Claes Sundin Aircraft Profiles
They have to be at least 300 dpi I would think...
That's 12300x3900 pixels
How does he do it? And those profiles, or most of them were started some time ago, at least before 1997. He must have had access to some SEROUS equipment. My profiles look simple to his, he's got to have double or more the amount of layers!


Last edited by Serval; 7th March 2007 at 00:18. Reason: Corrected link
FAST AND BULBOUS!
Senior Member
I think his early works were done the "old" way, as in real drawings/paintings.
His new stuff looks more like what we are doing here DTP.
Grand Wazoo
You might be right Jester but in the back of "Luftwaffe Fighter Aircraft in Profile" he mentions that all 124 profiles (in the book) were created in a "digital environment." He goes on to mention Macintosh computers and Photoshop. He goes on to sayI think that means the profiles in both of his Schiffer books are digital.The exact method of creating these profiles will remain the artist's little secret; furthermore, it is too complicated to describe here and now. What can be said, however, is that the process resembles the older airbrush technique of using mask.
I had always taken it that Tullis also started out with digital. All of his profiles seem very uniform to be, not individual paintings.
About Sundin's new stuff looking more like ours, I have a feeling he needs to work fast nowThe 2 Schiffer books were made with existing profiles from what I can see in the text. He did them on his own is what I thought. Now that he is commissioned to do this stuff he needs to make deadlines. Just as guess though

Last edited by BLOWHARD; 6th March 2007 at 23:31.
FAST AND BULBOUS!
Senior Member
There are other ways as well.. I use Adobe IllustratorOriginally Posted by Supah


Grand Wazoo
Only if you want to give in to the dark side of the forceThere are other ways as well.. I use Adobe Illustrator
FAST AND BULBOUS!
Senior Member
Speaking of Claes.. I have seen him on Simmers twice now!.... ever get the feeling your being watched!
Immortal Thread Killer par excellence!
Junior Member
Really lovely work Blowhard,
It really took a 'kick' once you got the green onto it, it's a pity one minute it was underpaint and the next the green was complete, as I'd love to have seen some steps you used to get the patterns/shapes of that complicated paintjob.
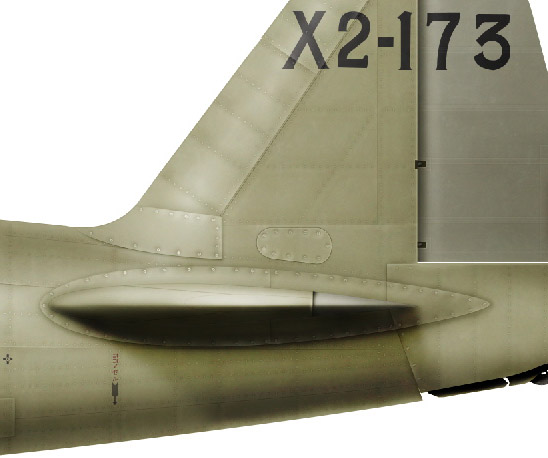
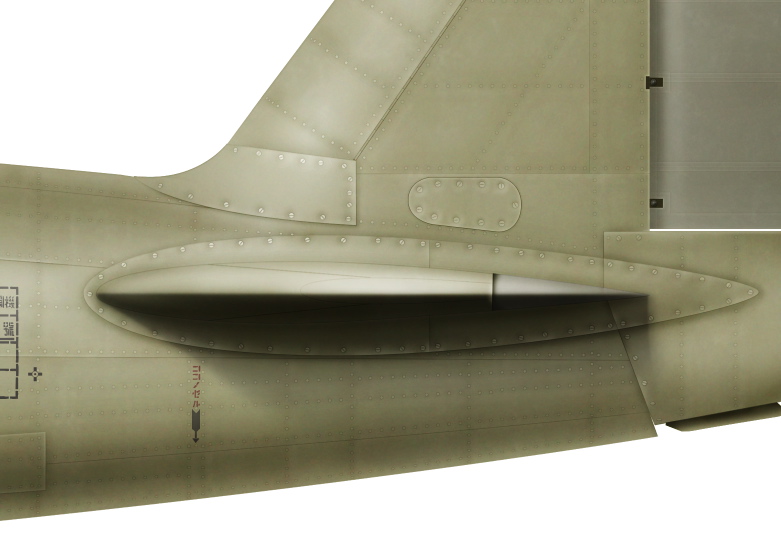
If I could, I'd like to mention the shadow areas, or at least where I would have them, If you don't want to do the underside of the wings well that's a choice thing, perhaps though a shadow falling over the droptank, nice curved front edge? and also one on the fuselage side beneath the tailplane? I find they can give a lot of dimension to a profile myself. Course that too would be a choice thing, as it's looking really very nice anyway.
Cheers
DeanH
(BTW: Yeah, I miss the old large format process cameras sometimes too! lol and rubylith just used to 'feel' so ***y! LOL)
Grand Wazoo
HUH? WHAT? Claes is in da house???? WOW, Claes, say something
He should get a free membership! ...oh, yeah, membership here is free
Good point about the shadows under the tail Dean. They were and ARE there but obviously I was a bit too subtle. Here's what was that at 10% but shown at 100% opacity-
I've done some messing around and here is a new bit tacked on, not as subtle-
I hadn't wanted too get too much into this kind of shading. It seems too much like an artist's trick, like showing a reflection by rendering in a window frame or mirroring a landscape
I'm thinking more in terms of bright sunlight with loads of reflected light, as is shown on the main wing underside. Maybe there could be a shadow across the drop tank, but I was thinking that entire area would be in shadow. The light would need to be a pretty extreme angle to do that while under those broad wings and the fuselage too. Let me consider it some and see if I can get it to make sense in my "mind's-eye".
Dean, about the camouflage, it was 2 really long late nights and part of an afternoon. Not a pretty sight
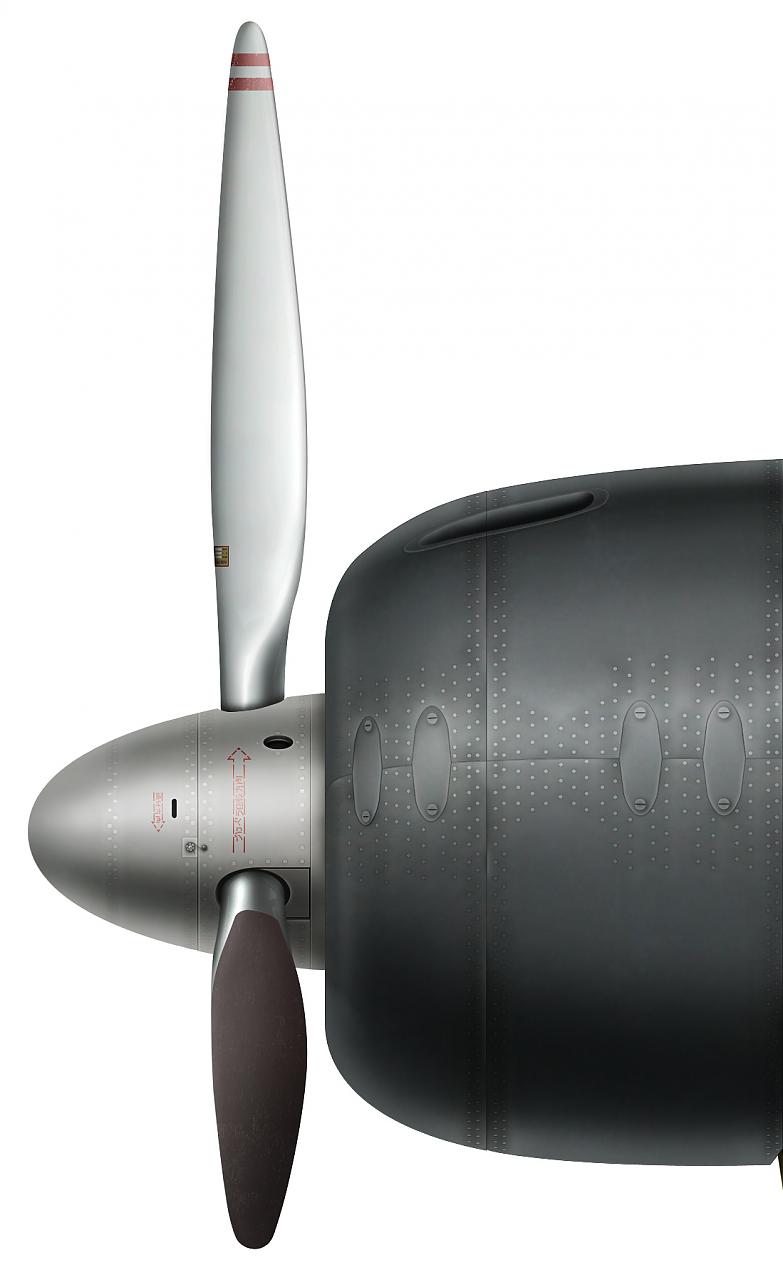
Now, on to the "fun" stuff. Ryan Toews has been scrutinizing each rivet on my profile with care and many thanks from me! Here is the difference a bit of knowledge (that I don't have) makes!
Changed;
Corrected rivet pattern on the spinner.
Details on the spinner, slot, hole, retaining bolt AND, stencils, Ryan's specialty!
Revised size of propeller aperture and corrected propeller size, including a better stencil directly from Ryan.
And, and I'm sure Jester will like this- a MUCH better shading job on the upper propeller!!!
Also, corrected surface textures, the prop blades are bare metal, the spinner is silver paint over red primer
Perhaps the propeller blades still need some work... ?
A few other details thrown in, corrected cowling fastener orientation and the additional panel around the machine-gun exit.
This will be a LONG extended process but it will be a FUN precess just the same

FAST AND BULBOUS!
 Posting Permissions