
 Senior Member

Also see this tutorial. -adlabs6
http://www.simmerspaintshop.com/foru...read.php?t=478
This tutorial will deal with simple manual weathering techniques which I use, again im certain there are a lot of different way?s to do this. You will be using light gray paint, and dark gray paint, and a square pixel brush , and the softening tool. You can use a squiggly line method or a single pixel method which can be used to show more detail for certain objects. The better your artistic capabilities the more realistic the weathering detail will appear.
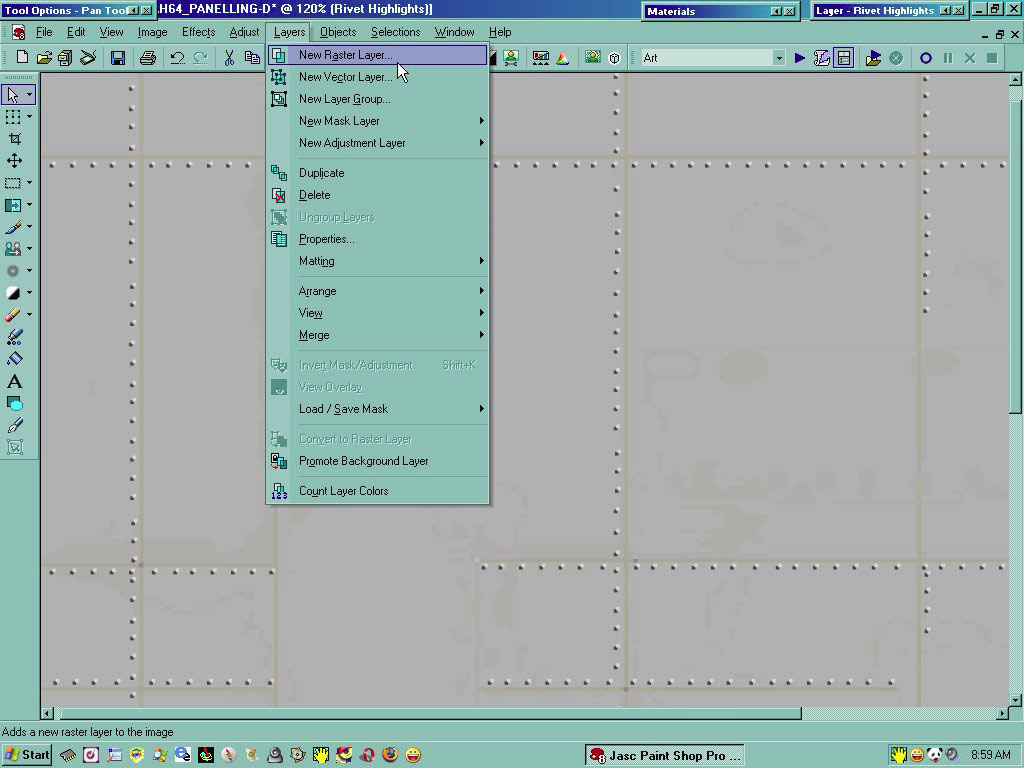
In Paint shop Pro you will be working with layers. Make a new layer and call it weathering.
Like this.
FIG.#2
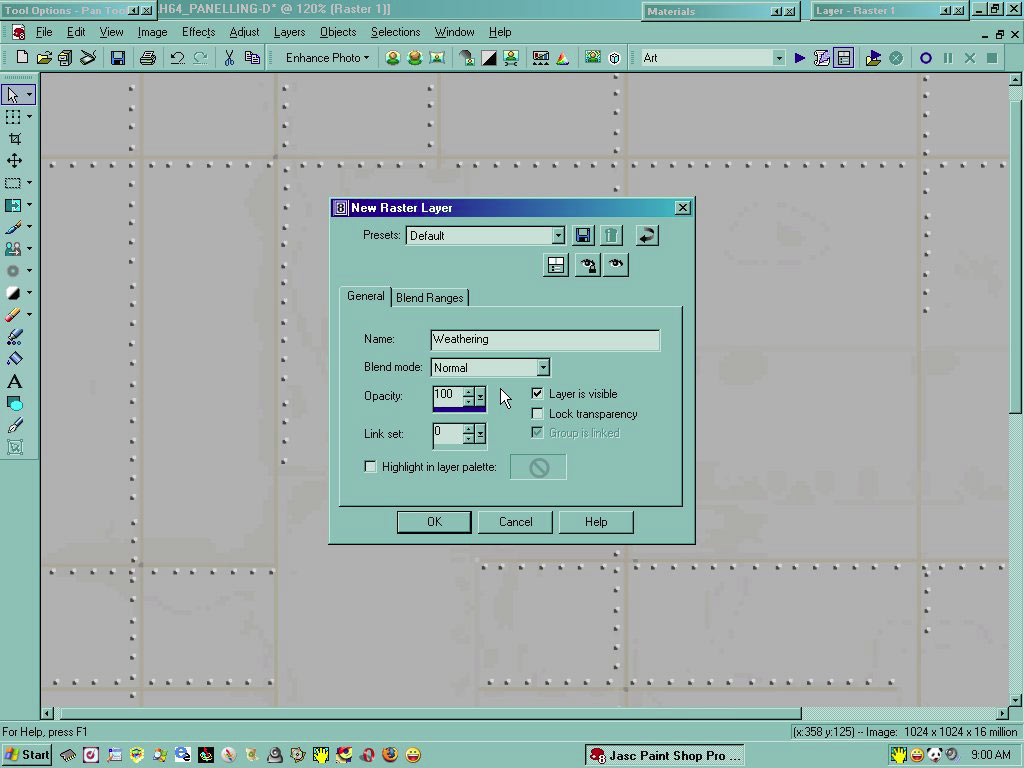
Click on your layers options and the layers properties menu will open as shown above. Name your new layer weathering as shown.
FIG.#3
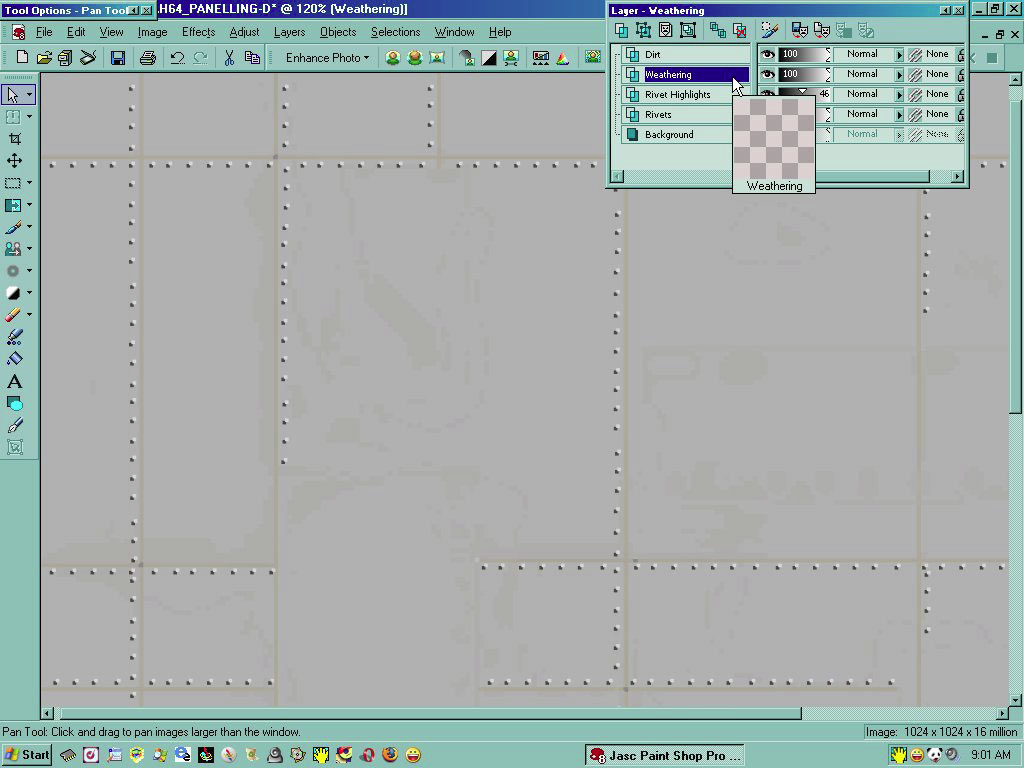
After clicking ok your new layer will appear in the layer pallet as shown.
FIG.#4
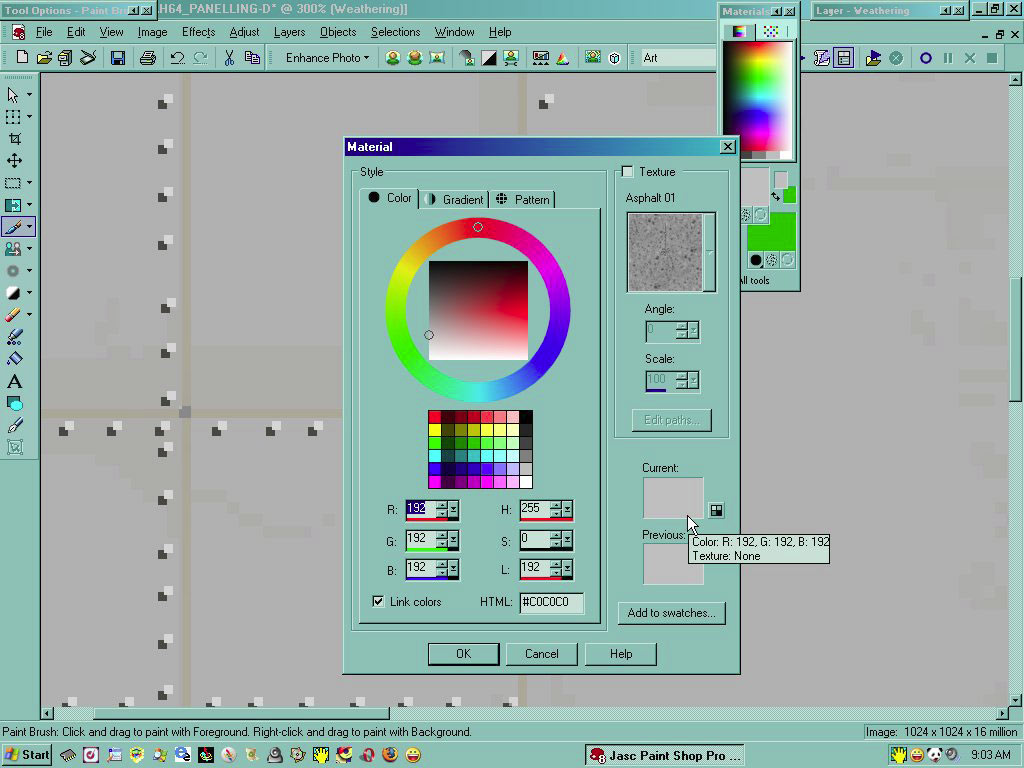
We will use two main colors today, light gray for the outer edges of the weathering as most paint has multiple layers, or rust coupled with some oxidation. And a darker gray for the inner area of the oxidation area.
FIG.#5
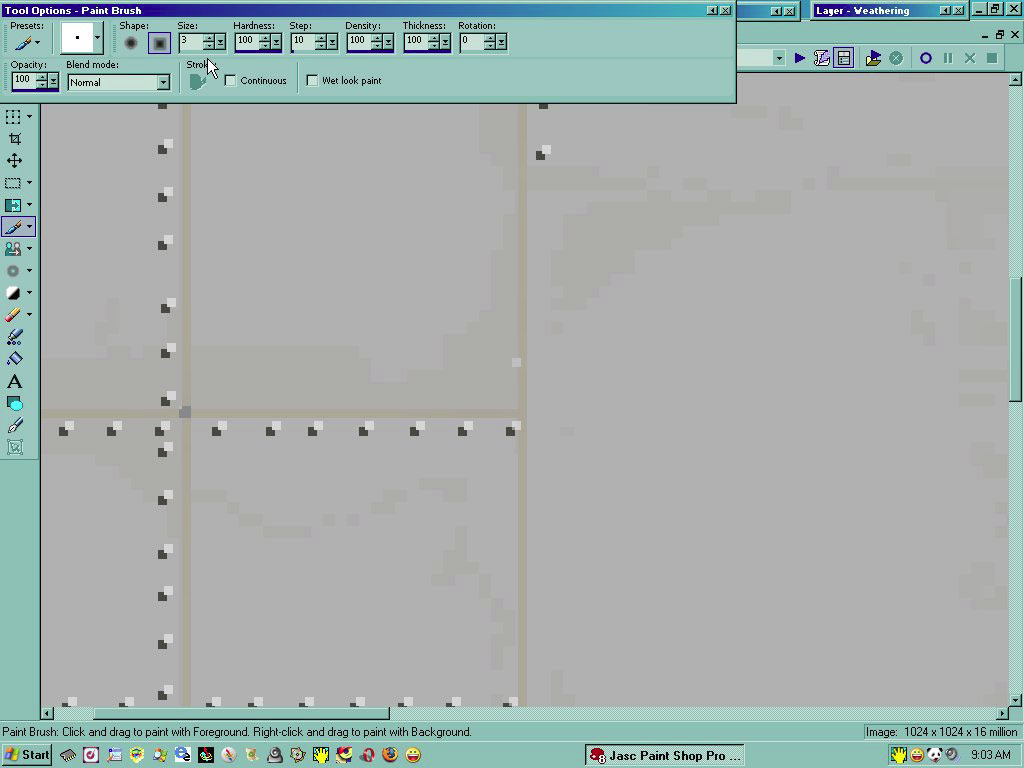
Now Choose a square pixel brush and make the size between 1-3 pixels depending on the amount of detail you want to accomplish.
FIG.#6
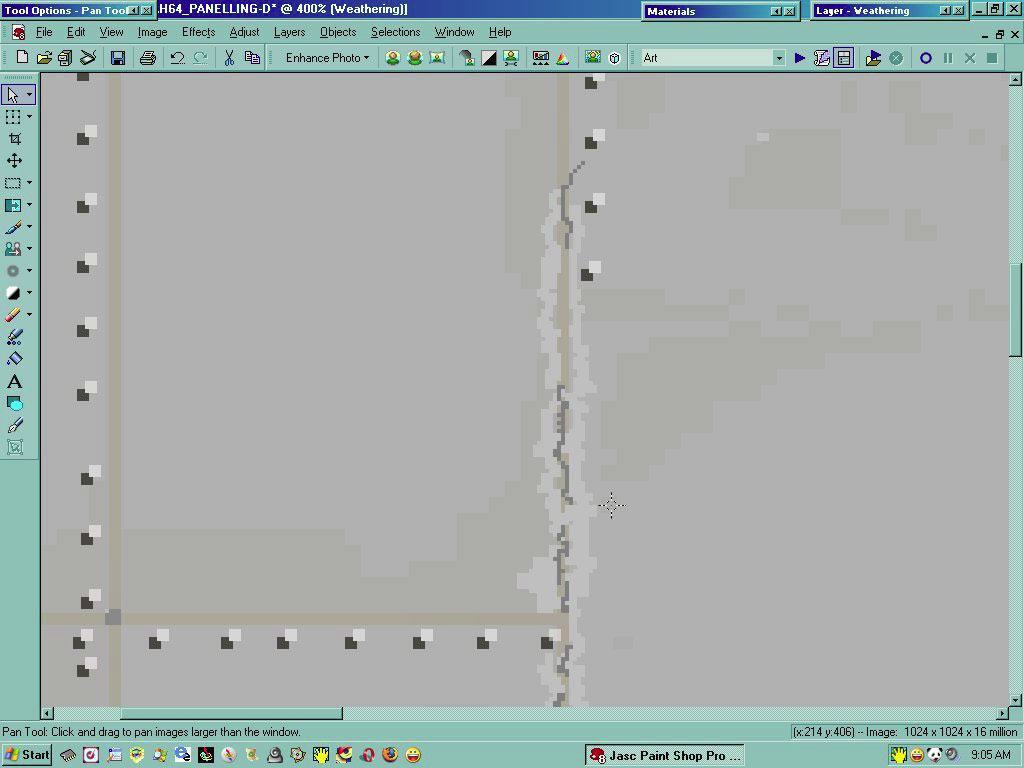
Now using your brush and the light gray run a squiggly line along the outer edges of your panel?s , when that's done use a slight amount of darker gray inside as shown. Don?t worry about being symmetrical because wind and shimmying causes unique effects to metal edges so the more random your lines appear the better your weathering will look when done.
FIG.#7
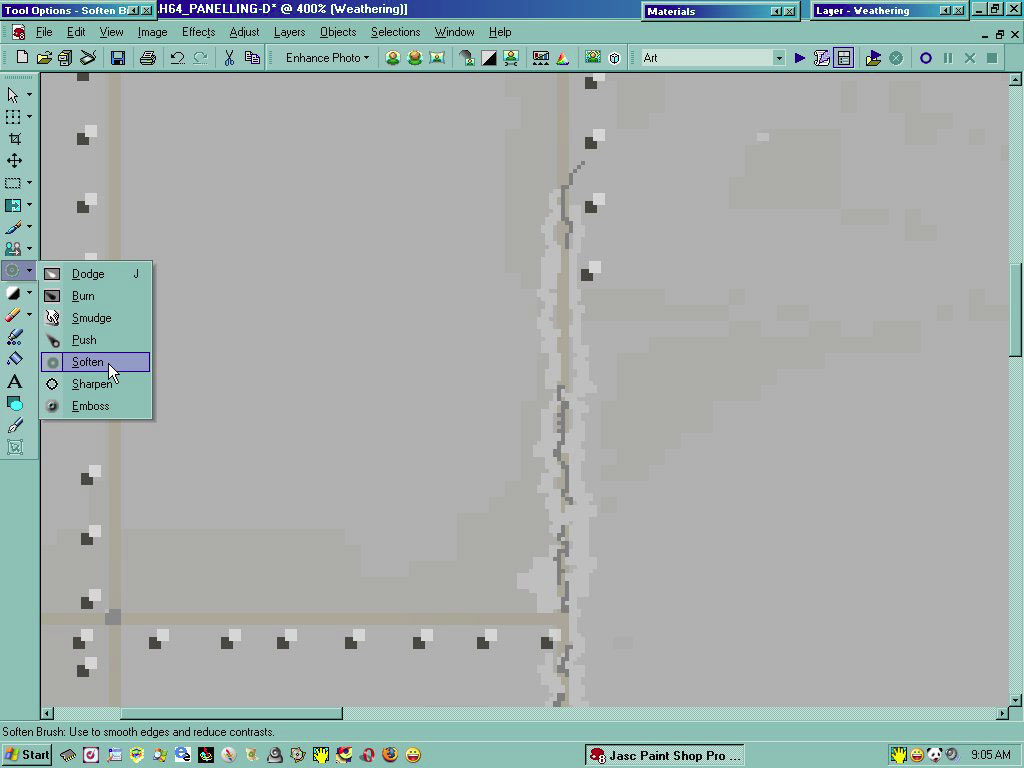
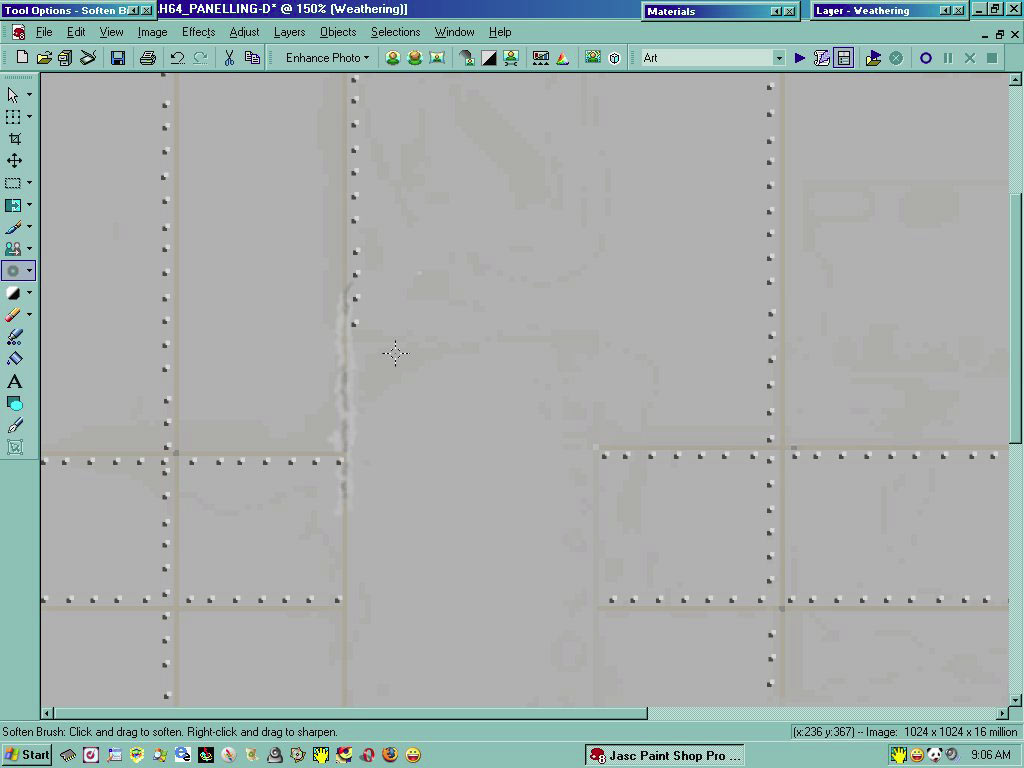
Once you have your paint laid down go to your tool bar on the left side of the screen and choose your softening brush as shown. Make sure your softening brush size is between 2-4 pixels.
FIG.# 8
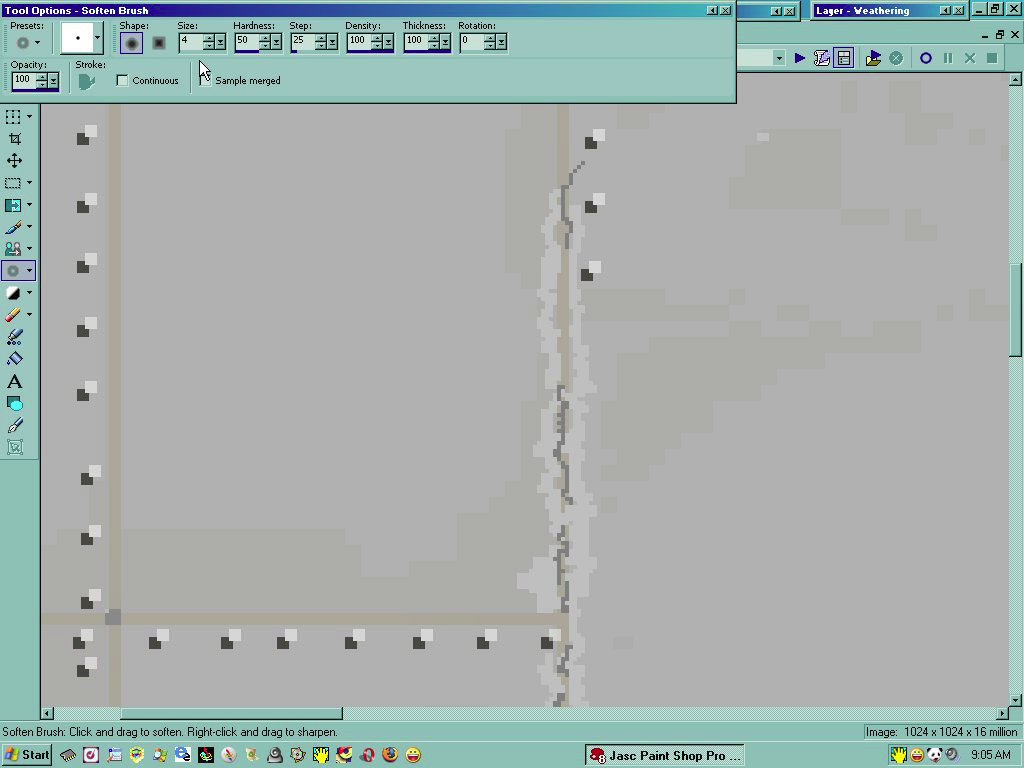
Here you can see the tool menu and the softening brush options.
FIG.# 9
Here you see the finished product, you can get as detailed as you want to for your particular project, this quick tutorial was to give you a shove in the right direction. As I mentioned before there are a lot of ways to accomplish the same thing, your limited only by your imagination.
SNAKE
Last edited by Serval; 18th November 2015 at 15:02.
 Posting Permissions


 Reply With Quote