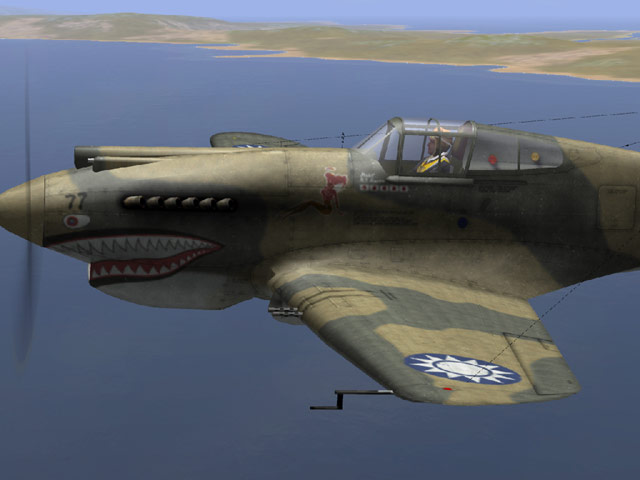
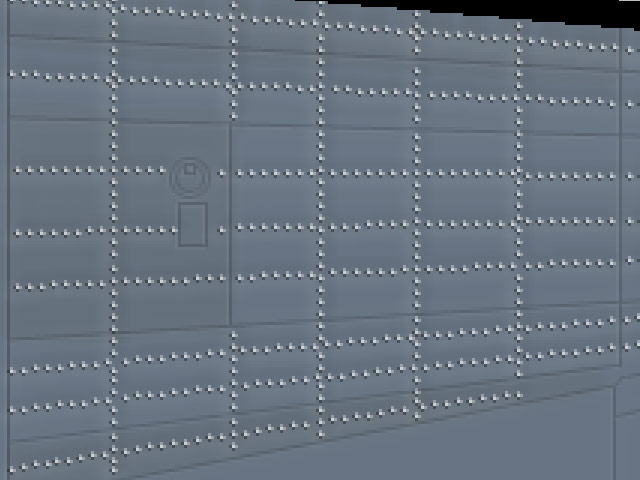
In this tutorial you will see how you can easily create the rippled look as shown in the screenshot of this skin by Kamikuza
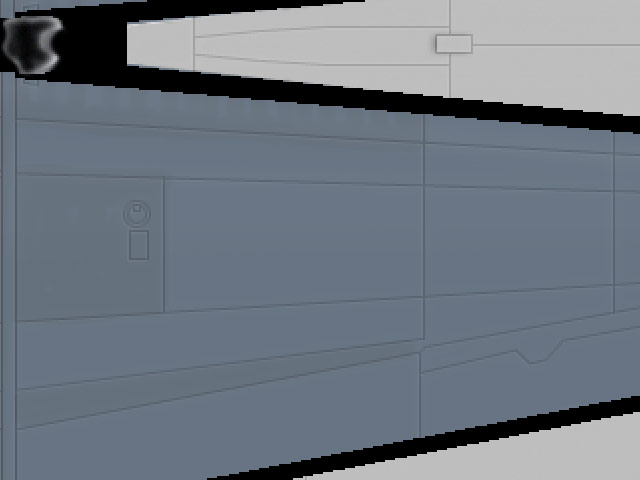
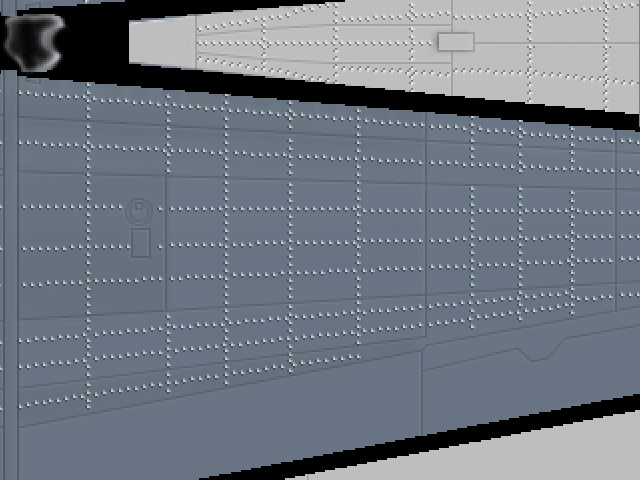
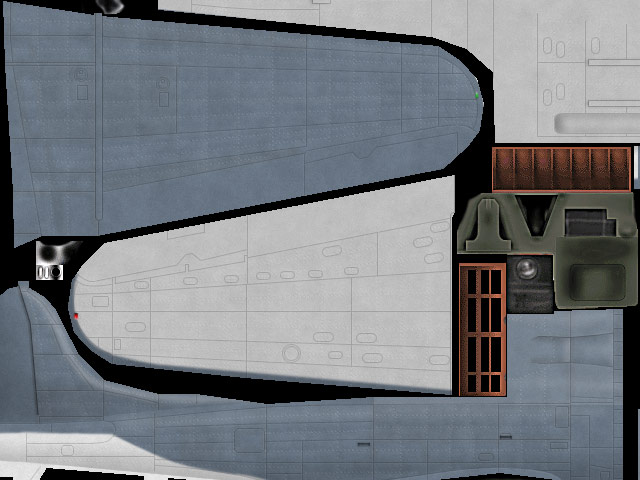
We start with a template (by Jesters Ink) which has basic paint layers and panellines like shown here
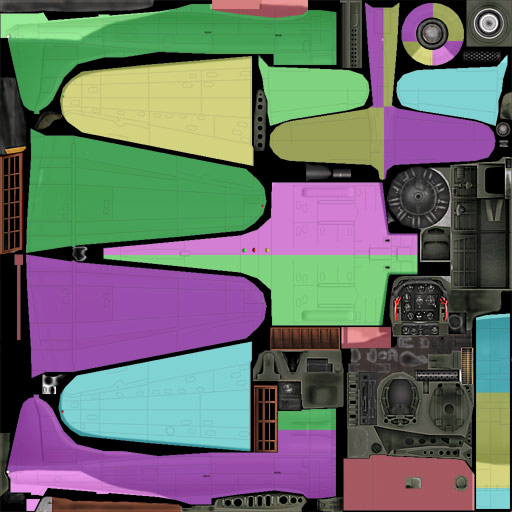
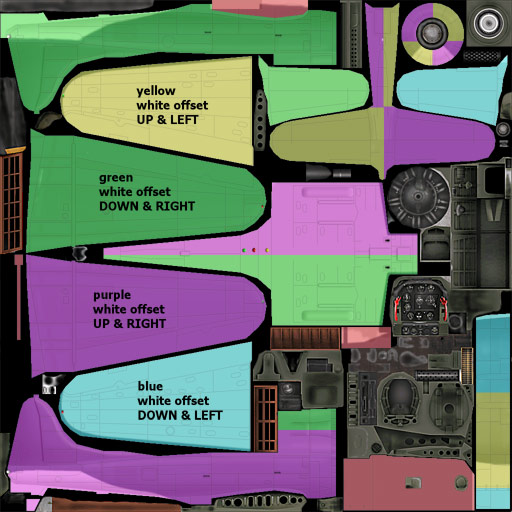
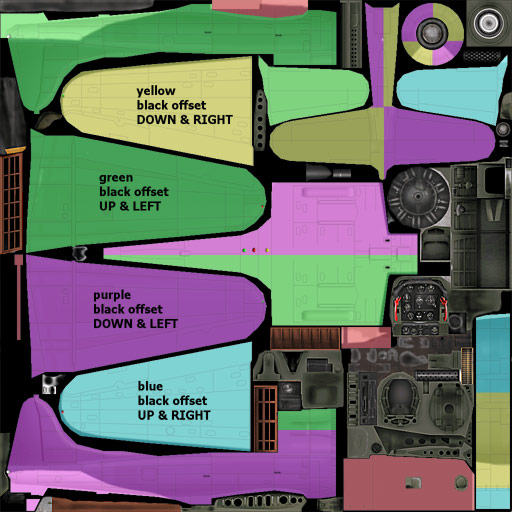
For each different aircraft skin, you'll have to decide which areas are offset in whatever directions.
Basically, white offsets go "forwards & out to the wing tips" on the wings & "forwards to the nose & up" on the body.
But because in the skin file, the wings etc are upside & all over the place, you'll have to carefully choose which areas are what. So if the left wing is upside down (like in the SBD skin) the white offset will actually be down & right so that it looks correct when the skin is applied to the a/c ... that part is a bit of a headache but color coding the areas & painting them makes life easier later - such as "rivets offset areas" layer  - so you can use the magic wand to quickly select the right areas.
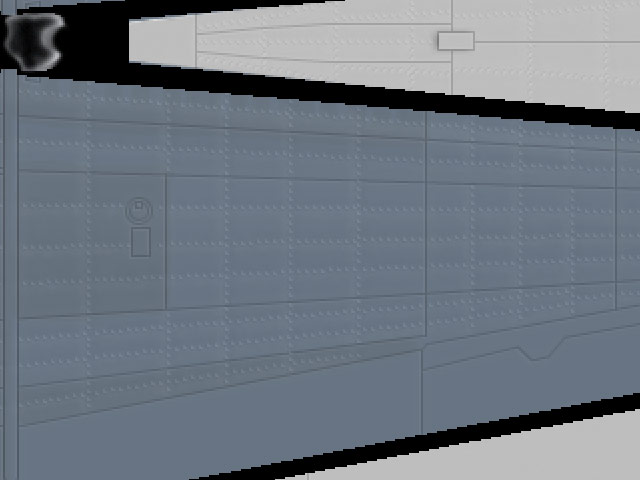
Below every area with an offset has a different color
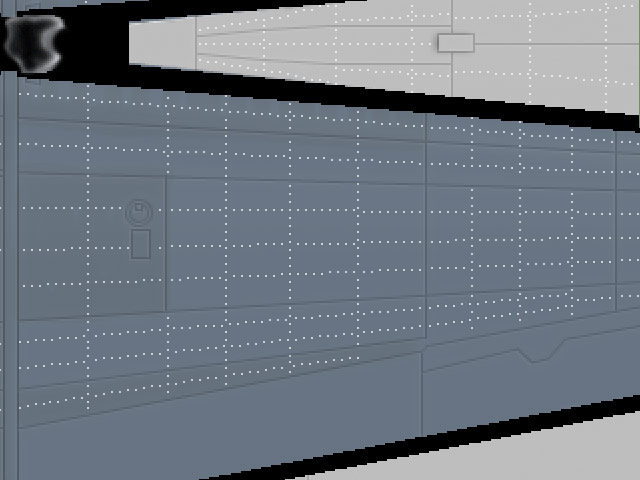
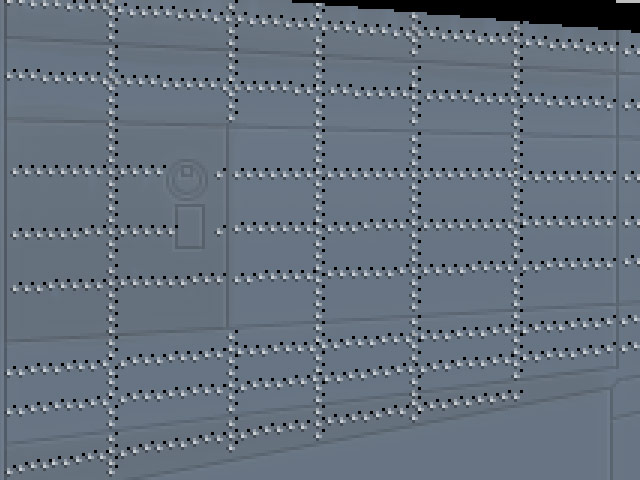
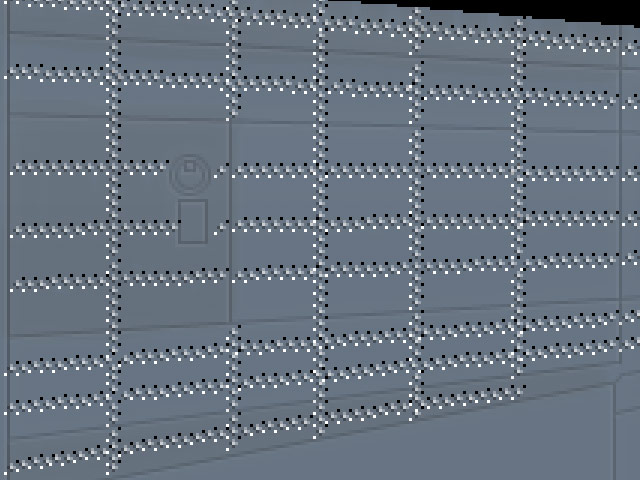
Draw your rivets. 1px white, paint brush with 3px space between them.
How you draw rivets is shown in the tutorial http://www.simmerspaintshop.com/foru...read.php?t=466
Remember, if you get overlaps or rivets too close to each other, tidy them up NOW or things will look weird later. Maybe you have to move some panel lines, so do your panel lines (black) first, THEN your rivets, before you do almost anything else on the skin!
Offset the 'shading' & 'hilites' for the rivet.
I've chosen to do the shading & hilites so that it looks correct when viewed from the cockpit. That means that for, say, the RIGHT wing, the WHITE drop shadow pixels are offset to the RIGHT & FORWARD of the rivet pixel, and relative to the aircraft.
Just remember that cos the wings, fuselage etc arent the right way up in the skin file you'll have to figure it out for each area. Also, things like the BOTTOM of the fuselage etc, which is one 'piece' in the skin file, will have to be split in half & each side offset differently. See the green & purple underside in the template for a good example of an annoying area.
2 layers, one with white pixels & one black pixels.
Easiest way is to duplicate the rivets layer, use 'image - adjustments - invert' in Photoshop or 'adjust - color balance - negative image' in PSP on the black layer, then select the areas you want, then use CTRL & arrow keys in Photoshop or SHIFT & arrow keys in PSP to nudge the selected areas.
Here you see the result of and offset forward and to the right of the highlight layer. The opacity of this layer is set to 33%
The offset for the black or shade layer:
Here you see the result of and offset to the bottom and to the left of the shade layer. The opacity of this layer is set to 33%
When we view the rivet with the highlight and shadelayers it looks like this:
Create the 1px dots you're going to blur for the 'dent' effect. Again use a duplicate of the original rivets layer and turn the color to black.
The offset for this layer:
The trick here is that the black shading is on the white side of the offset. You have to nudge it two pixels. For the area shown below that is two to the right and 2 to the top. Below you see the shade layer added to the result you saw in the image before
Now duplicate the rivets layer again. This one we leave white and we nudge it 2 pixels in the opposite direction of the black layer.
Below the result added to the image
Blur the 'shadow' layers with Gausian Blur = 2.0.
Too much blur & you cant see the 'dent' effect', too little blur & the 'dent' looks too strong.
Below the two shade layers blurred:
Again with the rivets on
Set the layer properties.
For all white layers set the blending options to Overlay leave them to Normal for the black layers. Set the transparencies.
It's important not to set transparencies too high (the rivets are too visible & look bad) or too low (they dissapear on the skin in-game). The settings I have in the green labeled layers look good to me.
Fine tuning the layer properties. Depending on the color of the skin - a dark color or a light color - I might tickle the layer properties up or down when the skin is finished completely. Not too much - maybe 1 or 2% either way.
In the example below the rivets and the shades are below 10% opacity. The shadows are 33% for white and 55% for black.
Rivets finished! You should have 5 layers only - rivets, rivets drop shadow white, rivets drop shadow black, rivets dent shadow white, rivets dent shadows black.
Use Eye Candy 4000 plugin & add some "HSB noise" to stop the paint looking too flat & 'shiny' in game.
Do it twice on the layer with the paint.
First time with these settings :
Hue = 0, Saturation = 0, Brightness = 6, Opacity = 0, Lump Width & Height = 24px, Pattern : smooth fractal, Fractal Roughness = 100 & random seed it.
Then, do it again, but this time change the Lump Widht & Height to 1px & push Random Seed button again.
As you see this gives a nice worn look of the paint.
Except for other wearing and dirt effects you are done now.
Below you find the tutorial with the original PSD by Kamikuza file where all steps are shown in seperate layers.
rivets_tutorial.zip


 Reply With Quote


 Member

 Posting Permissions

