


 Reply With Quote
awesome and very useful tut. Thanks so much!

 Grand Wazoo

This tutorial was done some time ago. Please keep in mind that just about everything I show here can be done several ways. It is pretty labour intensive so it's only for detail nuts. The instructions are specifically for Photoshop but the ideas apply to any paint application.
It was also made with Targetware in mind, presupposing 1024x1024 size files are used, specific numbers of pixels are mentioned. Please remember to adjust for any file size difference.
MAKING FABRIC COVERED WINGS
(This tutorial is for use with Photoshop CS)
This is by no means the definitive way to make fabric covered wing. These instructions are the methods I've arrived at after doing more than a few sets of wings for fabric aircraft. Most of this will be pretty easy to follow and the only "trick" method here is that I've distilled the operations to as few as possible while still maintaining the maximum amount of editability.
First, a note on directional lighting. The use of "painted on" shadows and highlights to simulate a specific light source might seem counter productive to use on a 3D object on which the light source will change due to the objects movement. Arguments can be made that painting a directional light source should never be done.
However, I see it is a necessary evil. Unless every curve and contour can be modeled as subtly as the real object, the detail must either be painted on in some way, or left off completely. I feel the detail is needed and also that it does look good on moving 3D objects. Also, I haven't found a way that can show the contours without using a directional light source that doesn't fall very short of the mark.
At least, if nothing else, you understand my reasons for why I paint wings as I do.
One other note, I use a left or top left light source but right will work also, just as long as it's consistent through out.
STEP 1 :
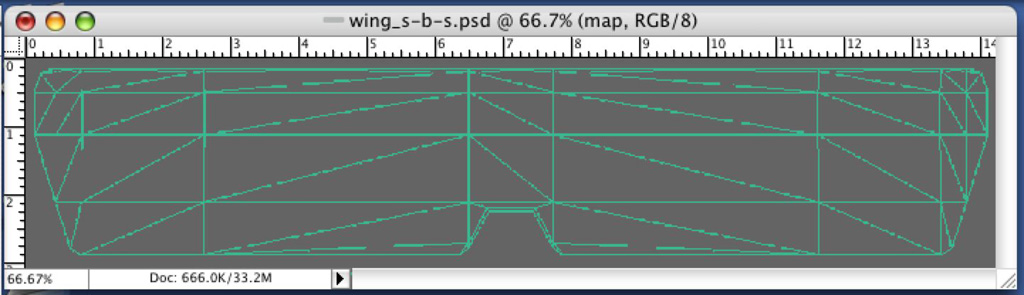
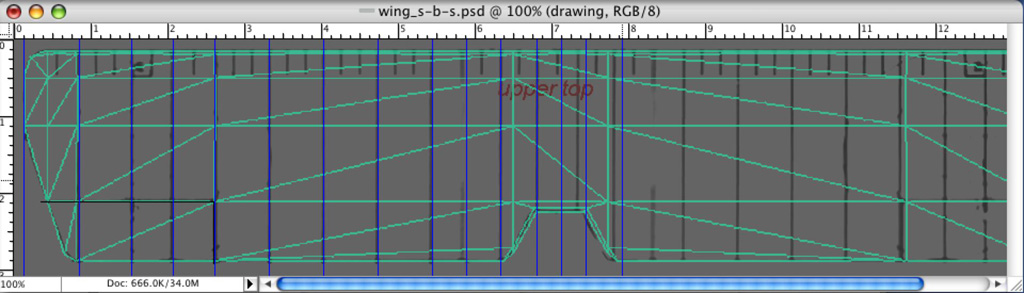
Start with the poly or UV map provided by the 3D modeler.
It helps if this is as accurate as possible. However, it may not be. The first step is to look it over very carefully to establish the wings edges and details. If the model is already animated, check that the moving surfaces are correct to the poly map. If not, you need to go on blind faith that the map accurately shows the surface locations. Any other details must be checked here as well.
This is the foundation you will use to lay out your ribs. If they don't line up with the 3D you may have to start from the beginning.
STEP 2 :
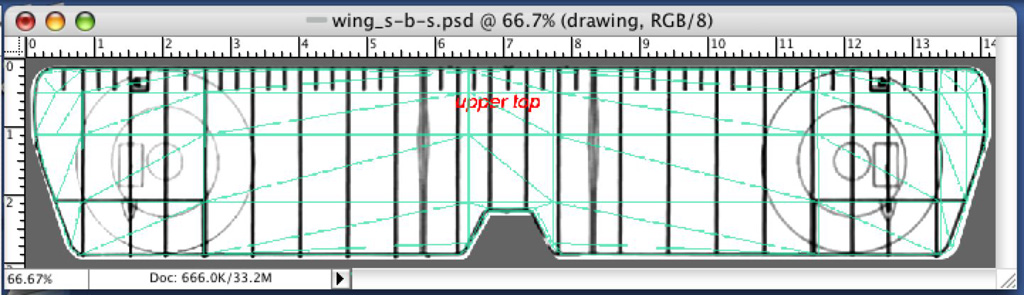
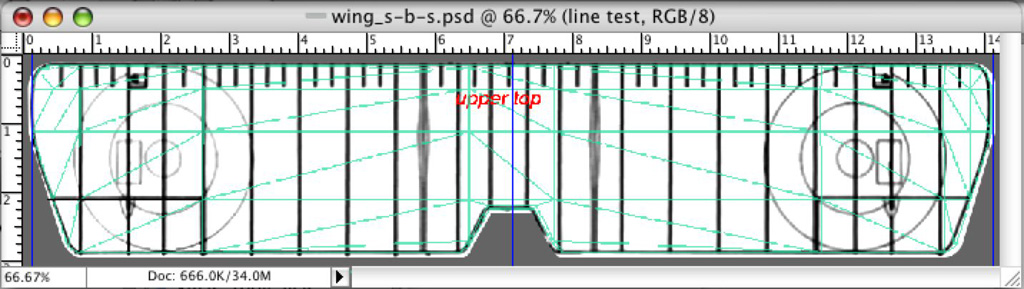
Lay a drawing of the wing on your PSD and line it up with the poly map.
This isn't vital but it sure helps to get the rib layout correct. It might be hard to get the ribs on the drawing to match the poly map perfectly, you'll just have to get it as close as possible.
STEP 3 :
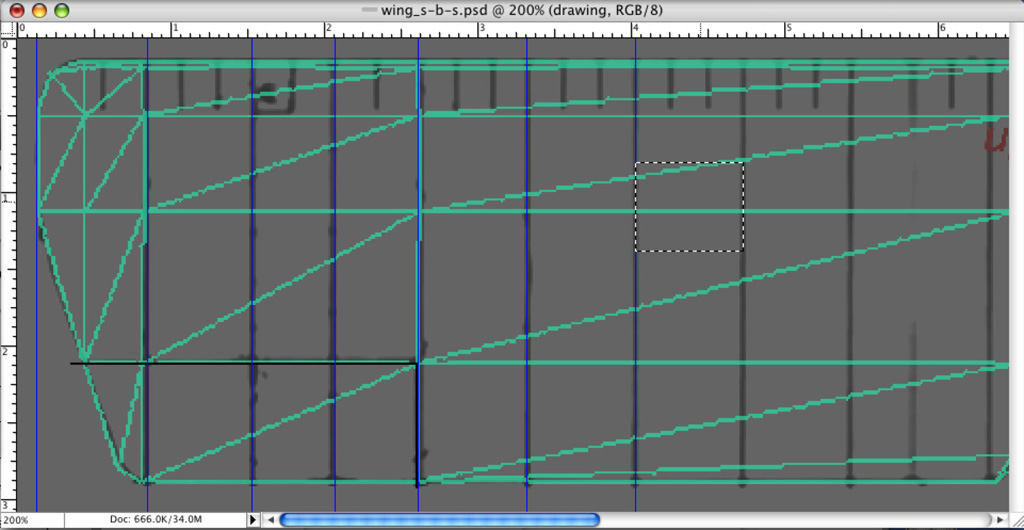
Using the marquee tool for simple moving surfaces, or any other selection tool for more complex surfaces* draw a single pixel line in black on a separate layer. This can be on a panel line layer or on it's own.
* For complicated shapes I prefer the pen tool to create a vectored path. A saved vectored path can be reused or edited when needed unlike the other selection tools.
STEP 4 :
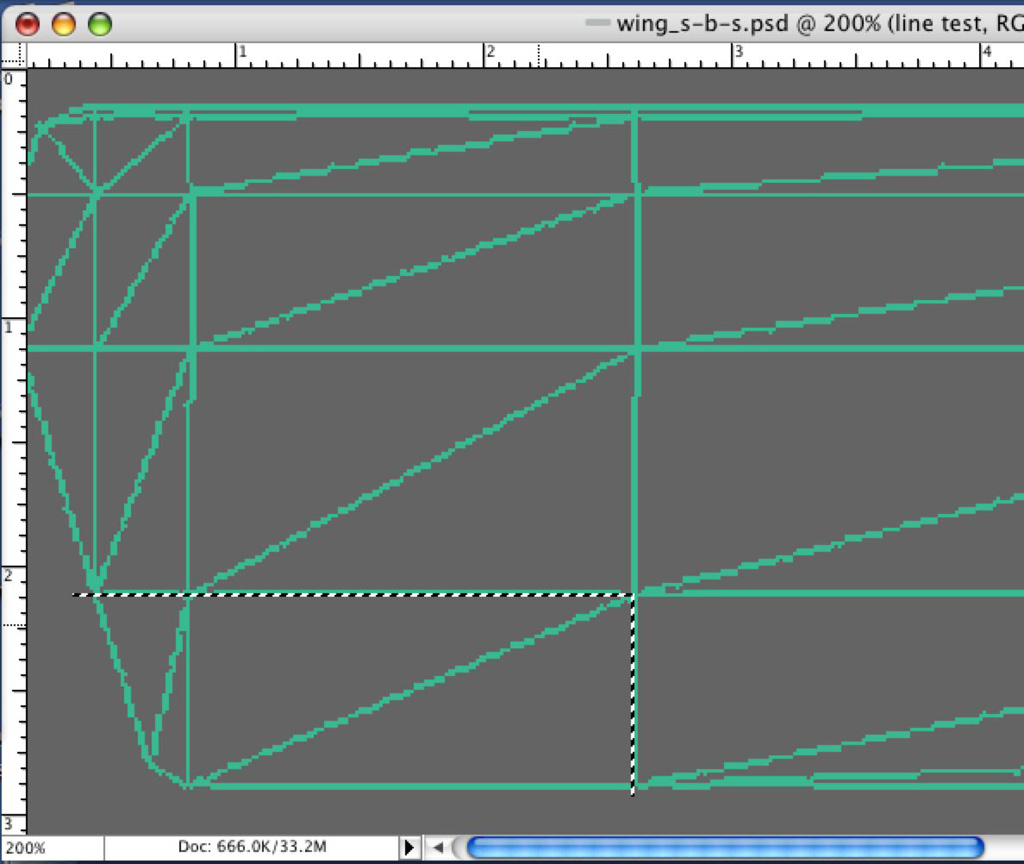
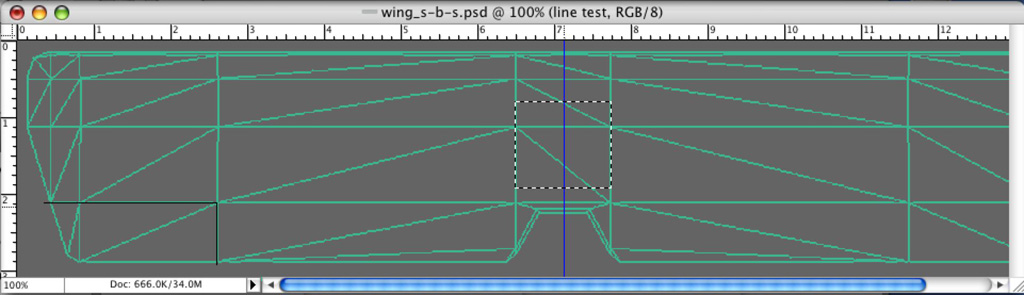
Find the center of the wing. I use the square marquee tool to make quick measurements and guides to mark edges, centers and other points.
It is important to check this carefully. The wings may be asymmetrical. If so, you need to be aware of this for the later steps. Obviously, it's much easier if the wing is perfectly symmetrical.
STEP 5 :
Check your drawing again.
It might help to set the drawing as black lines only. I use the "darken" layer mode.
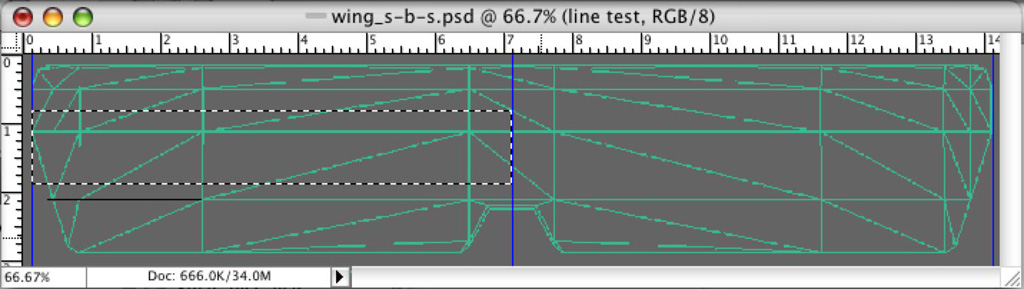
STEP 6 :
Using the drawing, the measurements you just made and any other 3D parts shown on the wing map, like the moving surfaces or cutouts, start laying out your ribs. Again, I use the marquee too and guides.
Here you can be as crazy about measuring as you want. I tend to do this part pretty fast. I use the 3D parts and my centerline as unmovable points and I adjust the ribs to fit within these. Get them fairly close, if you end up with the correct amount of ribs per wing and they line up with the 3D, you'll be ok.
I only lay out half the wing, or 1 side plus the center section in this case.
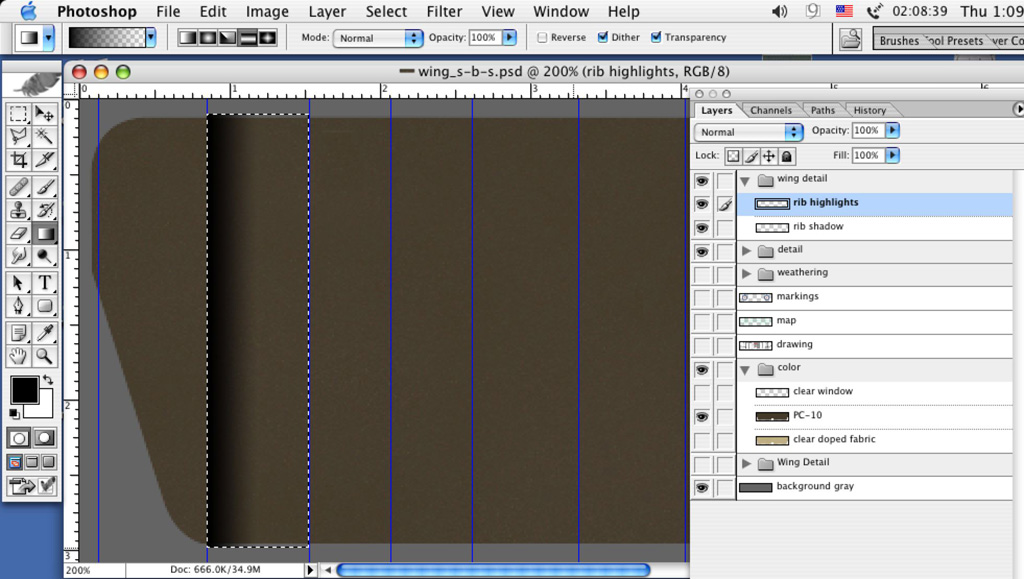
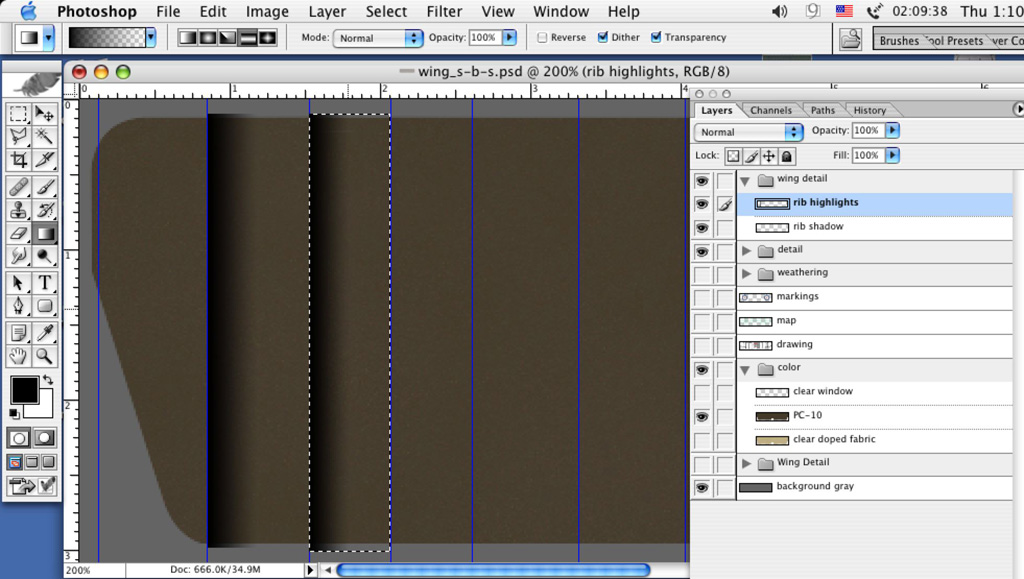
STEP 7
Here is where you start painting. Again, there are many ways to do this, I do it this way because it is the quickest way that suits my working methods while allowing for editability.
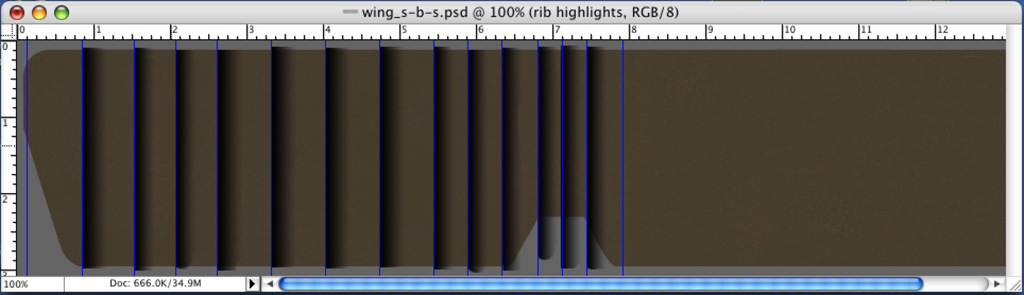
I start by making a selection of one bay with the marquee tool and then using the gradient tool set to "Foreground to Transparent", using black as my foreground .
Keep in mind that to show a deeply contoured wing rib you'll want to make the shadow width reach near the center. For very tightly stretched fabric you'll want much less width for your gradient. Here is where good photos of your subject come in handy.
If there are different widths you might want to vary the amount of gradient you use.
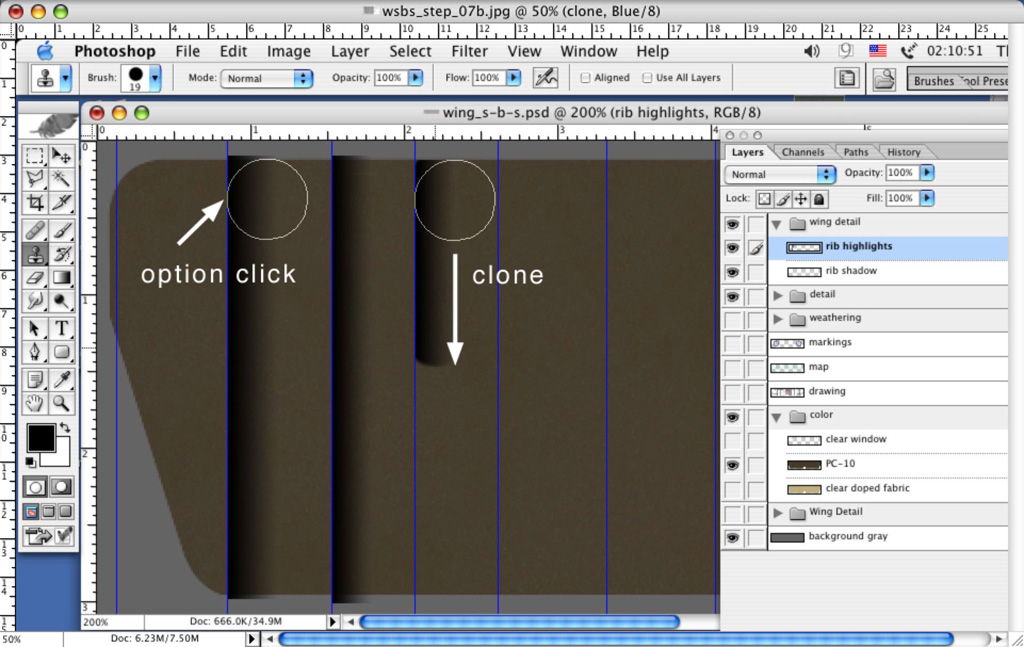
The quickest way I've found to reproduce this across the wing is to now use the clone stamp*. For this to work you'll need to have your painting cursors set to "brush size". You can set this in Preferences>Display & Cursors. You can use the "brush size" circle outline to position your sample area at the edge of one of your guides, and then line it up on following guides using the same placement.
*Make sure that the "Align" and "Use All Layers" boxes are un-checked.
Using this method can be very quick and still be accurate as long as you keep the brush size circle in the correct spot. You'll want to do one half of the wing in this way.
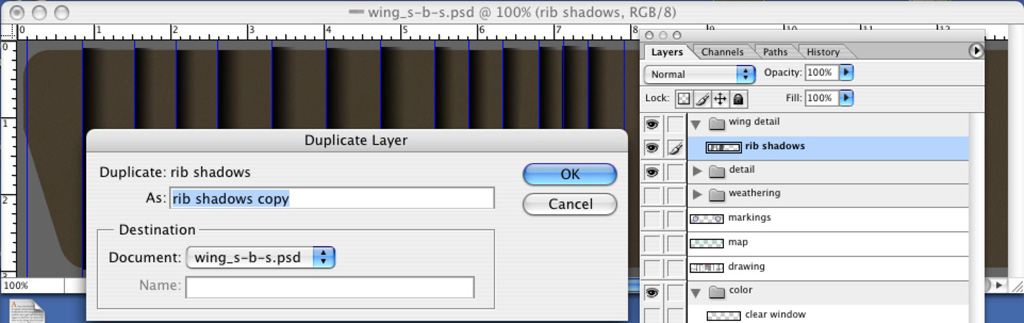
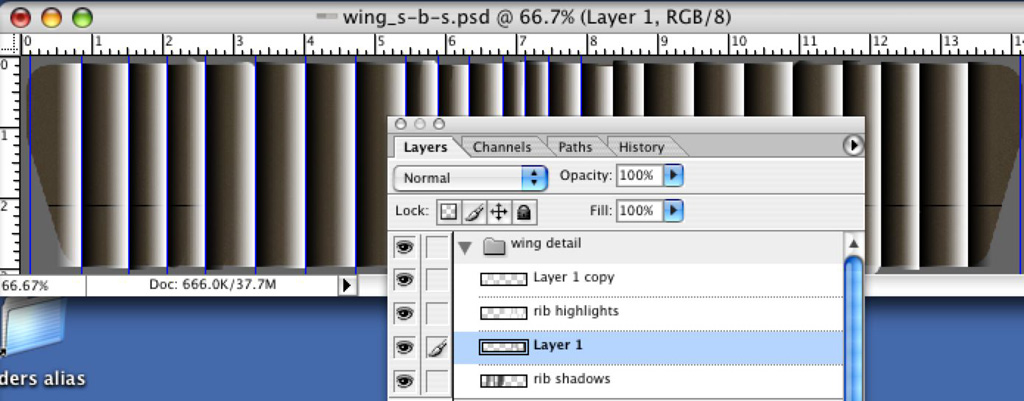
Next you'll want to make a copy of that layer.
I like to name these layers because it is very easy to get lost once you've got many layers all at once. For this to work correctly you'll need to be working on the right layer and not one that you have set up for some other part.
Once you have a duplicate layer, flip the layer horizontally and invert it from black to white.
Once it is lined up you'll have 1 half of the wing shadows and the other half highlights. You can now use the highlights to finish doing the shadows on the wing using the same method as above but using the edges of the highlights rather than the guides. This is why you only need to set up guides on half the wing.
I do the rest of the rib shadows on a different layer, then duplicate/flip/invert like above to get the other half of the highlights.
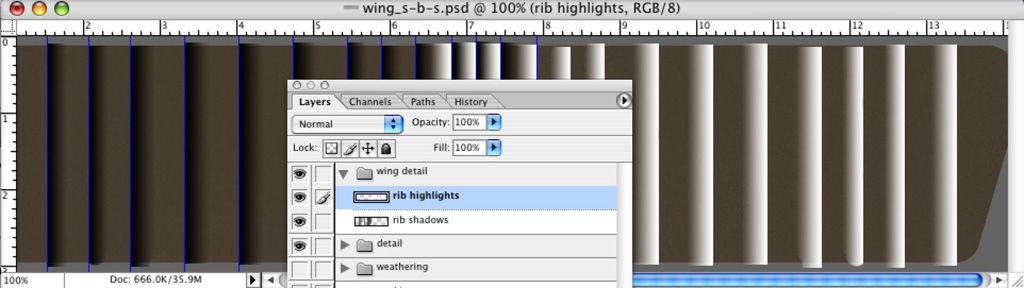
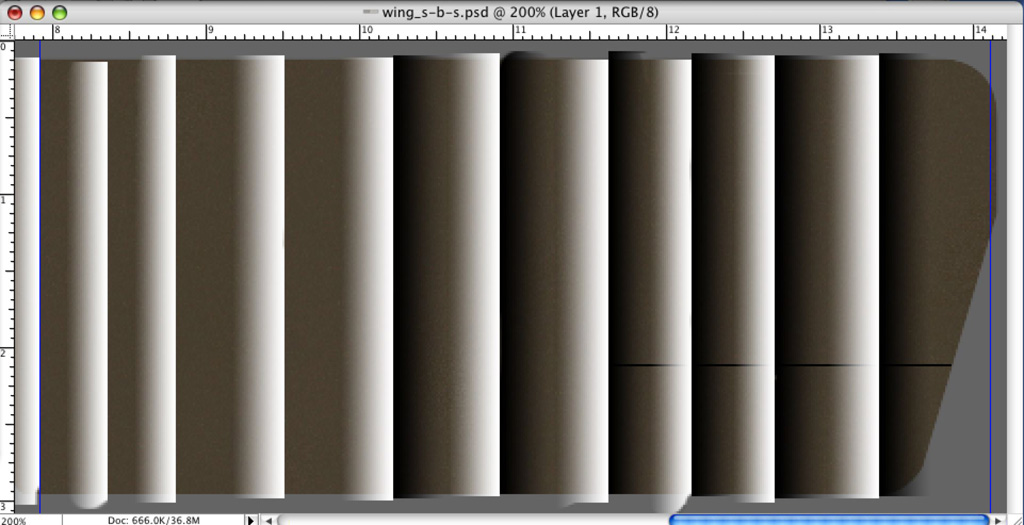
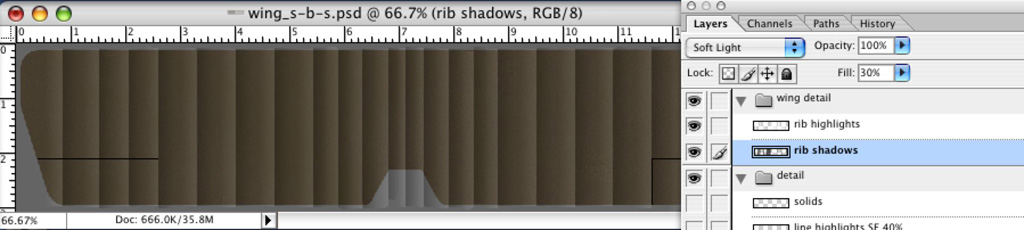
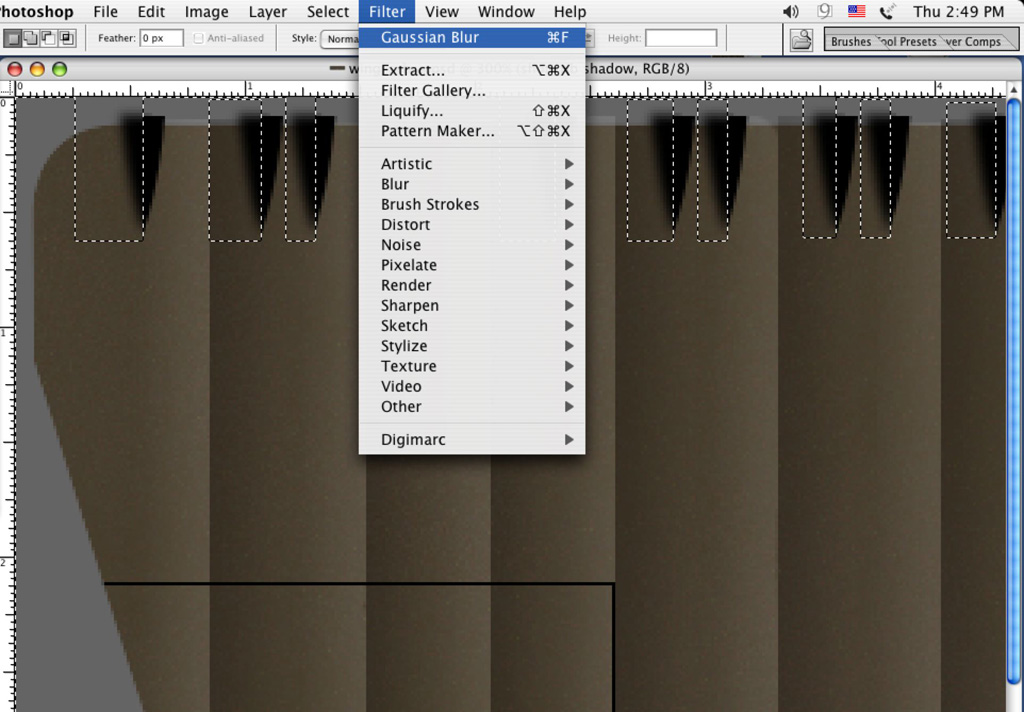
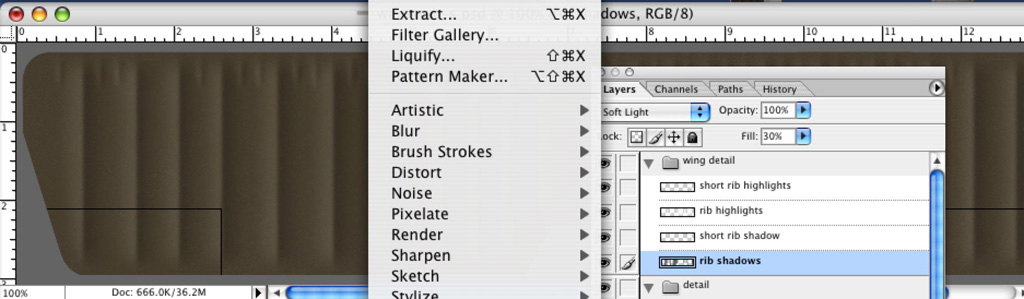
Once you have these all done you can merge them into 2 layers. I prefer to set the layers to the "Soft Light" mode and at 20-30% opacity. "Soft Light" does present problems working with extremes of light and dark but I feel it's the most realistic blend overall. The layer setting is more personal taste however, set them any way you feel is appropriate.
STEP 8 :
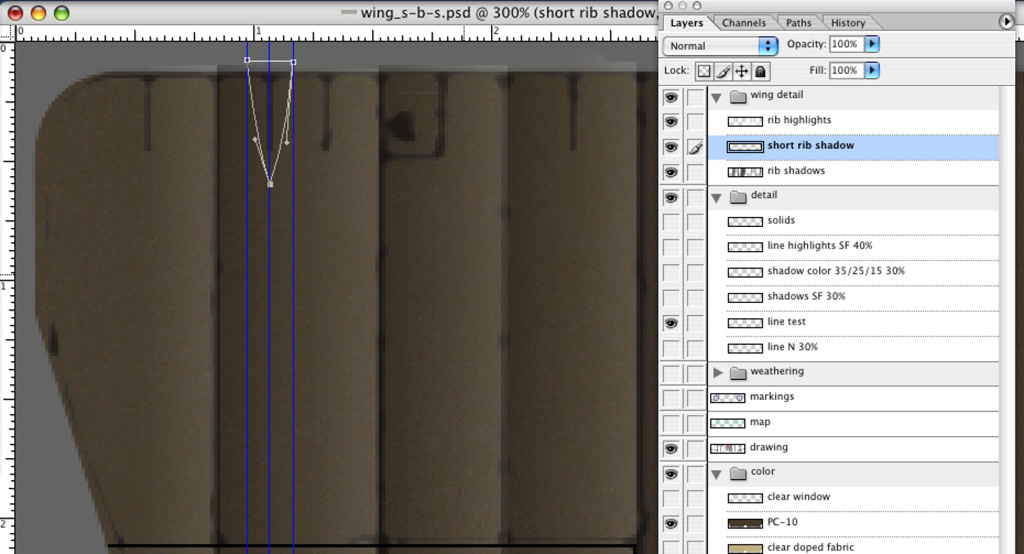
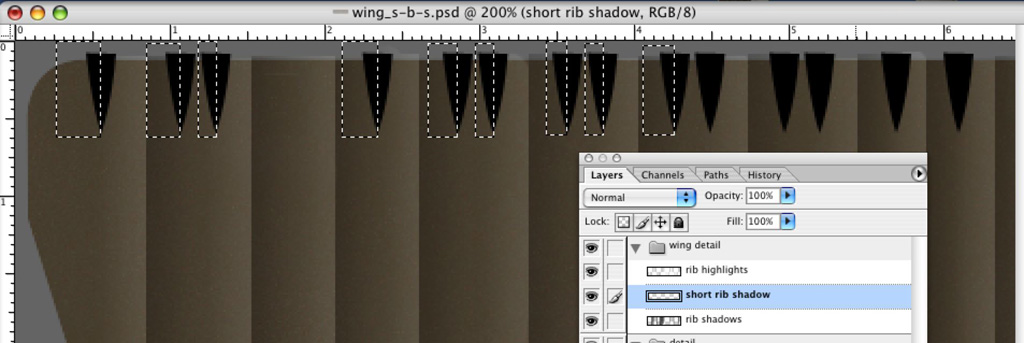
Now that you have your main ribs finished you can start on the shorter leading edge ribs. These are difficult at best. Here is the method I've arrived at that seems the most painless to me.
Using the pen tool I make curved edge triangle shape in the size that the short rib shadow and highlight will be. Again, I use the drawing for placement.
This is where using the pen tool to make vectored paths comes in to it's own. If you don't use them or don't want too, you'll need to do these one by one. You could use a similar method as what I've described above, but this method is much quicker.
Once I've got one set up I copy and paste the path. For ribs that are the same width with two short ribs between them you can copy/paste two paths that are already spaced correctly.
Again, do only 1 half the wing and copy/paste/flip horizontal the other half of the short rib paths.
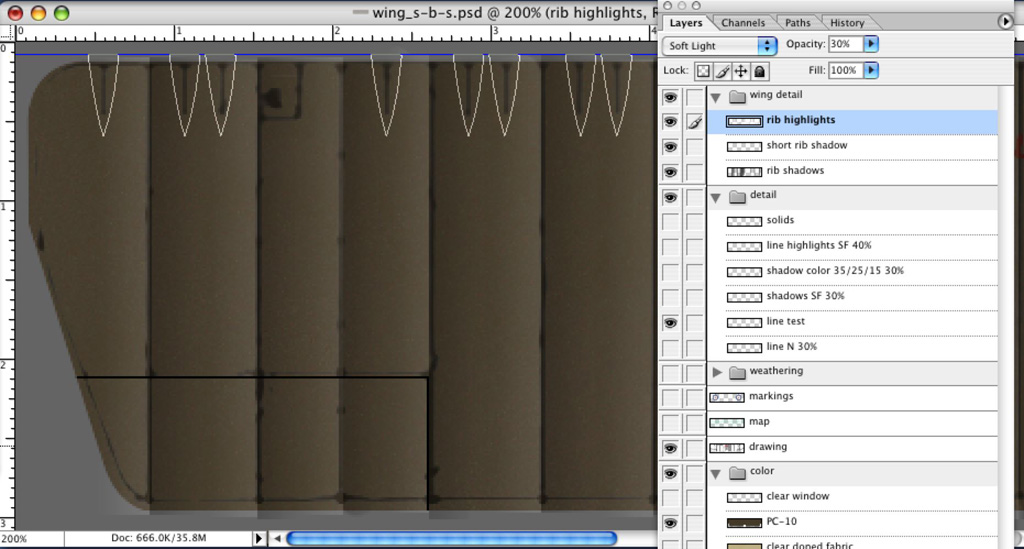
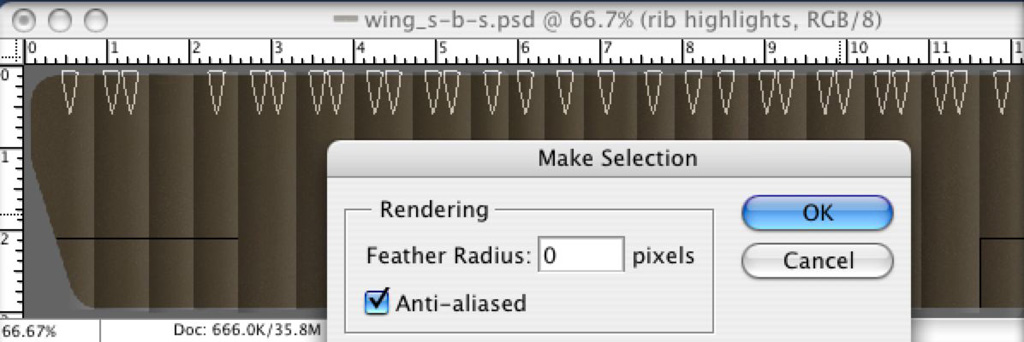
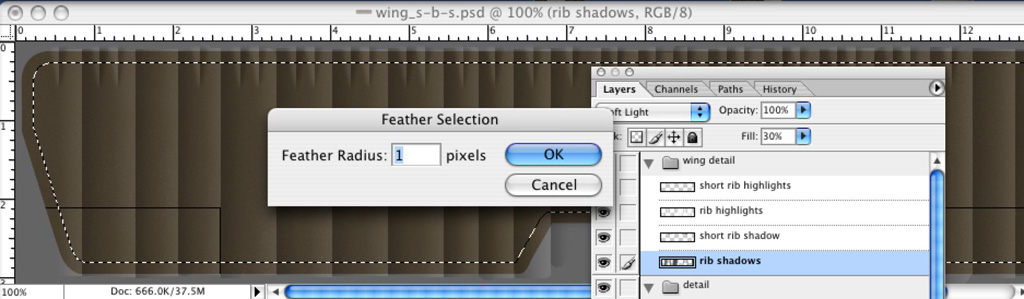
I use these to make a non-feathered selection on a new layer. It's easier to blur them later.
Fill the section with black. Now use the marquee tool to select 1 half of each. I tried this with paths that split in 2 halves but it's more work to set up.
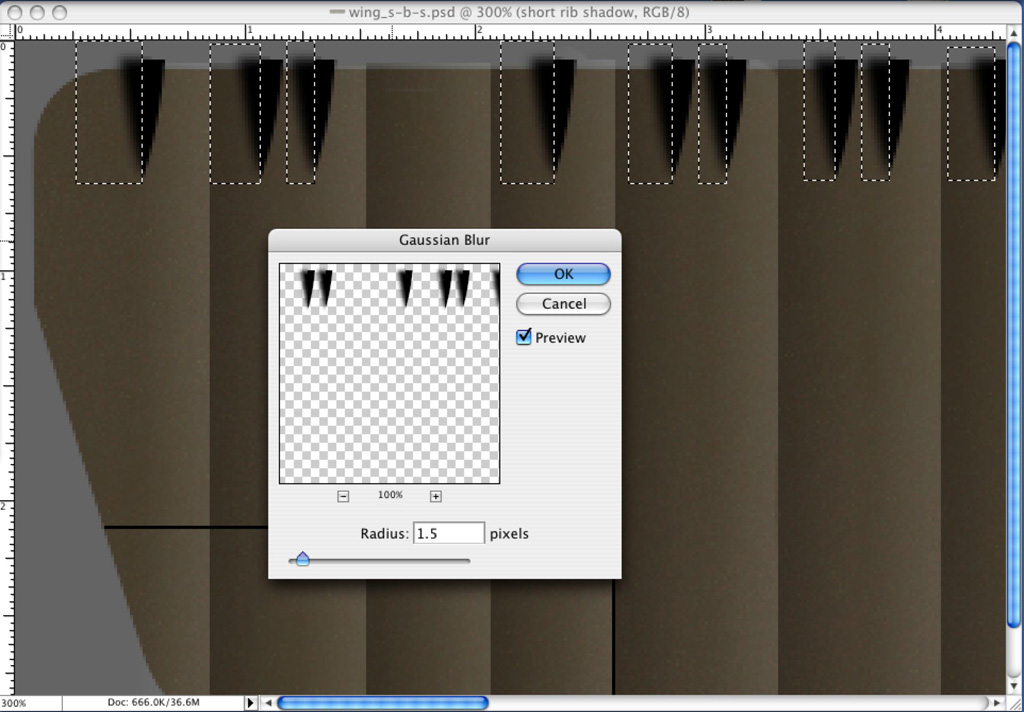
Do this all the way across. Now with this selection you can blur them on both sides. First the selected side,
And then the opposite side by "select>inverse". This method does have a small amount of error in it but it won't show at all once you're done.
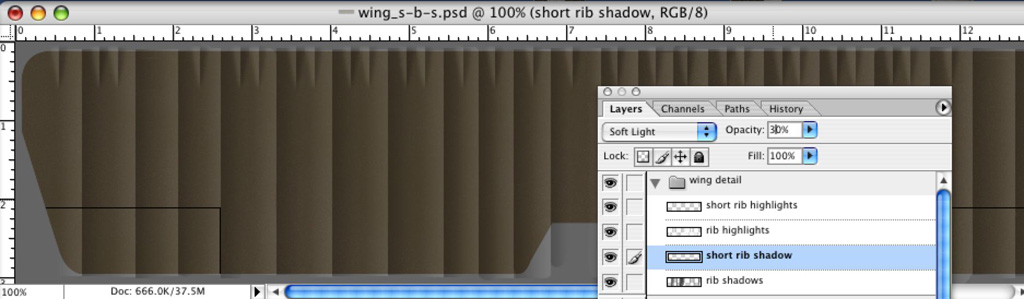
Now you have one half of each short rib selected, and both sides of the selection blurred. Invert the highlight side from black to white. With the selection still made, make a duplicate layer. Clear the highlights from the short rib shadow layer and the shadows from the short rib highlight layer with the same "select>inverse" method.
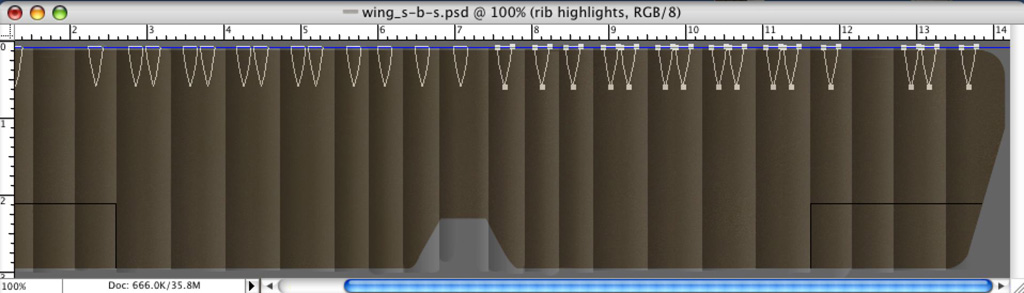
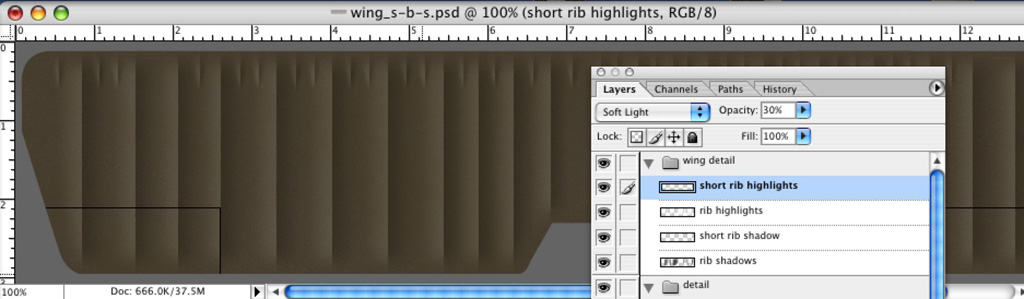
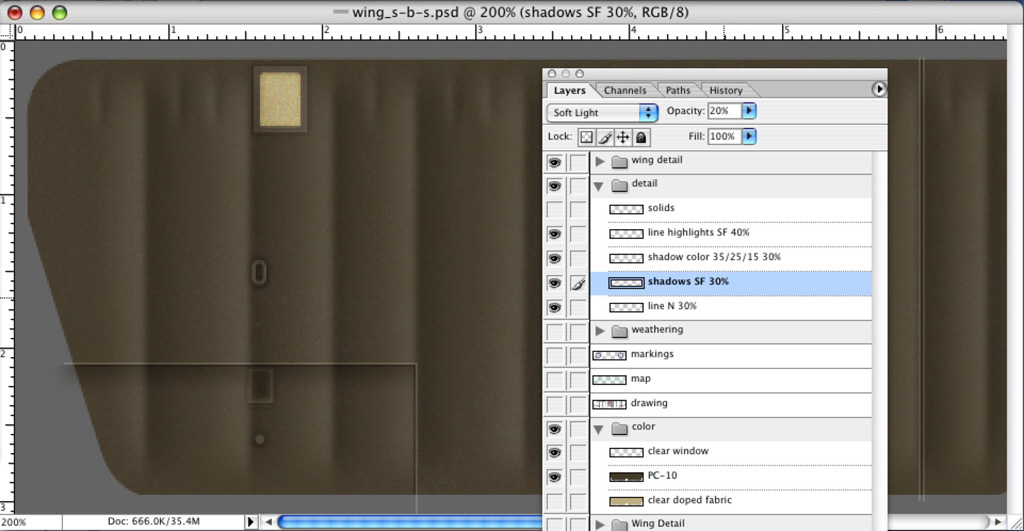
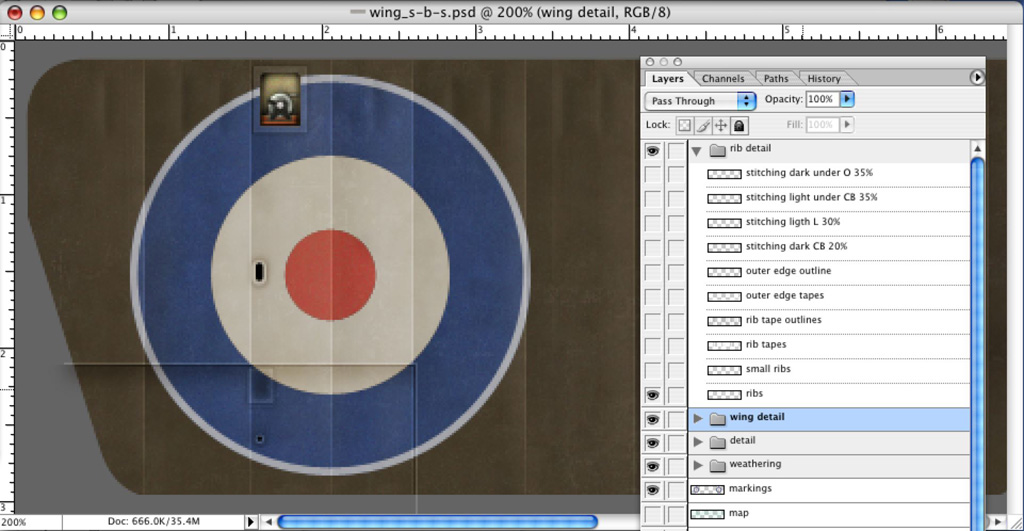
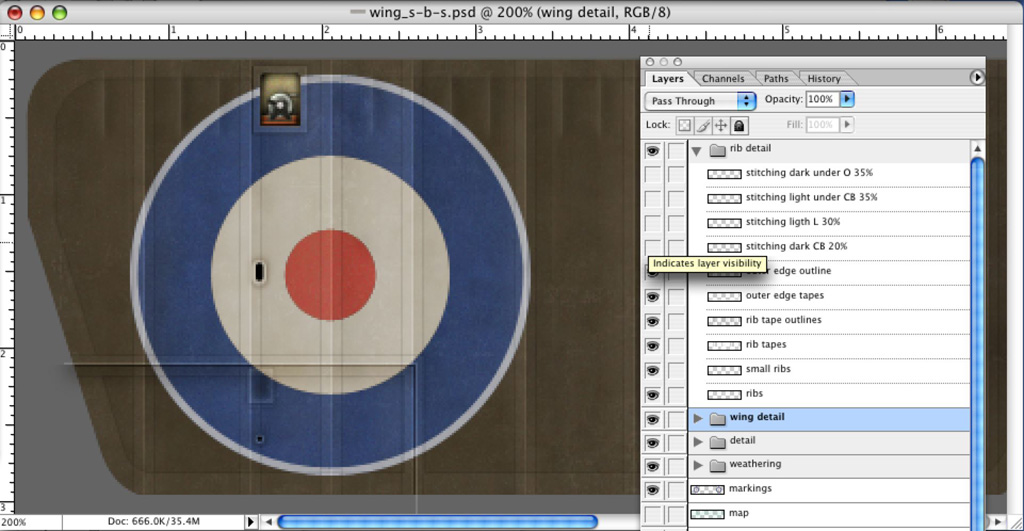
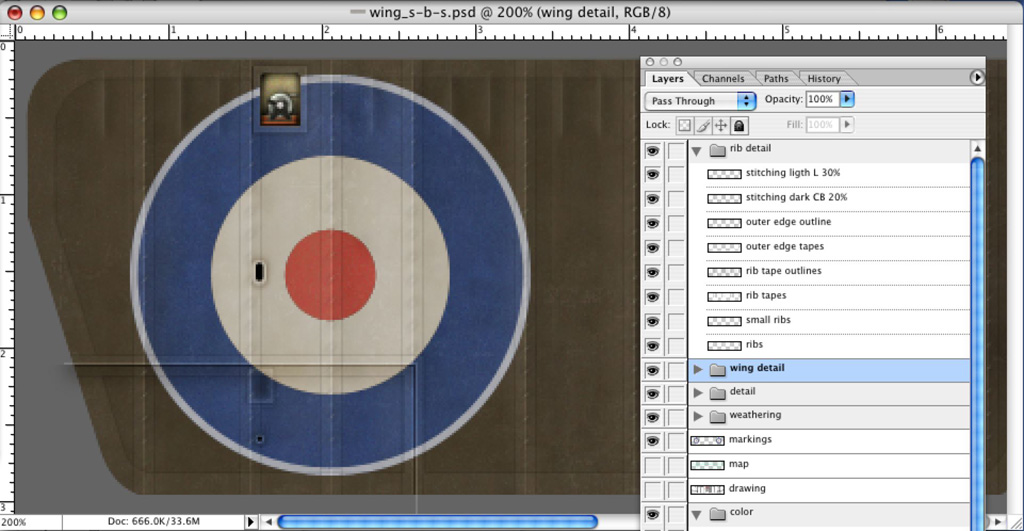
Now you should have four layers, rib shadows, rib highlights, short rib shadows and short rib highlights. With all of them adjusted as above they'll end up like this-
You can merge the 2 highlight layers and the 2 shadow layers but with all of them separate you can vary the opacity of each layer.
Step 9 :
Most of the rib detail tends to smooth out near the wing edges. I make a selection around the wing edge, reduce the selection using "Select>Modify>Contract", usually by 10 or more pixels, and then feather that selection by 5-10 pixels.
If you only have one wing finished per layer, "Select>Inverse" and clear the outer edges of each rib layer. If you do have other wings painted make sure you only clear or erase one wing edge. Better still, wait until they're all done and clear all the outer edges at the same time.
Now you need to look at your reference again and decide if the wing detail is sharp or smooth. If it's smooth you can now blur each layer the same amount.
Step 10 :
Once your wing details are in place it will start to look more real. I do these details ahead of this process but I had the layers turned off for clarity.
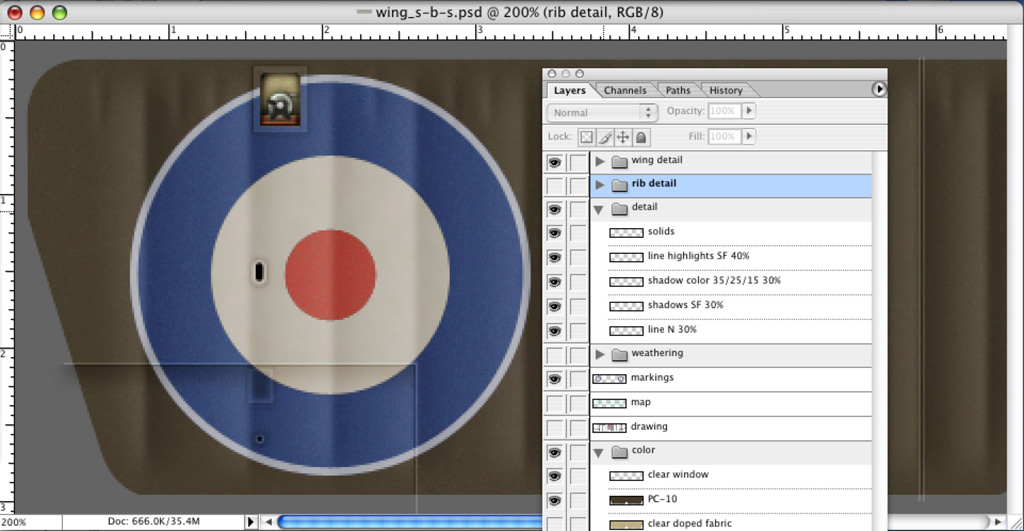
You can also add your markings and other details if you haven't already.
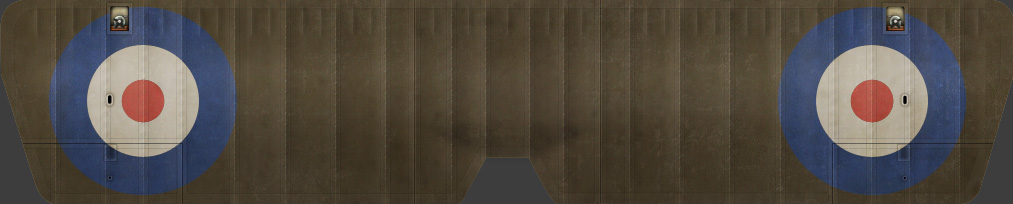
Add weathering and it looks like a wing!
The above was a generic wing rib set up. The rest of the screen shots below are for a specific aircraft I have already finished. This will show you some other details you might find on a fabric covered aircraft. Again, look over your reference materiel.
Some aircraft have noticeable wing rib caps. These are added with a width of white pixels centered over each rib.
You might want to set these up before you do the steps above, if they're needed.
Some aircraft have very heavy and noticeable fabric tapes over the wing ribs, around the wing edges and reinforcing other areas.
I do the rib tapes as white lines several pixels wide. I use those to make a selection, selecting the area outside the tapes. File this area with black, "Select>Modify>Contract" and clear, leaving a 1 pixel outline. With the opacity percentage set correctly it is fairly realistic.
For some planes, like a number of British WW1 aircraft, you can get really crazy and add large rib stitching.
Remember that any additional metal or wooden parts or plates such as access panels or wing walks will not have rib shading on them. You will either need to clear the detail from these areas or place them above the rib shading layers.
Again, it all depend on how you work with Photoshop (or your paint application) and how inventive you are with arranging your layers. There are always more ways to skin a cat, especially if you skin a cat in Photoshop!

Last edited by Serval; 13th December 2015 at 20:56.
FAST AND BULBOUS!
Member
awesome and very useful tut. Thanks so much!
Grand Wazoo
FAST AND BULBOUS!
Forum Guy
Just doing some editing on this Blowhard (adjusting the page formatting)... Very nice work on these effects.
Grand Wazoo
Thanks
FAST AND BULBOUS!
Junior Member
Thanks, excellent tutorial! If I could only manage to get half the quality of your end result I would already be very happy!
Huub
Junior Member
Excellent tutorial! You're an artist! I think I can do the same in PSP. That is the program. I have to pratice a lot!
Cees
Grand Wazoo
Thanks! I'm glad people are still looking at this one
FAST AND BULBOUS!
 Posting Permissions


