
 Grand Wazoo

This is just simple quick and dirty, but you'll get the point
I'm not going to go in to very much depth on using the pen tool, for more on that, see here-
Vector Tutorial
Vector Tutorial
Why would you want to make vectored paths for your insignia? Several reasons; you can reuse the paths, copy and paste them between files, enlarge them or reduce them without loss or sharpness (more on that), fill them with any color and refill them at any time, modify them to suite distortions on a skin and best of all, you can spend a lot of time to make them perfect and then never need to redo them again.
Sounds good huh?
*You could do these in Illustrator or Freehand, but you'd still need to bring them into Photoshop in the end.
About the sharpness, this will, like everything else, depend on the resolution of your file you're working on and the end size of your skin. If you want then SHARP down to the pixel at a specific size you'll need to make or modify the paths to that specific size of course.
*If you've got a font making application you should be able to use these vectors you've made in Photoshop and make a font from them...but, if you have this capability, you probably already know how to do it :P
Here is a quick lowdown how-too:
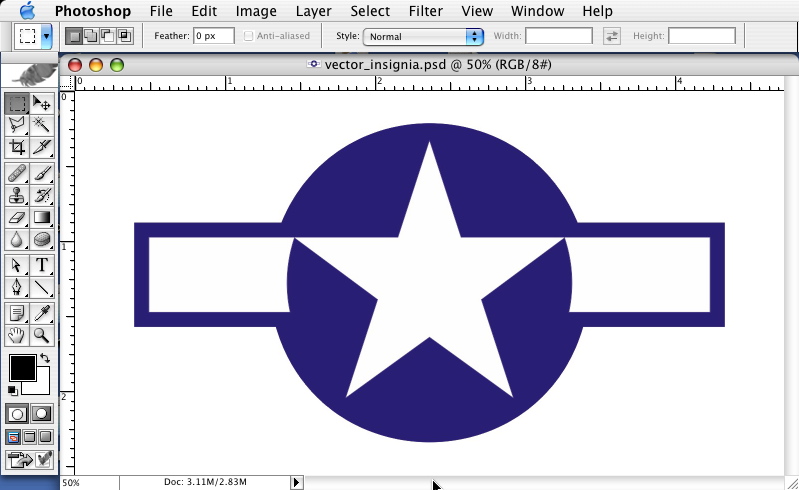
It's easiest to just find some art to copy for starters. If you want to get really specific you should be able to find exact measured drawings of the insignia you want to do. In this case I just started out with a simple (and not too completely symmetrical it turns out) image from the internet.
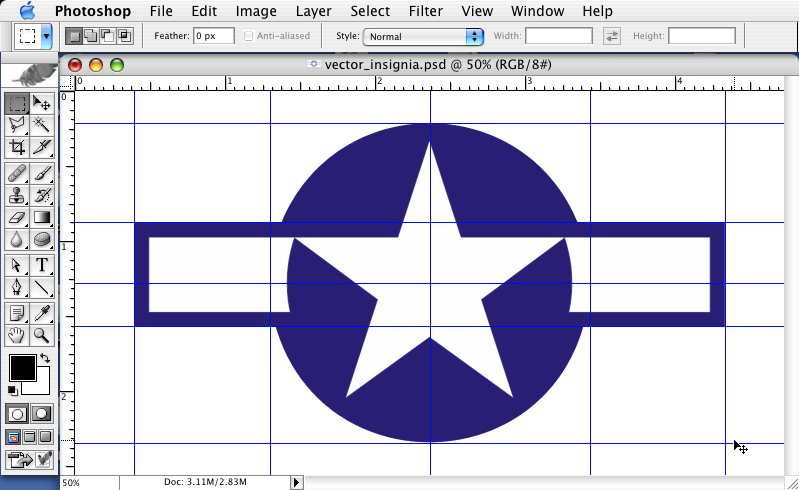
The best starting point is to use guides and find your center and all other measurements, outside width, etc.
Once you've established your center, you can use the ruler or my favorite, the marquee tool to make sure all your measurements are equal left/right/top/bottom. These, combined with "snap to guides" (view > snap to > snap to guides) makes easy work for later.
I usually measure out guides for any straight edges and any shape boundaries.
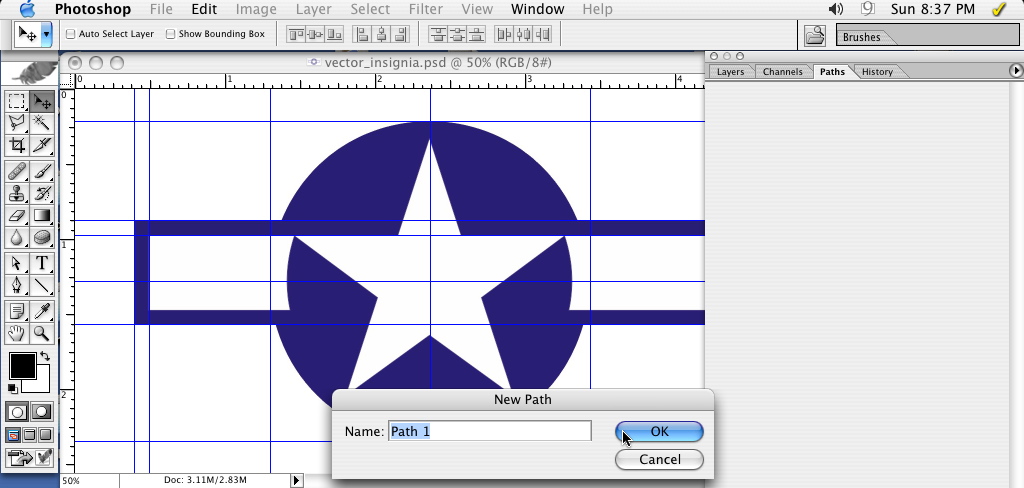
Once you've got all the guides you need you can start drawing your paths.
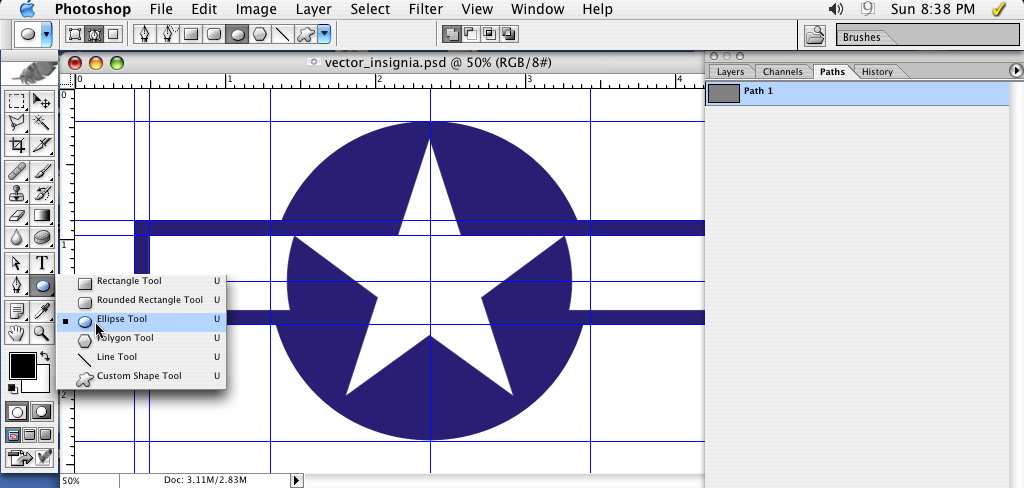
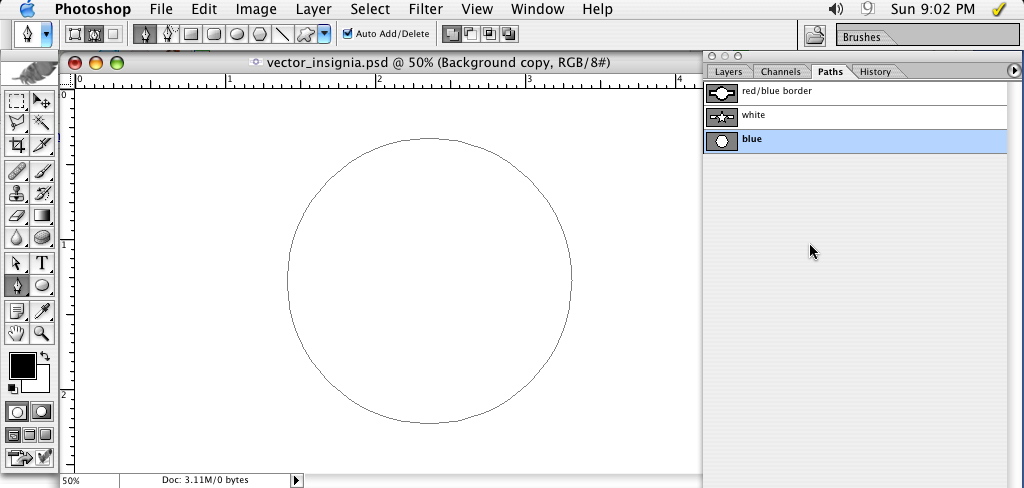
I started out using the circle/oval shape. Make sure it's set to make a path, not a fill. To make a perfect circle, hold the shift key down while dragging the corner of the circle. Of course, if you've arranged your paths correctly and have "snap to guides" selected, it should come out perfectly round.
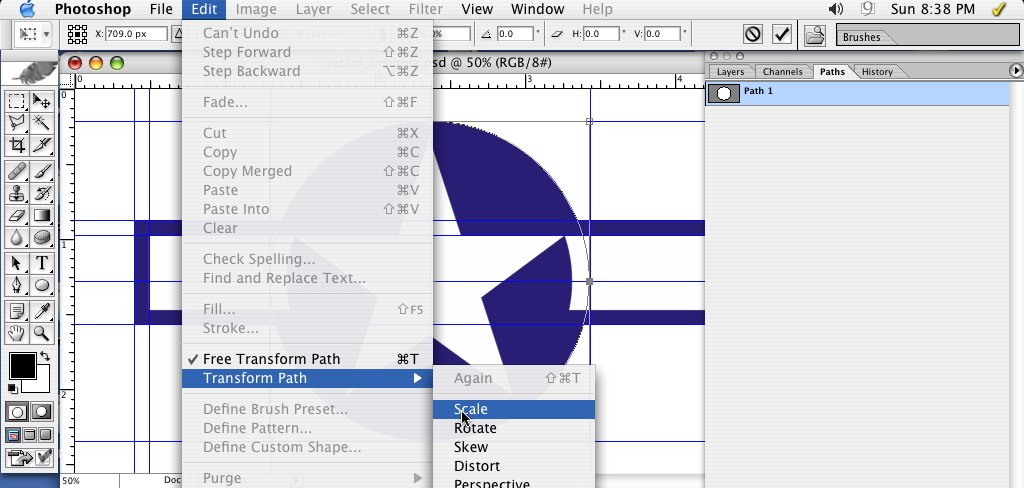
In this case I want concentric circles because my paths will allow me to make any combination I might want. The quick way to do this is to copy, past, and select edit > transform paths > scale. Once that's selected hold down (for Mac OS) command-option-shift and drag any corner box until it's the size you want. The circle will be absolutely concentric if you've done it right.
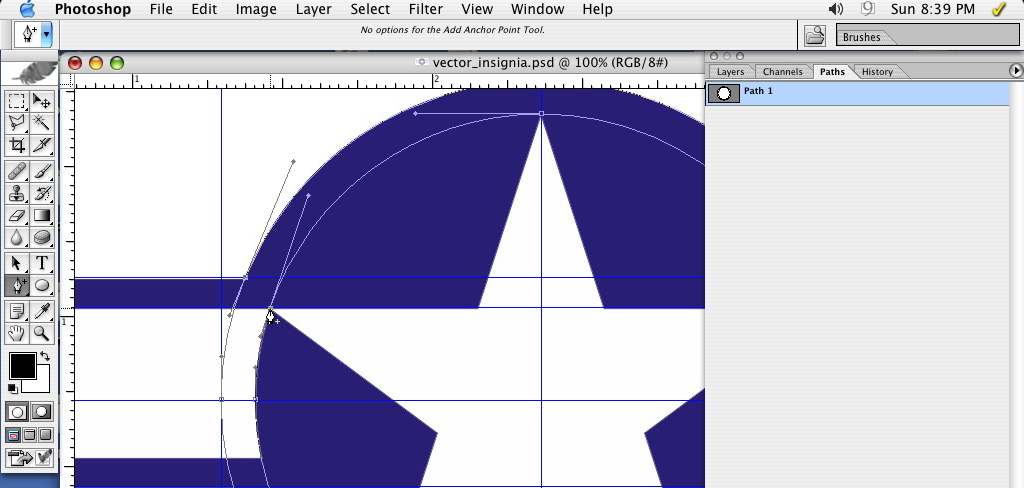
Now it gets tricky. I want to cut out some of the circles to make the border. To do this I use the + (add) pen tool and add points where I want the cut out.
After that, it's simple if you know the pen tool, or pretty complicated if not :P
Here's the complex version. Using the single point selection arrow, the white one, select the areas you want to remove and delete them. Since it was a circle, each of these new points you've added will want to continue the established curve when you connect to them. So, using the pen tool, press and hold the option button and click on one of the points. This will remove the curve continuation from the open side of your shape. Easy huh?
Remember that once you've selected a point, the next point you click will connect with the last point. So click anywhere away from a point with the selection arrow to deselect the last point and then move on.
Here is a zip file of a small movie of how it's done. It's hard to explain without seeing it.
pen_tool.mp4.zip
Once you've done that on both sides, you get this nice border-
I started in on making the star next. I've already established the center point. I had intended to make the star by making one point, then copying it and rotating it by 72 degrees and repeating until I had all 5 points. Unfortunately this image I started with wasn't a perfect starSo, I did a quick version, not so perfect, but passable, by making one side and then flipping it horizontally.
(Sorry the path isn't too visible)
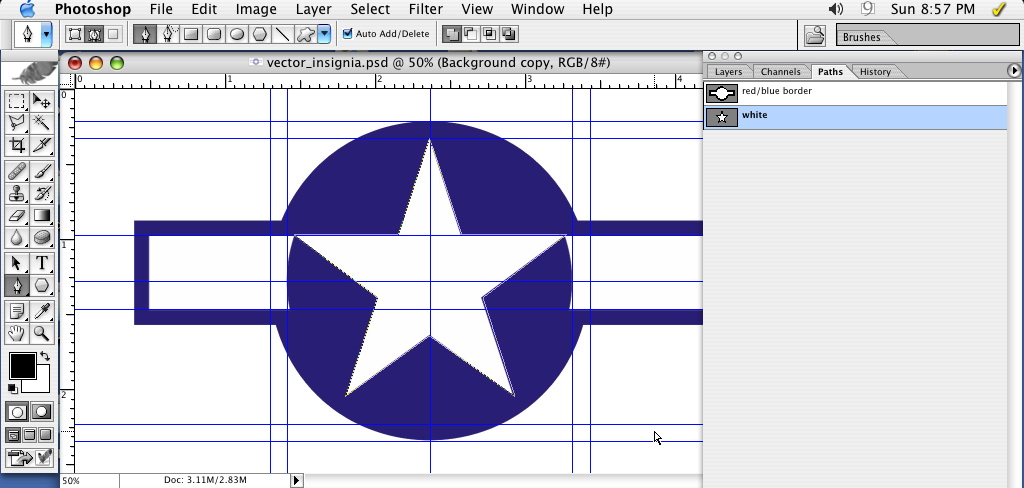
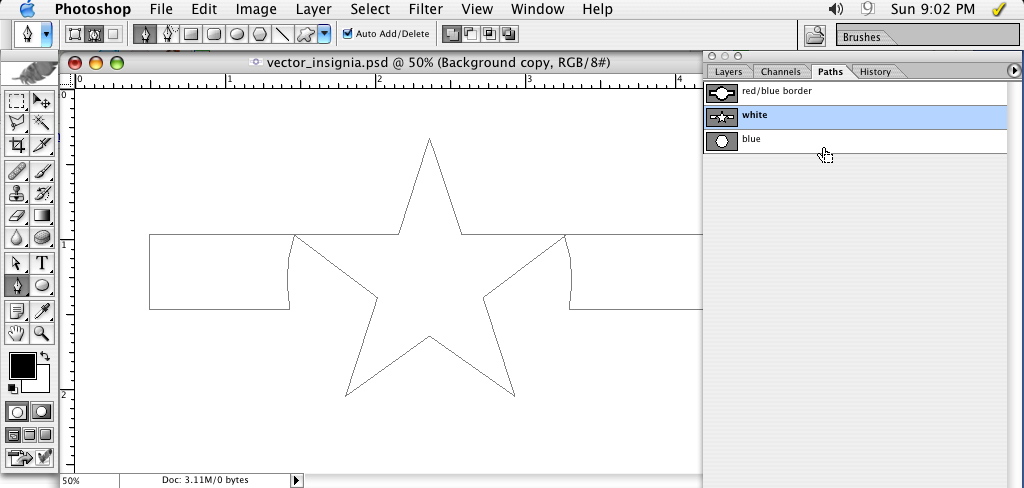
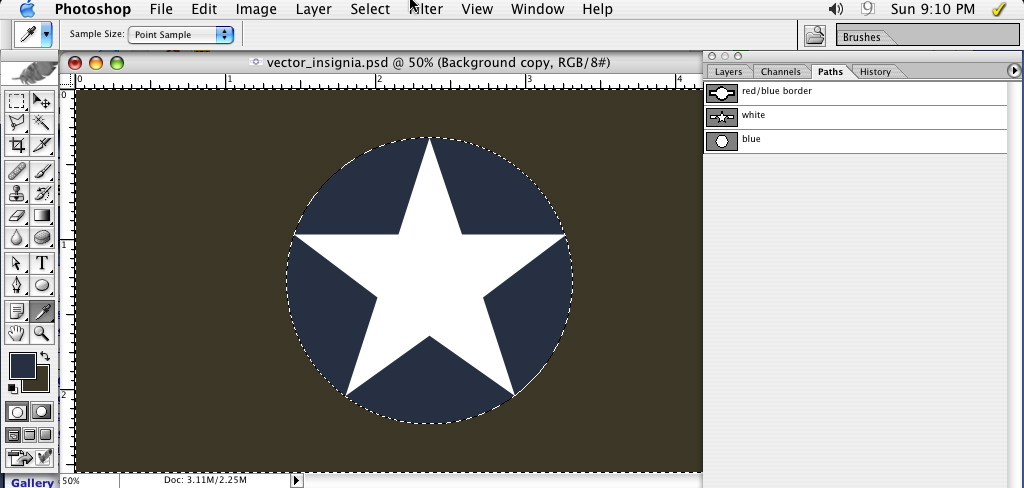
I continued by making the white bars, using the same method used in making the border. Then I make the central blue disk. You end up with all the parts-
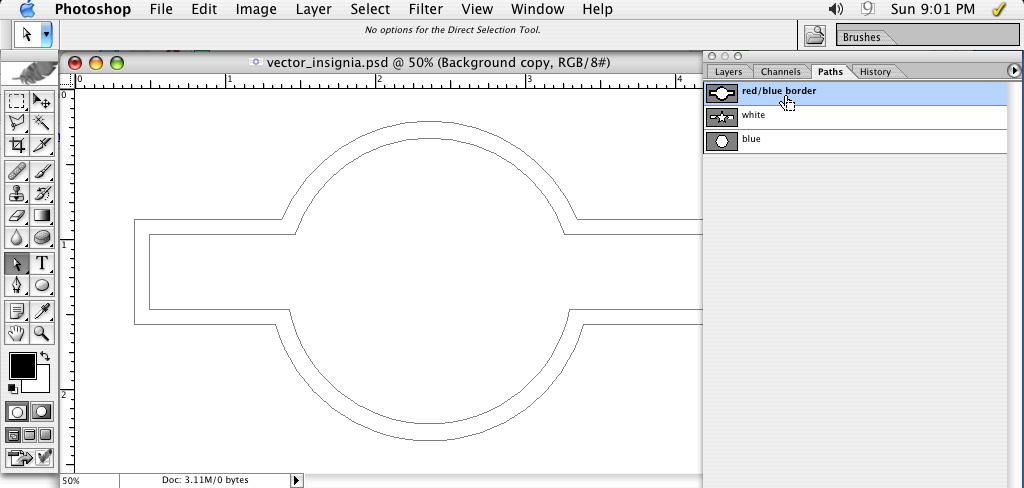
You can make this a single path but in this case they're separated so you can see them. There isn't a merge command for paths but you can simply copy and paste them into one path. It's much easier to make them separately and combine them later.
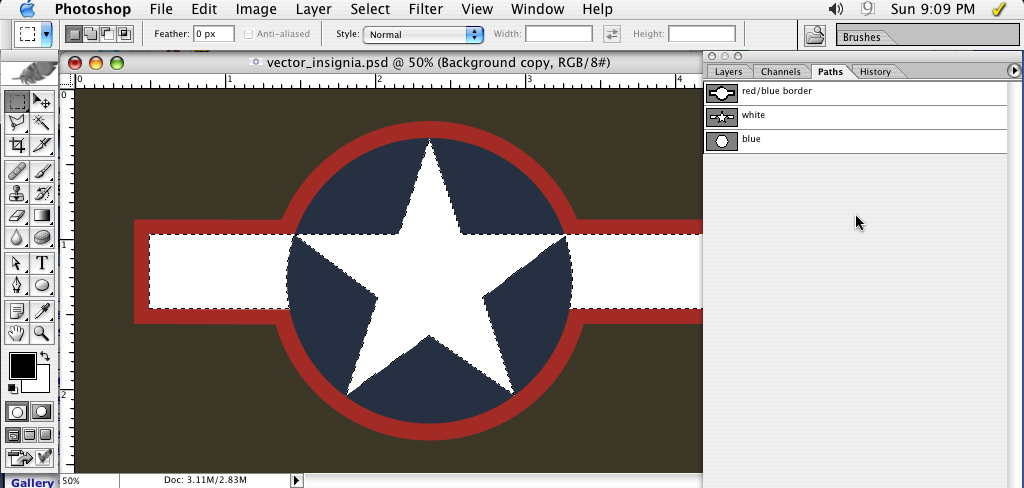
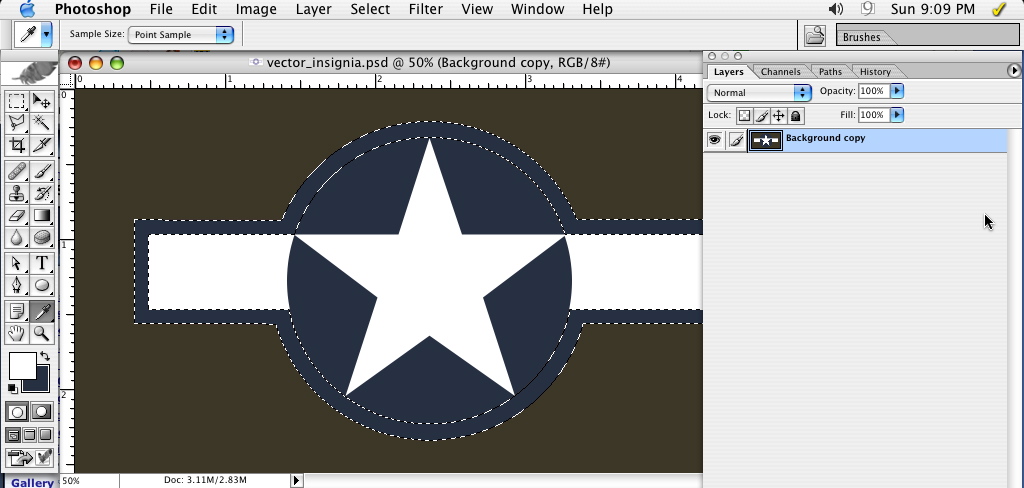
Then it's as simple as making a selection and adding the colors-
And you can see all the versions with this one set-
The pen tool is your friend. All you need to do is practice a little and there is no end to what you can do. As you work with paths you'll figure out how to set them up depending on what you want to do with them Once you've got them saved you can reuse them any time
Here is a zip file of the PSD. It's low res but you can copy and paste this path anywhere and make it as BIG or as little as you want.
vector_insignia_sml.psd.zip
I probably skipped over a lot so feel free to ask questions.
Last edited by Serval; 18th November 2015 at 15:12.
FAST AND BULBOUS!
 Posting Permissions


 Reply With Quote