
 Bug creator

This tutorial will show you how you can create outlined numbers like used by the Luftwaffe for example.
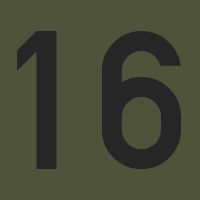
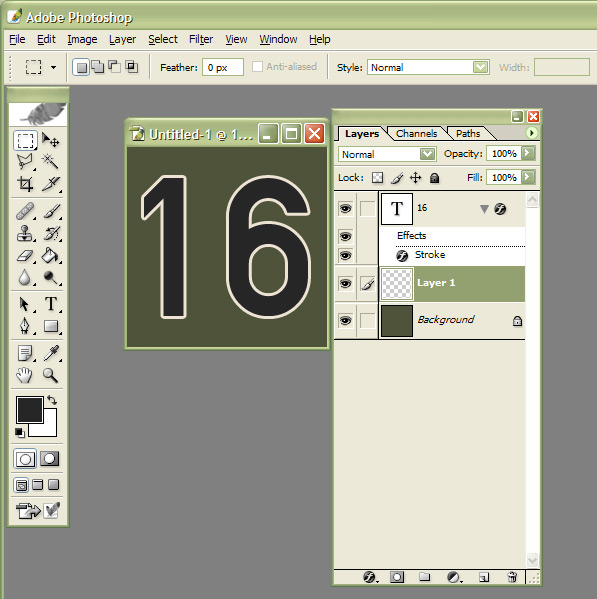
You start with typing the text or having the shape you need outlined on a seperate layer.
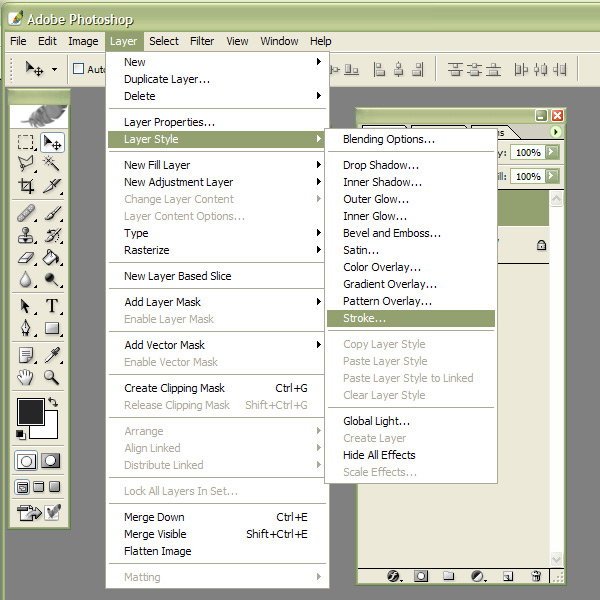
Next you select the layerstyle called Stroke from the Layer menu.
This will bringup the window where you can apply several styles to the layer.
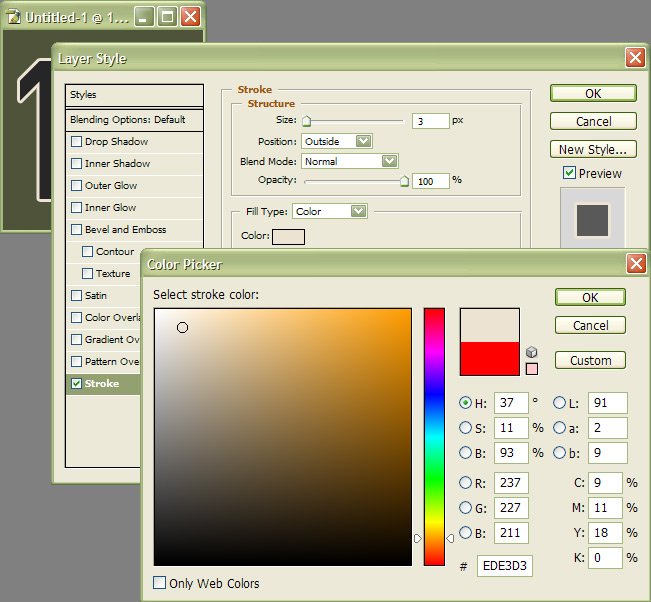
There you enter the size of the outline, while judging the result in thje preview. We want it positioned at the outside of the shape, so we leave it that way. You may change it for some experimenting or other results.
The you doubleclick on the red box to change the color you want.
Choose your color in the colorselection window.
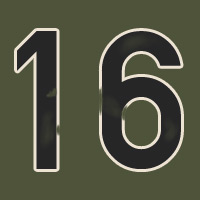
Klik OK in both windows and we have our final result
If you want to add some effects like wearing, then you might want to use the eraser tool to make it look as if the paint under it shines through.
You cannot do this with the layerstyle active.
So, create an empty layer under the layer where you applied the layerstyle.
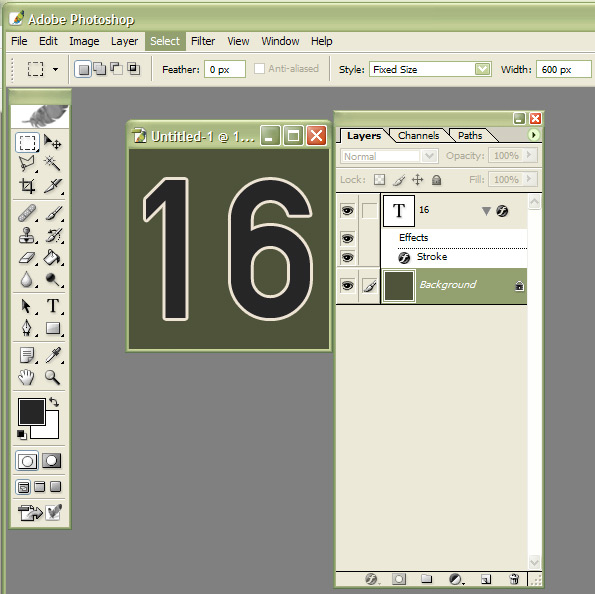
Next select the layer that has the layerstyle and press CTRL-E to merge it down to the new layer you created.
But only do this when you are sure you do not need to change the font or the layerstyle anymore. This because after merging you won't be able to change both of them anymore.
Now you have an outlined number on a layer which you can manipulate with any tool.
Now you are free to do with the number what you like, like wiping away some paint to give it a weathered look.
Last edited by Serval; 18th November 2015 at 15:29.
 Posting Permissions


 Reply With Quote