

It is simple and quick and appears harder than it is .
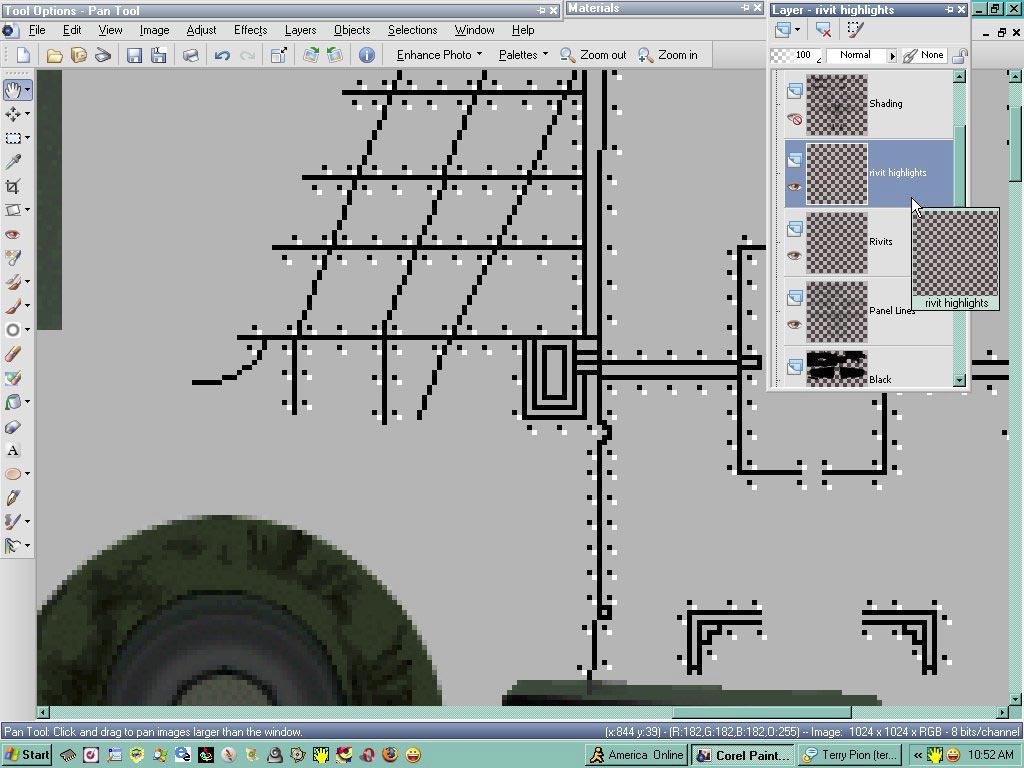
FIG. # 1
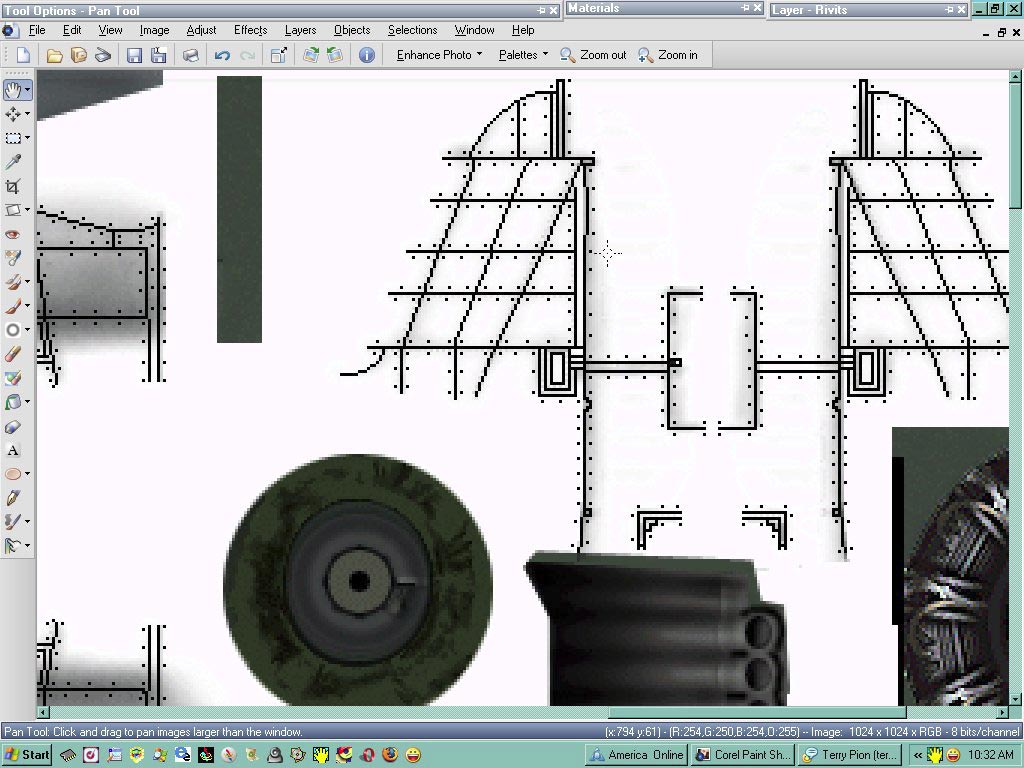
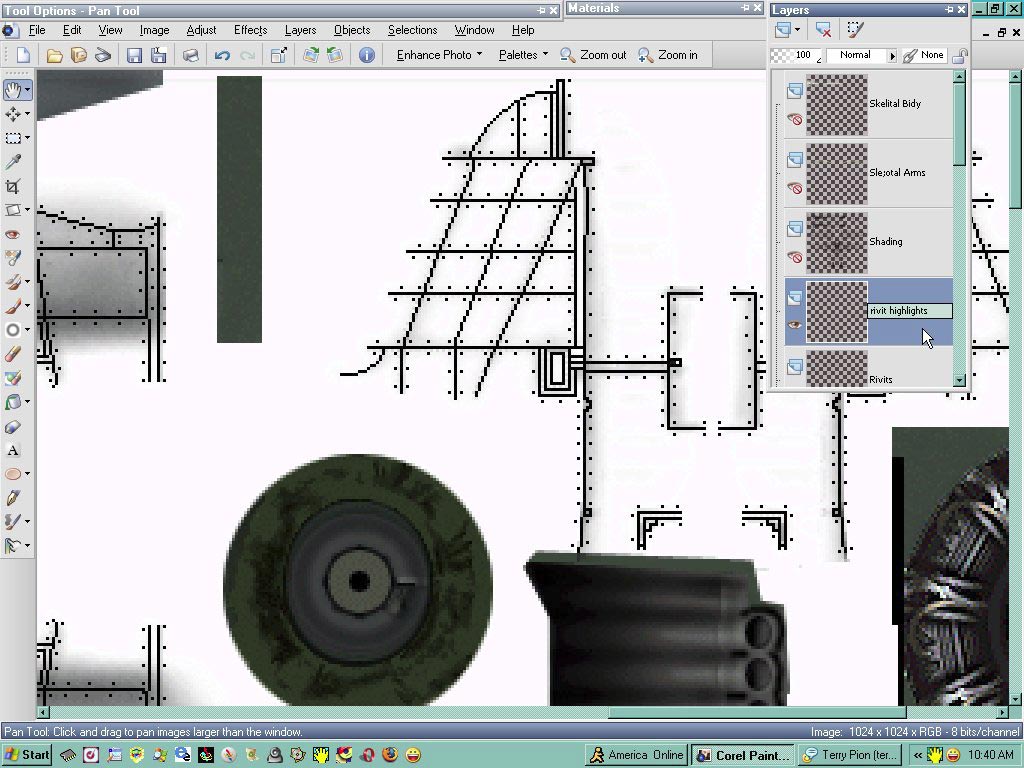
Start with your rivets as shown
FIG. #2
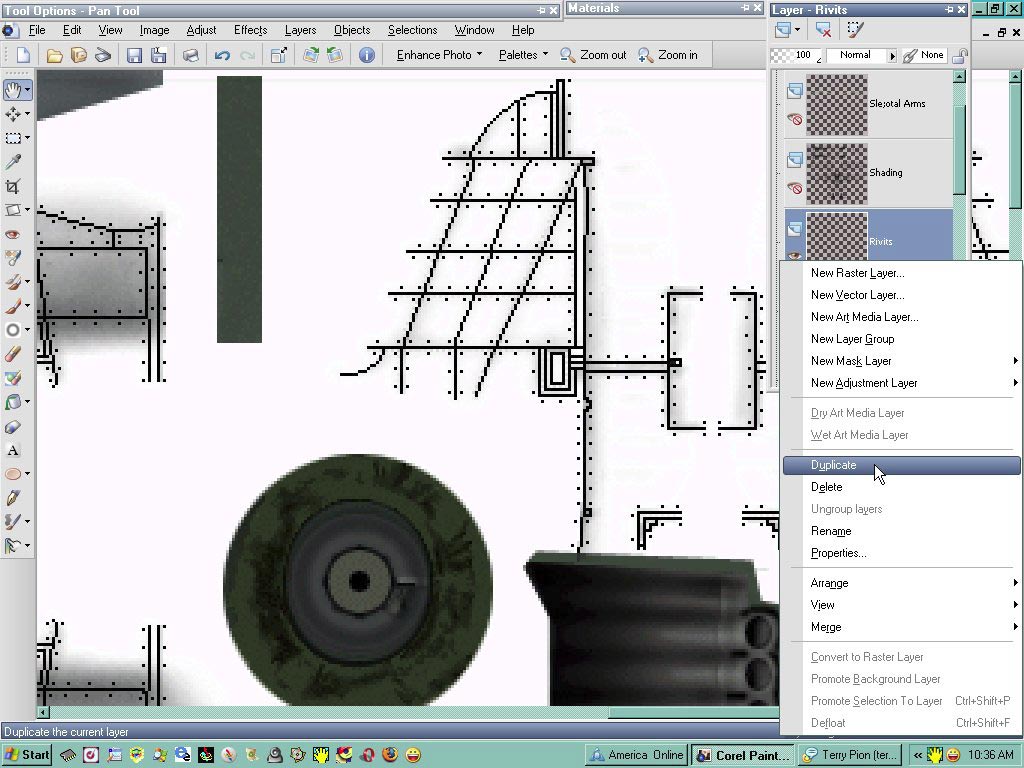
Start by making a copy of your original rivets as shown., place your mouse on the layer you wish to copy and right click it with your mouse and then scroll to duplicate layer as shown.
FIG.# 3
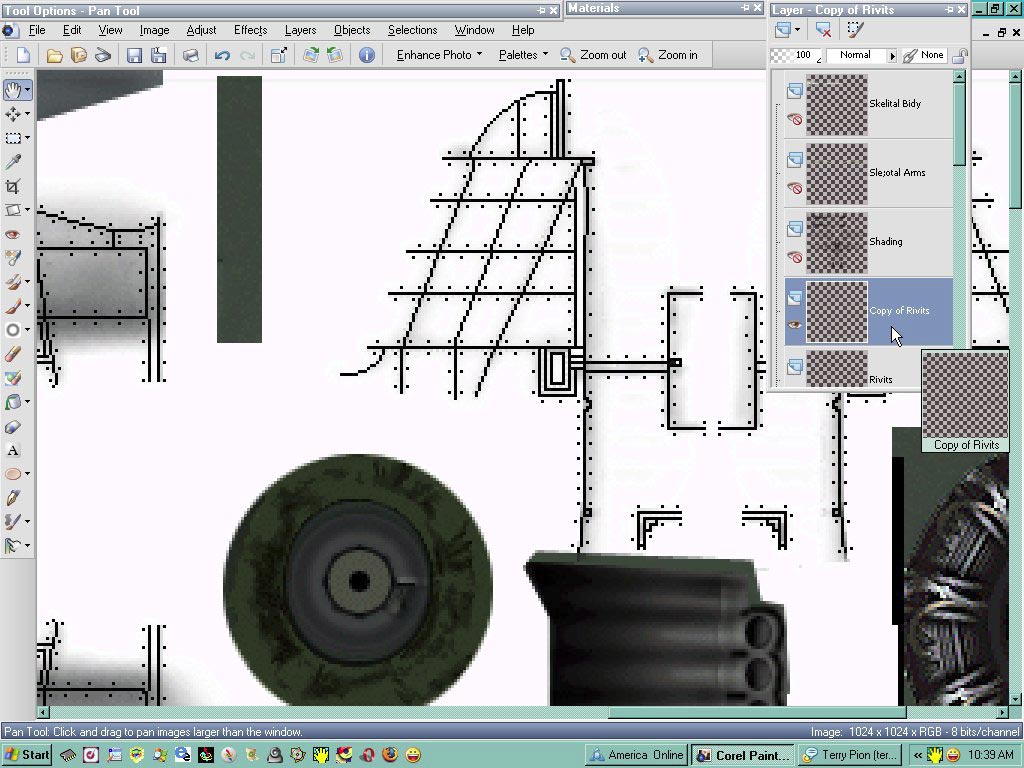
Now you can see the new copy of your rivet layer in your layer pallet, now you just have to rename it.
FIG. # 4
In Paint Shop 11 you can place your mouse cursor over the layer youre working on and double click it and change the name of the layer.
FIG. # 5
Here you can see the new name typed into the layer field.
FIG. #6
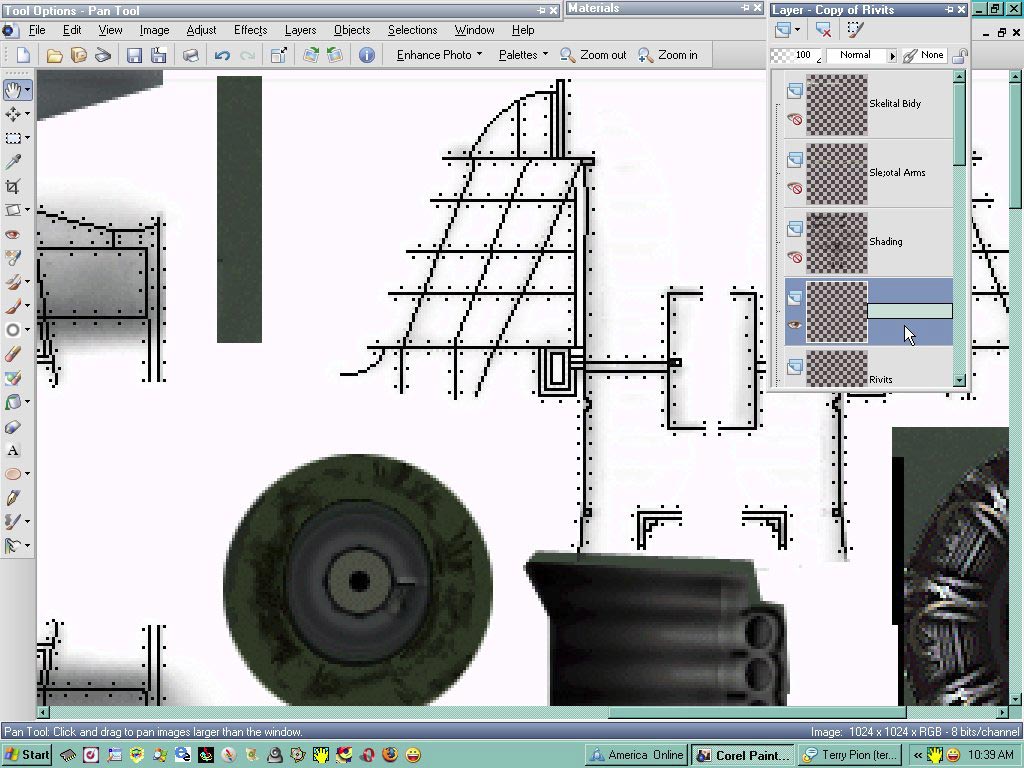
Ok now you click your M key without the little marks, and hold the shift key down while you click and hold the left mouse button to drag your new layer to one side as shown, this will make your new rivet layer offset form the old one as in the screen shot.
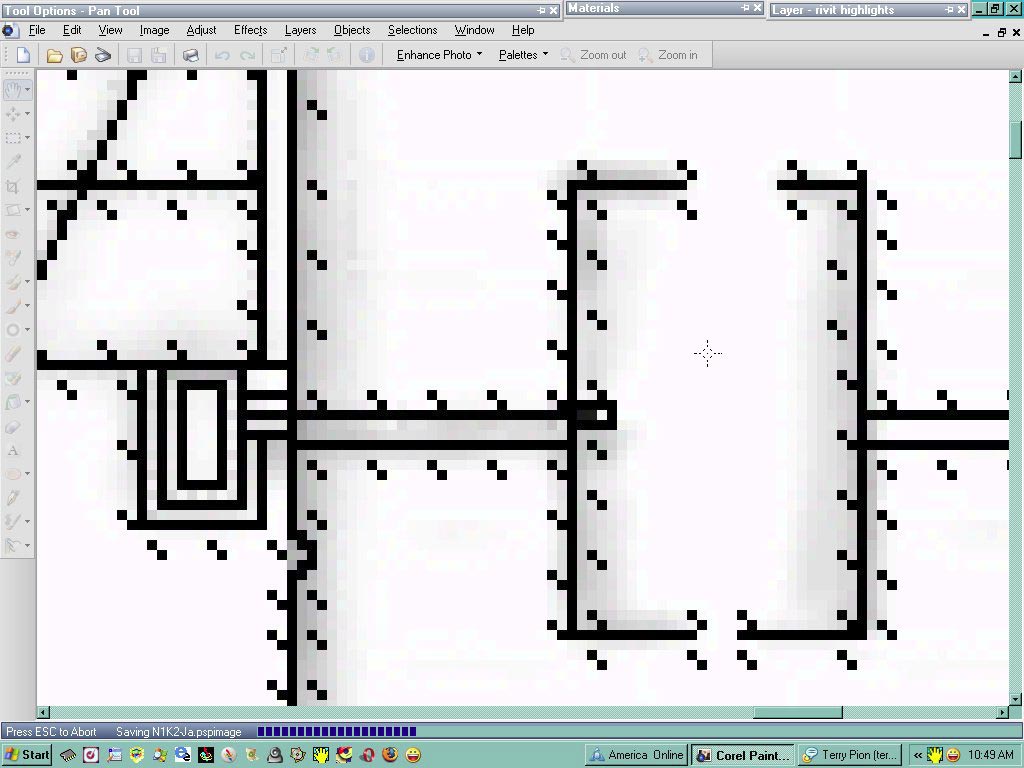
Now we just need to change the color of your rivet highlights
FIG.# 7
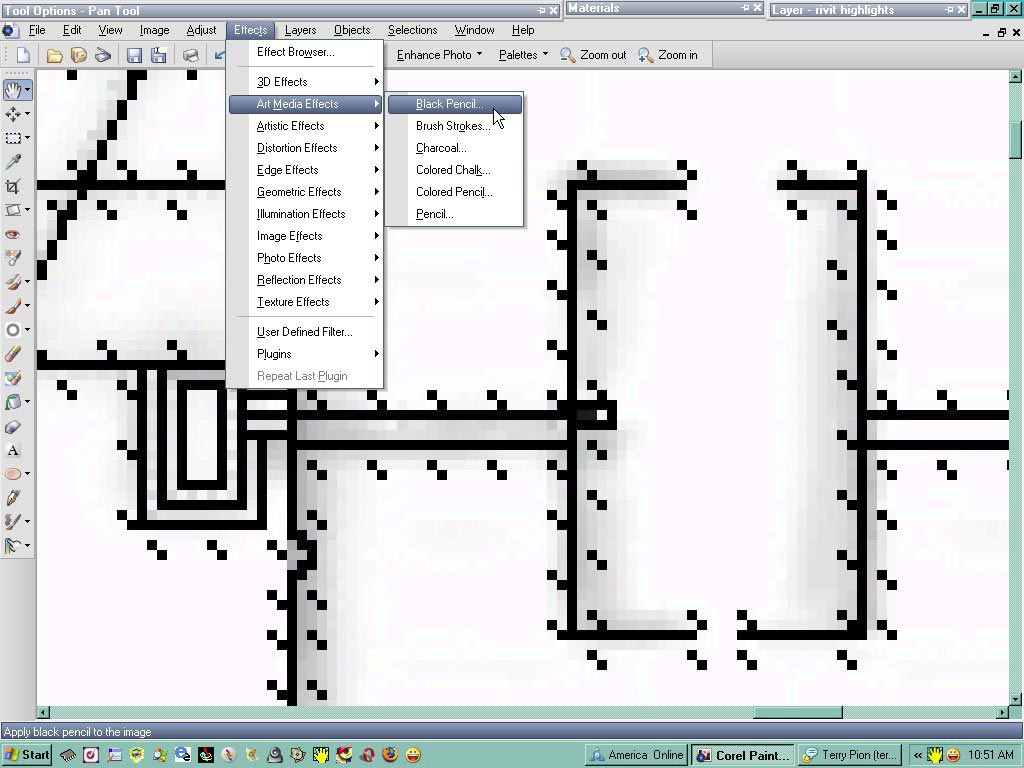
Go up to your Effects button as shown, and scroll down to the Art Media Effects, this will open up a tool slide out as shown.
Choose the black pencil option as shown.
FIG.# 8
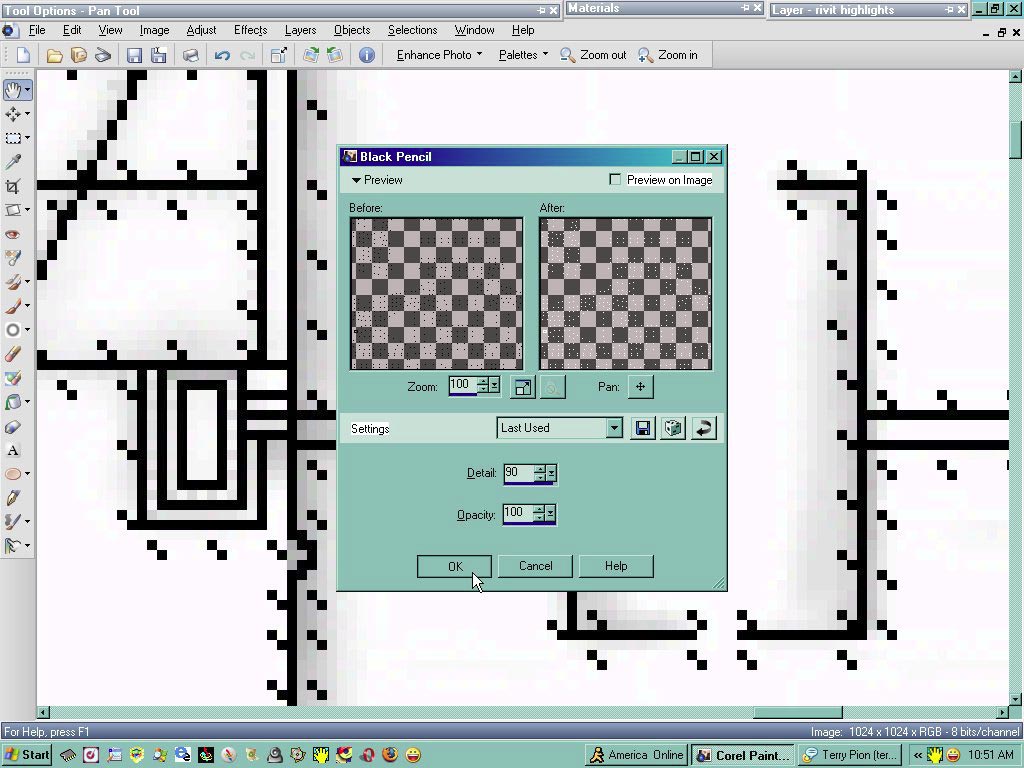
A Pencil Options menu will open as shown in this screen shot, the color should already be white, just click ok , and the new rivet layer will be turned to white.
FIG.# 9
Here you can see the new rivet layer has been changed to the color white to simulate the highlights of rivets on a metal skin in flight or in sunlight .
FIG.# 10
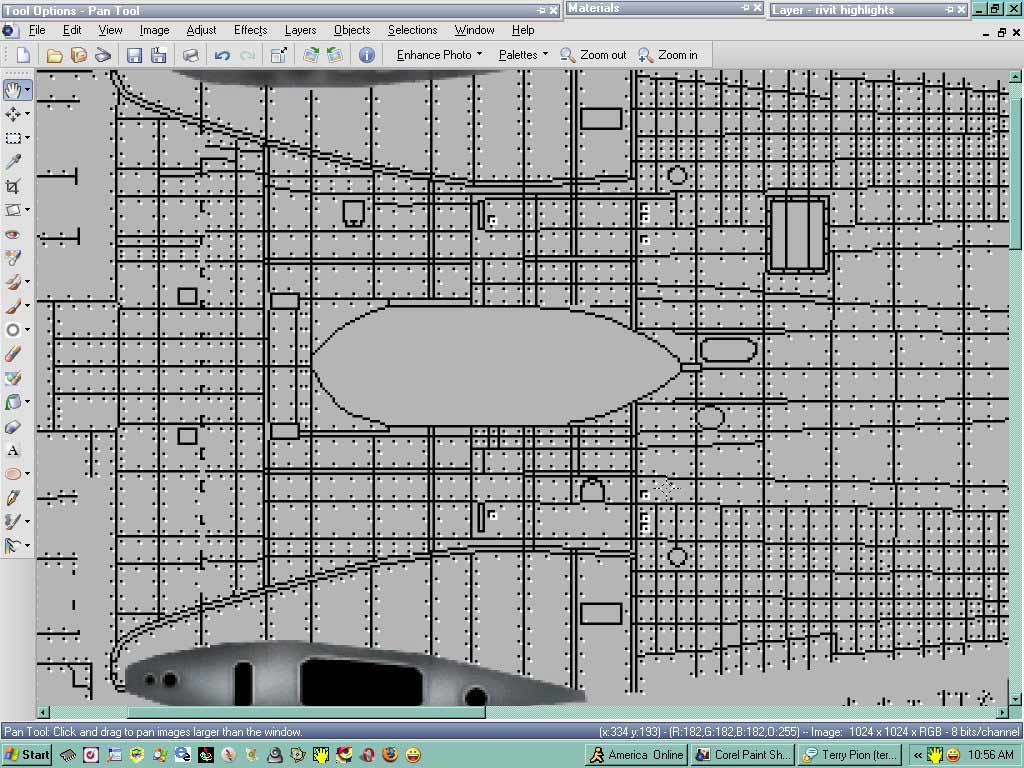
Here you can see the finished rivet highlights, I used the gray back ground to make it a little more visible.
Charlie
 Section Widget
