

by adlabs6
06/01/07
Creating a new pattern
GIMP has a pattern brush which allows us to paint with an image, instead of just a solid color. This has some particular uses in skinning and profile painting where an artist would like to create a surface texture effect, or some weathering, in a quick 'brush on' method.
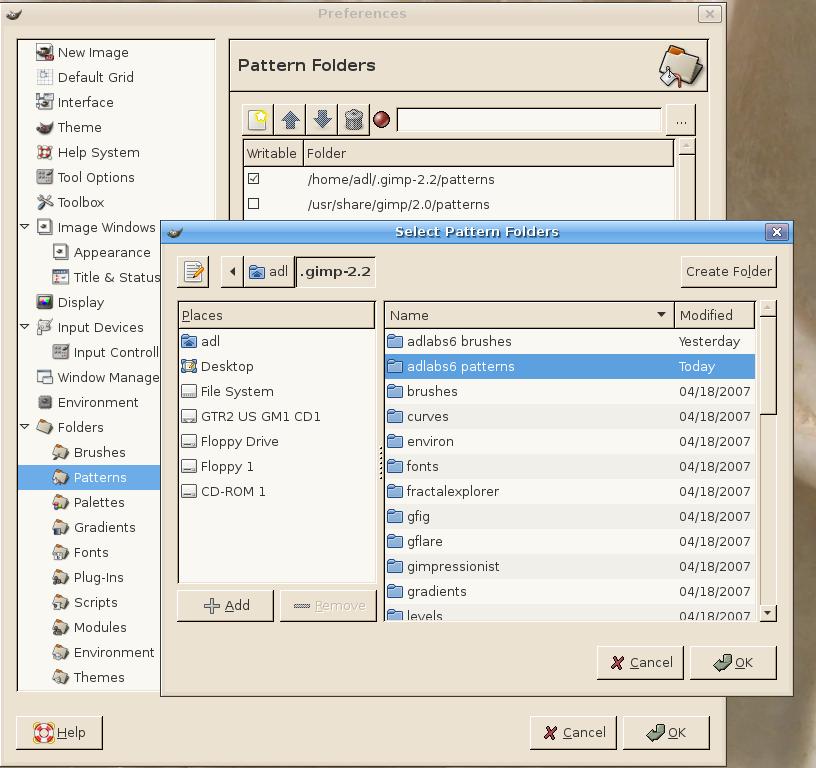
The first thing we'll look at is how GIMP handles pattern files. If you've read my article on brushes in GIMP, I've done a more complete explanation on how the brushes are managed. With patterns, it's exactly the same. To summarize, I simply created a new folder for my own custom patterns, added it in the GIMP Preferences window on the 'Pattern' folder, and restarted GIMP. Now any new patterns I create can be added to this folder and I'll have them for painting. Here's a screenshot of the Preferences window where I've added my new folder:
Now lets get down to creating a pattern and saving it. I've built up a few layers here that form a pattern for what I'm working on. These were mostly noise layers that I ran through the Gaussian Blur filter. One filter that can be of help when creating patterns is the Make Seamless tool, which will help get rid of any obvious repeating edges in your pattern. It's found under the FILTERS>MAP>MAKE SEAMLESS menu.
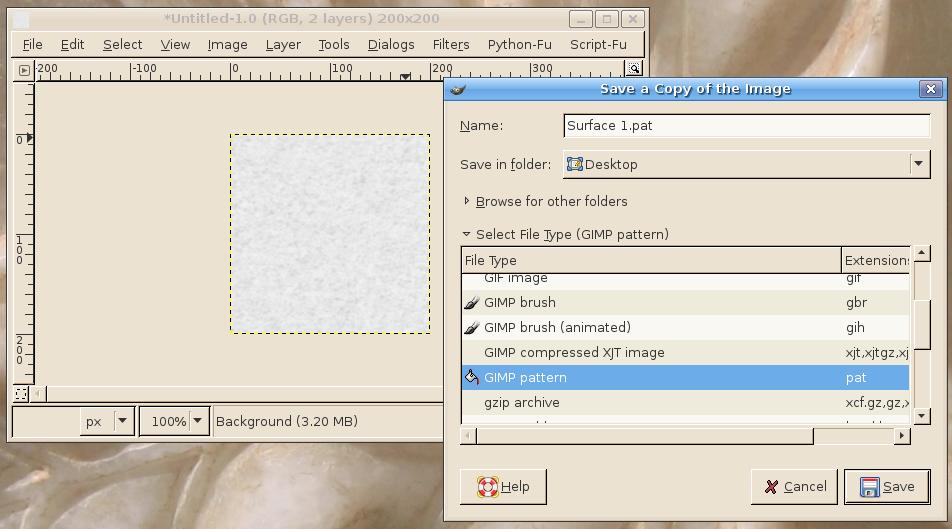
After I'm happy that my image is ready to go, I'll save it in the GIMP pattern format. This screenshot shows the save menu with the GIMP pattern file format selected for my file.
Lets close GIMP and move that new pattern file into the new patterns folder that I created earlier. Restart the GIMP to see that the pattern is loaded up OK, and it's ready to use.
Finally lets take a look at how my new pattern works on a sample image. For this example I've got a demo wing section with some rivets and paint, and I want to dress it up. Here's the basic starting image:
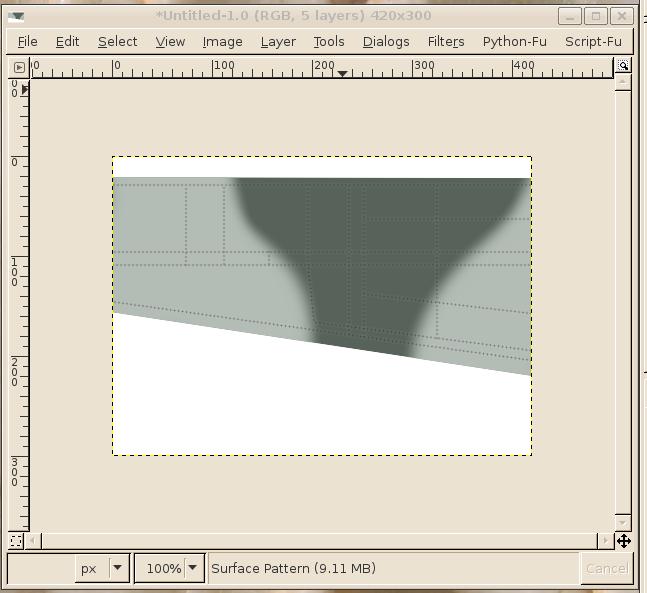
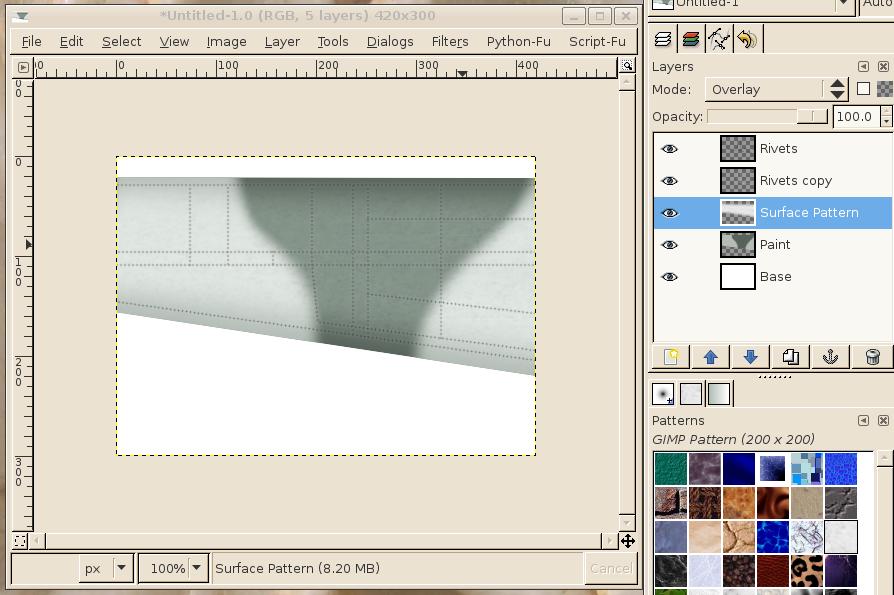
I'll add a new layer to contain my pattern, and apply it with a wide soft feather brush to help it blend. Here we can see that it's creating a pretty decent surface effect, and it's pretty much what I'm looking for.
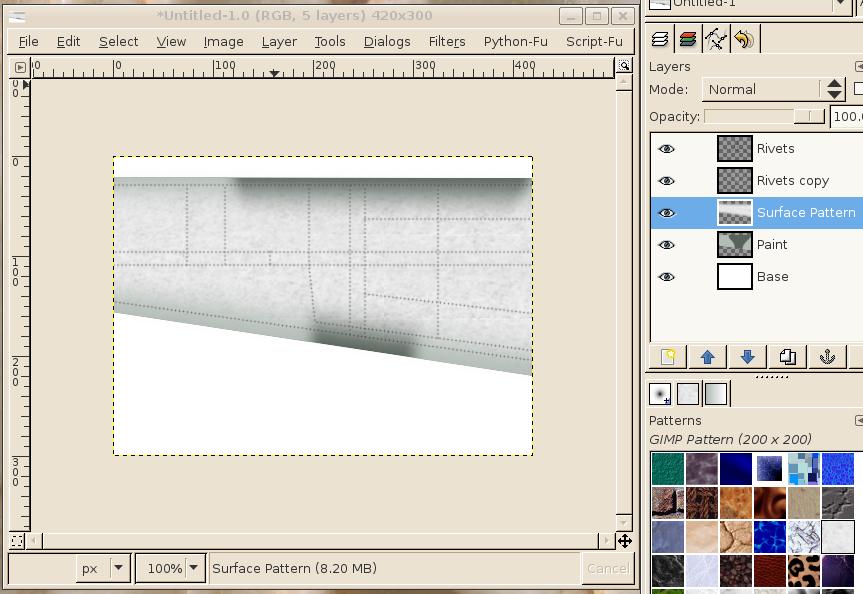
Now lets tweak it a bit. I'll start by switching the blending mode to 'overlay' and maybe adjusting the layer transparency. Looks pretty good:
From this point it's really up to your own imagination. I hope this article has taught you what you need to know to begin some experimentation in your own projects.
 Section Widget
