

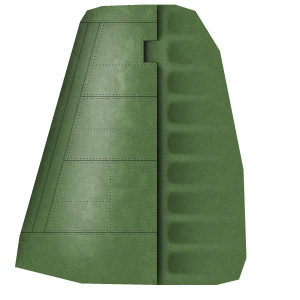
Firstly lets look at the sample area in a solid color, green in this case.
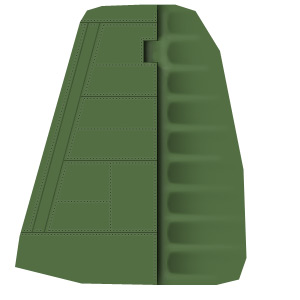
You can see all the panel lines, and the rivets, plus shaders for the control surface, but there is something missing. The most simple technique is to add a highlight along the area, in white on a new transparent layer. This often adds a 3d effect. I've also added a slight darkening to the leading edge to further enhance the effect.

Alread it has a better look. Now lets add some more advanced layers. I like to start with a large noise pattern to give a basic mottled effect. Below is what this layer will look like by itself. This is created on a new layer, which is RGB of 128,128,128. Then I use the "add noise" filter, and then the "gausion blur" filter to get a very smooth large pattern.
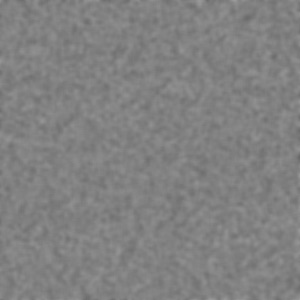
When applied to the skin I use "Overlay" blending mode, and adjust the transparency to make a more subtle effect, this is the result:

Now, lets repeat this process, but use a smaller size noise pattern. This is good for planes that will be more heavily weathered. Below is the layer by itself, again just RGB 128 with "add noise" but this time with very little, or even no gaussion blur filter.
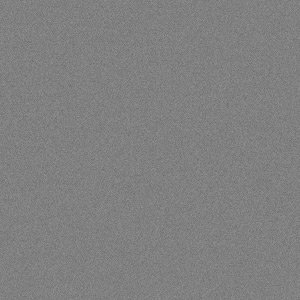
And applied the same way, "overlay" mode, with adjusted layer transparency:
Ok, that's looking great. No longer is there just open color area, but rather everything looks to have a form of texturing.
For a final effect, we can use the special pattern brushes that many paint programs come with. For this example, I'll use a couple of patterns based on flowers. Flowers? Ah yes, at first they may seem inappropriate, but they really work very well! Here is a sample of the brushes using black paint on a white backdrop:
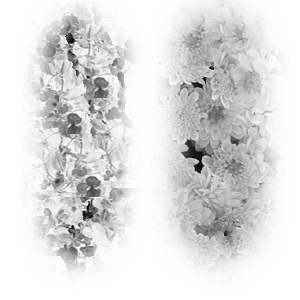
Clearly you can see the flowers and leaves used as the pattern in this sample. Now lets use a new transparent layer, and a light gray color on the brush. With a wide feather and low opacity, we can get this effect over our base green color (other layers hidden to reveal the effect better):

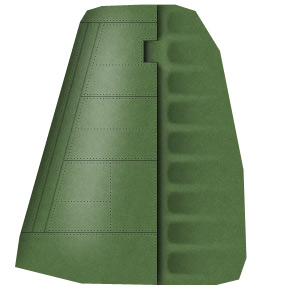
Now that is much more subtle, and you can no longer tell what the source is as clearly. Now when I adjust the opacity and reveal the other layers you can see the result:
Excellent! Notice how the random pattern creates a texture pattern when combined with the other two layers we've also built? This can be a very useful trick when working on parts that are weathered metal, or where paint is uneven.
Also consider that you can add custom brush patterns, which can be finer in size and detail, and be used in just the same way to create areas of chipped paint. I used a small default pattern, shaped like a smear of dirt to create the effect shown below very quickly. I started with a base spray of black (with plenty of brush "scatter" for a nice random effect) followed by alternating white and a metallic sky blue color for a metal color. I then touched up the layer with some light erasing using a similar pattern brush to blend the effect more smoothly. The effect is pretty nice to have been created in only seconds. Down the lenght of the sample on the right, you'll see the brush pattern I used, shown in black paint.

-adlabs6
 Section Widget
