

Most importantly, have a good idea of how a weathered plane looks, what goes into making it look as it does, and then figure out how you can paint it to look right.
This step-by-step is really simple, it's almost a hack job. But this isn't really a good subject, it's hard to be analytical with the organic
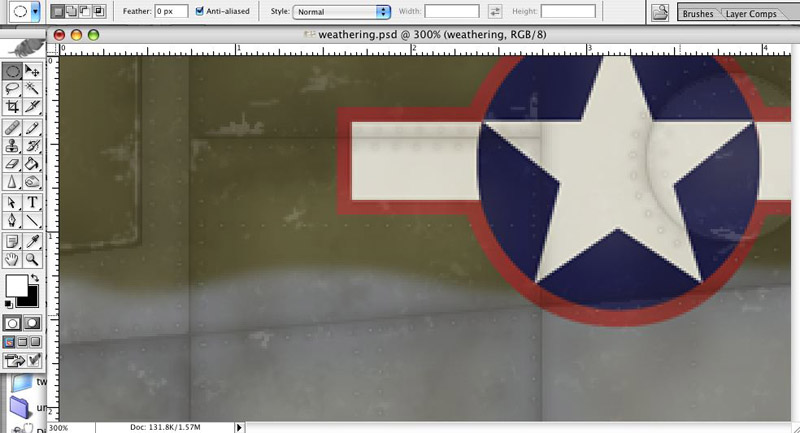
 This will just give you an idea of what I do.
 STEP 1
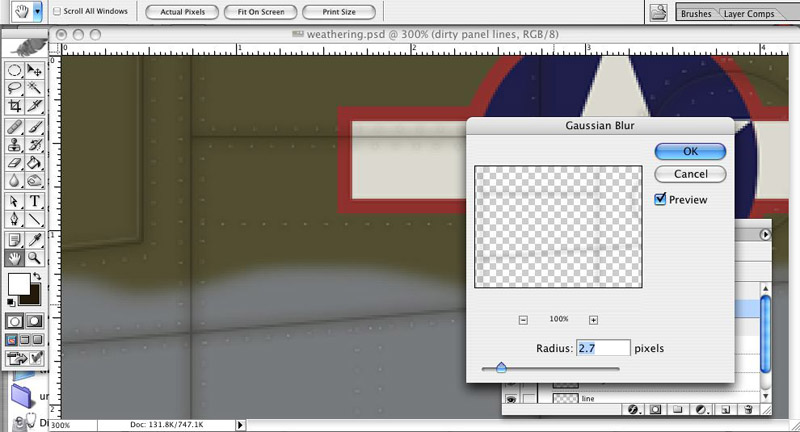
I start off using the panel lines to make a selection. I make a new layer and fill it with a warm dark brown color. I zap it with the gaussian blur, set to where I think it looks right, and then it's ready.
This is one approach. Loammo likes to do the opposite, he surrounds his panel lines with a light color. Both methods are valid and more importantly they both look good

STEP 2
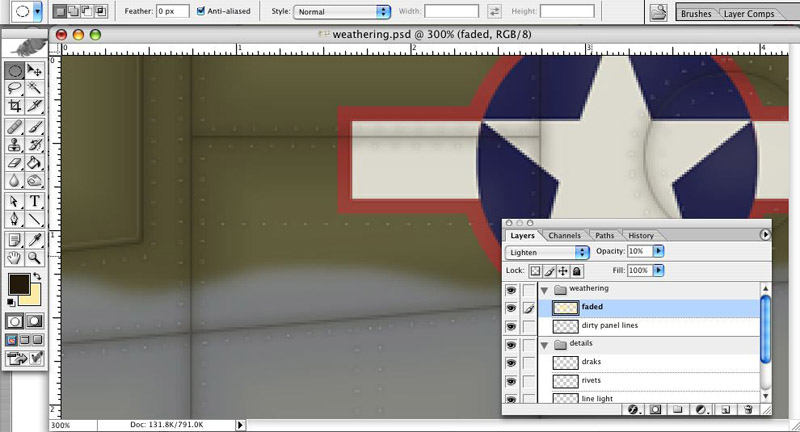
Next, using the panel lines again, I select the inverse, reduce it by quite a bit and feather it. I fill it with a very light yellow. White will work as well but any where you can add more color to your plane, the better.

After getting the layer mode and opacity they way I want, it looks like this-
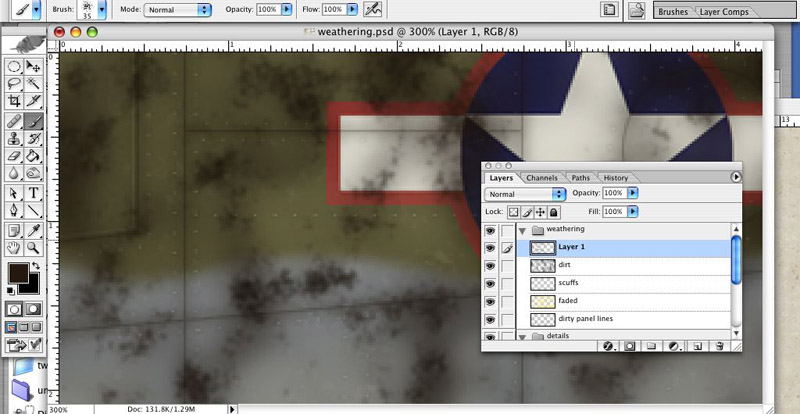
STEP 3
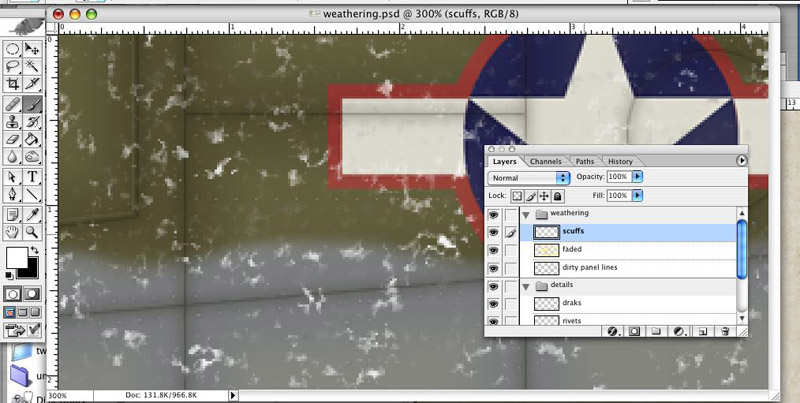
Next I want to make an overall layer of scuffs and/or dents. This brakes up the flatness of the surface and simulates all kinds of wear.
I do all sorts of funky stuff with the brush settings until I get a nice pattern that does the trick. Remember, there are a million and one settings here. I just do it quickly by eye until I see what I'm looking for.
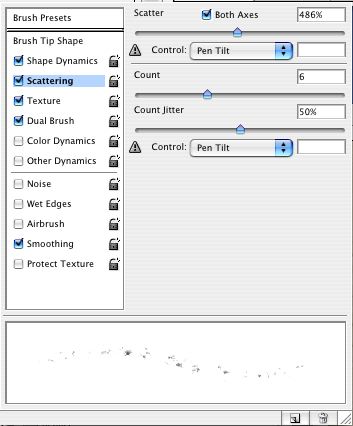
Using that brush I do a quick random scattering.
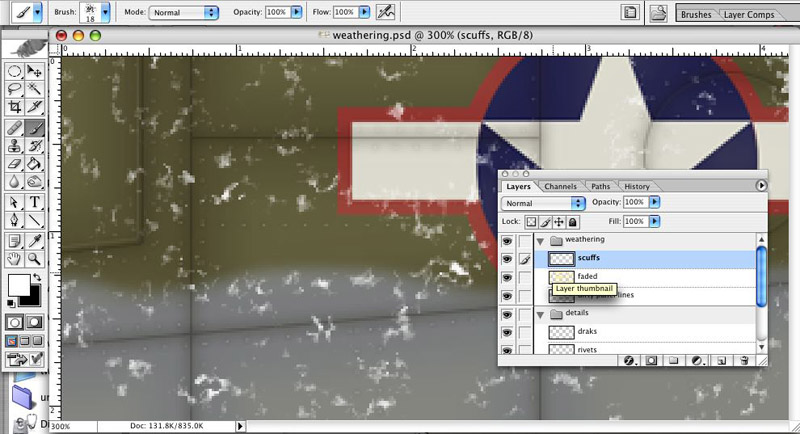
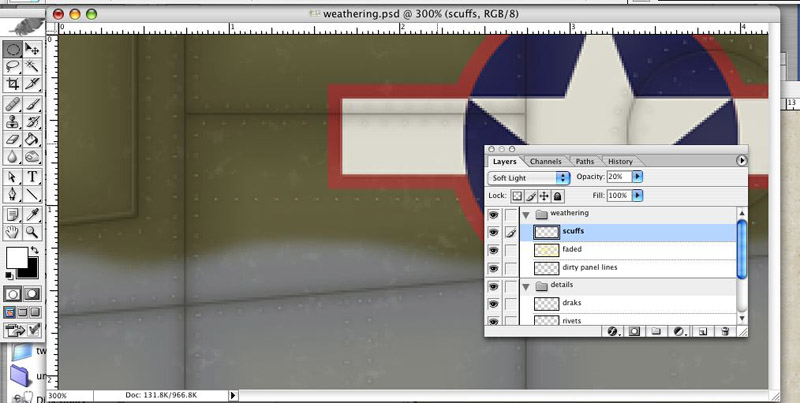
I want a bit more depth here so I repeat that whole process and end up with a smaller fuzzier pattern-
Once I've got that I erase where the panel lines are and adjust the opacity and mode and-
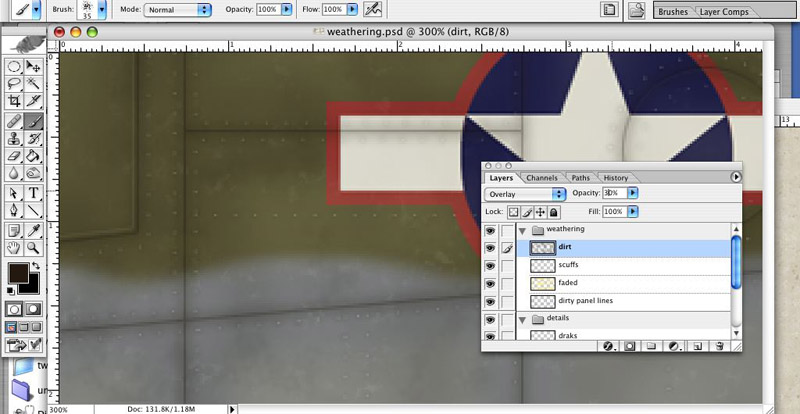
STEP 4
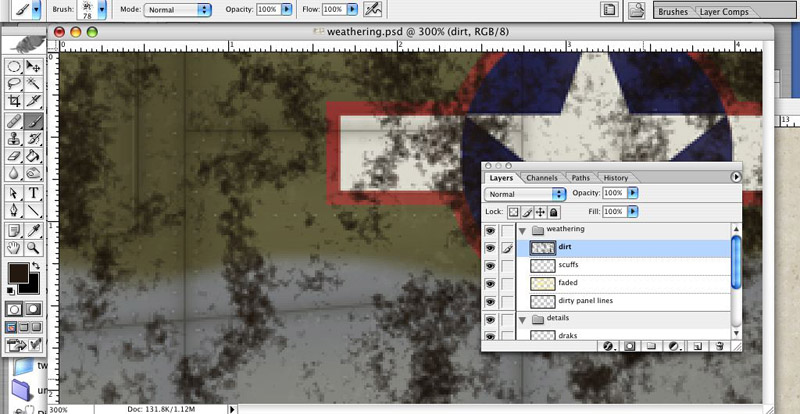
Same drill here but I'm simulating dirty spots. The brush set up and application are about the same.
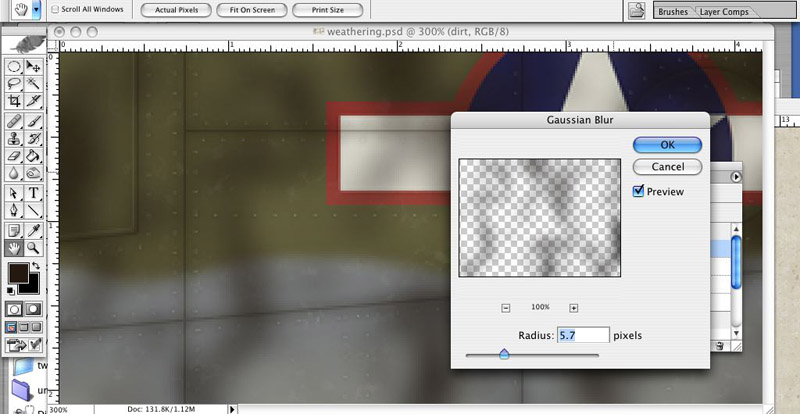
This time I zap the first application of paint with some gaussian blur-
And a secondary pattern-
Once I'm happy with it I set the mode and opacity and I get something like this-
This can be done easier by adding a texture filter but you'll end up without as much control over the effects due to the way the texture patterns are set up.
[BREAK=Page 4]
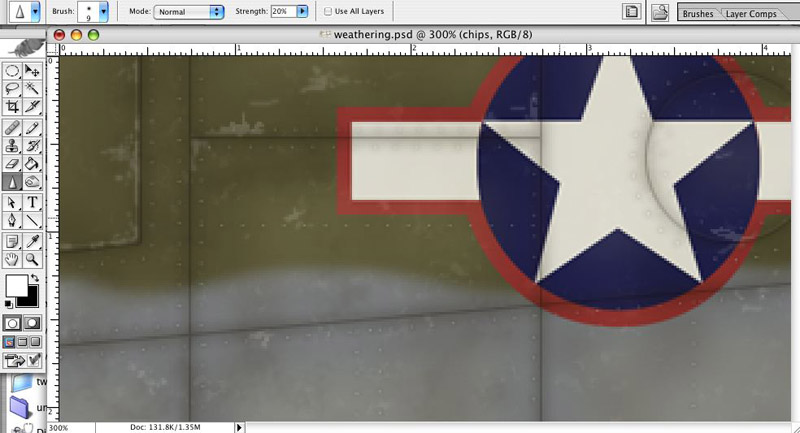
STEP 5
With a 1 pixel pencil I do some paint chipping in white on a new layer. I do this pretty quick and sometimes come back and knock out parts with an eraser.
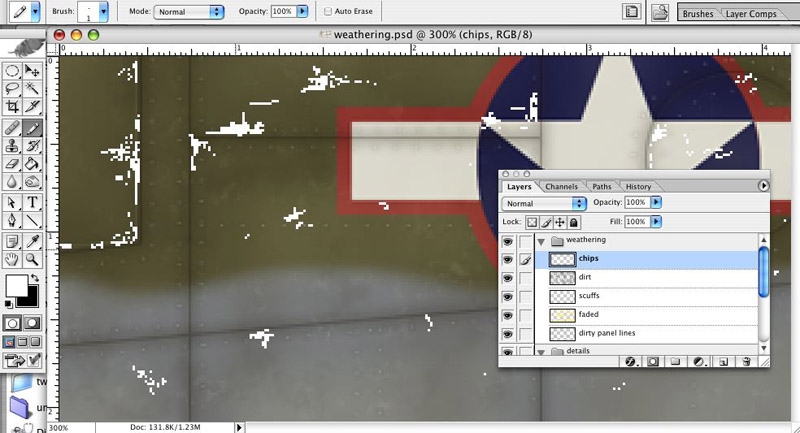
After I've got some chipped looking chips I selectively blur parts of them and then set the layer to look right.
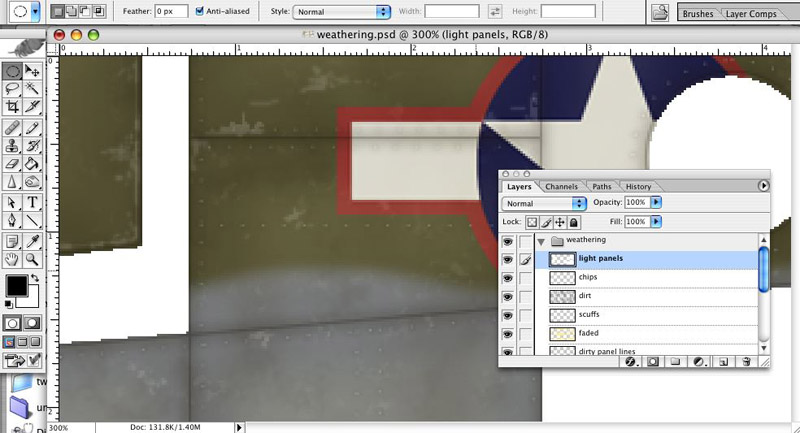
STEP 6
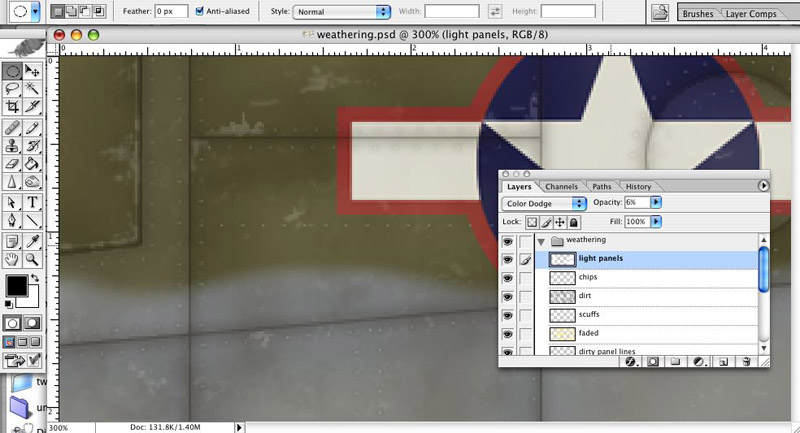
Almost there...To get some variation in the panels I use the panel lines to select a few panels here and there to be lighter. I fill in these selection in white on a new layer-
After they're set very subtle It looks like this-
I do the same but with dark panels this time.
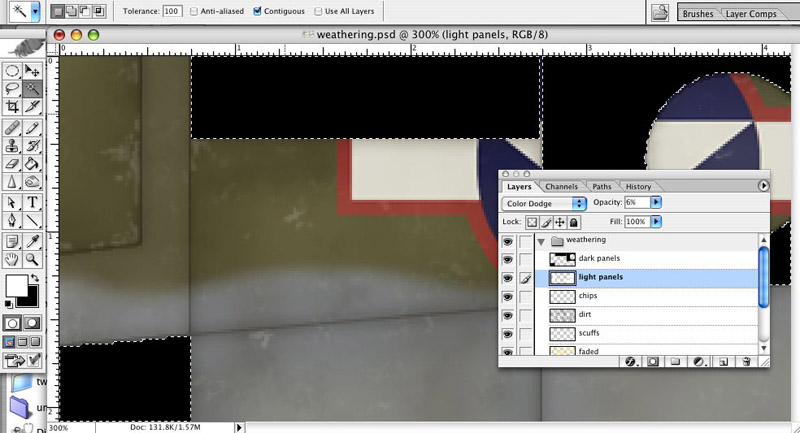
and

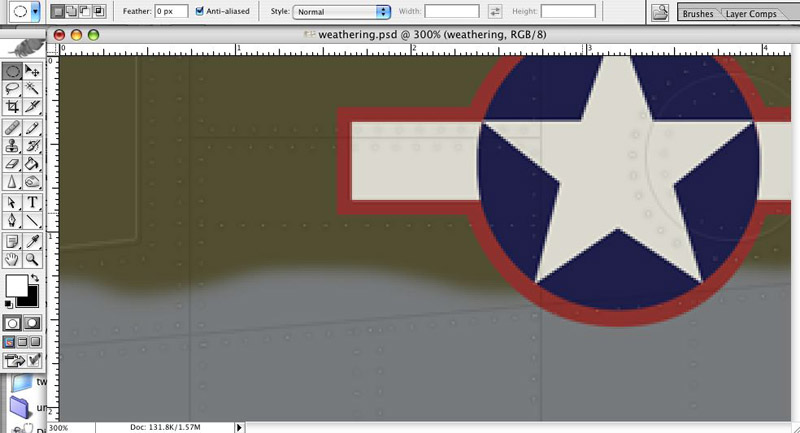
[BREAK=Page 5]
So there it is.
BEFORE
AFTER
As I said, there are many MANY ways to do any of these things. Best thing to do is experiment.
The sample PSD file I used for this tutorial is only 312 KB zipped.
EDIT
You can DL the zip here-
weathering.psd.zip
 Section Widget
