
 Senior Member

HOW LAYERS WORK
This tutorial will explain how layers work in Paint shop Pro. Layers are used in Paint Shop Pro essentially the same as in Photo Shop; the only difference is some button configuration and the names of the programs. A Layer is like a transparent piece of paper that you add paint to, text, objects, masks, or other imported items. Paint Shop Pro 7 can handle up to 100 layers, PSP 8 Thru 10 handle much more. The Nice thing about layers is tat you can control the Opacity of each layer by either adjusting the opacity slider usually located next to the layer, or by going into your layers options and controlling it there.
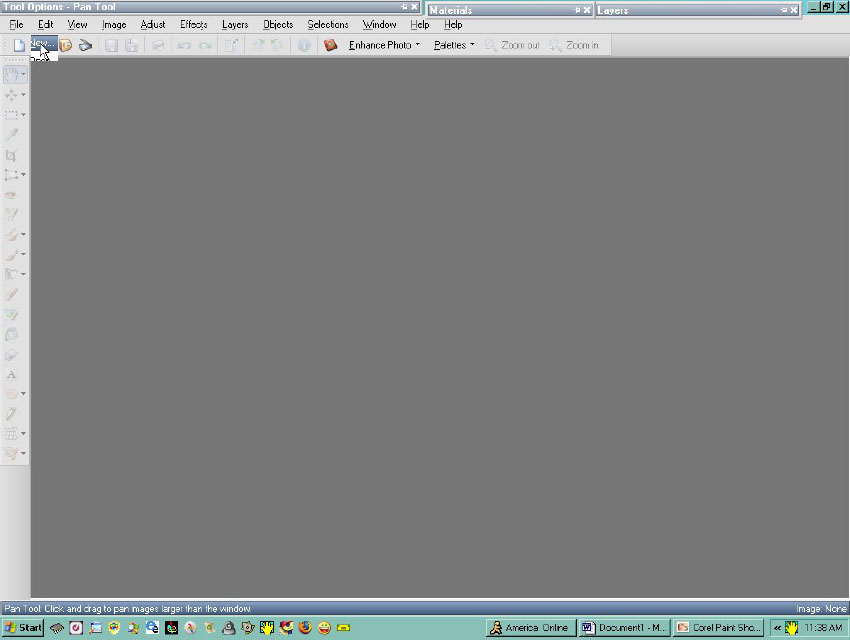
Here you can see your Paint Shop Pro Desk top, this particular version is PSP 10. There are two ways to start a project.
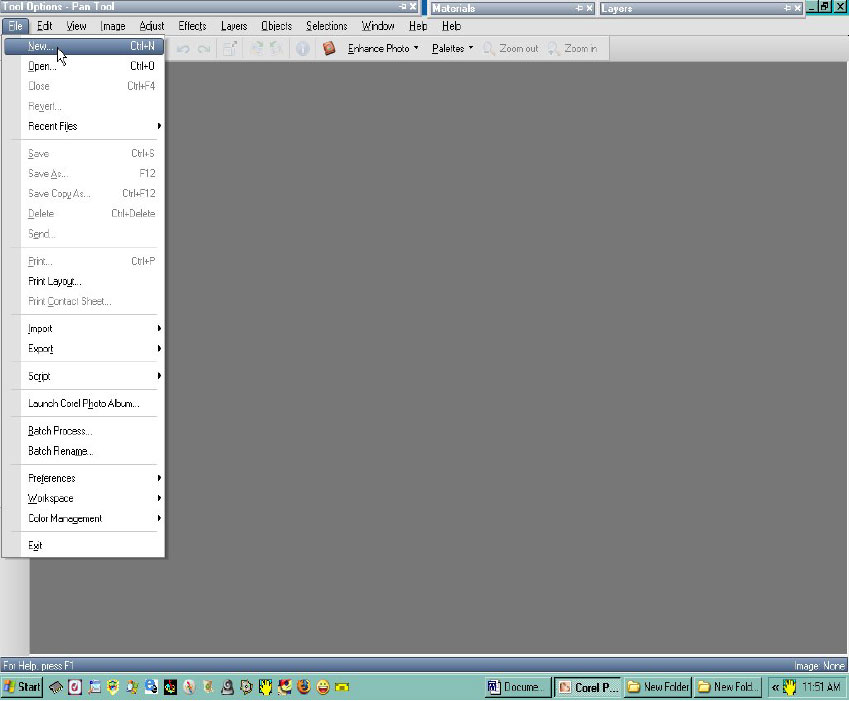
Go to the file button located in the upper left corner of your PSP desktop as shown. Clicking it will open a menu as shown in the screen shot. Click New .
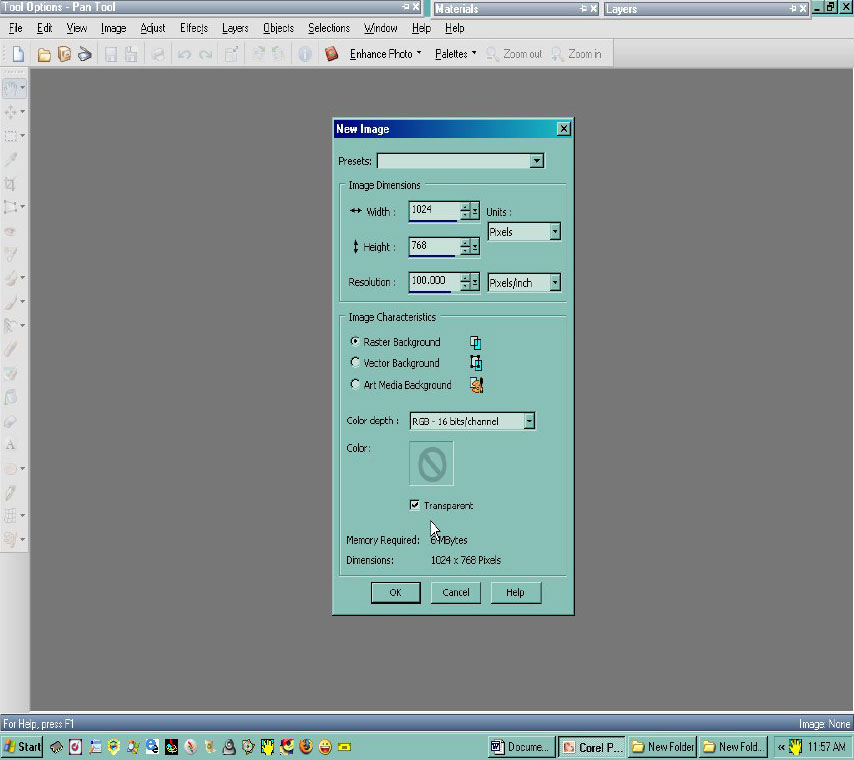
By clicking the New Option you will bring up the new image menu box as shown. I have set my image to 1024x768, you can make this what ever you want, or you can use the preset options drop down to do this for you . I have my new project set to Raster and transparent mode.
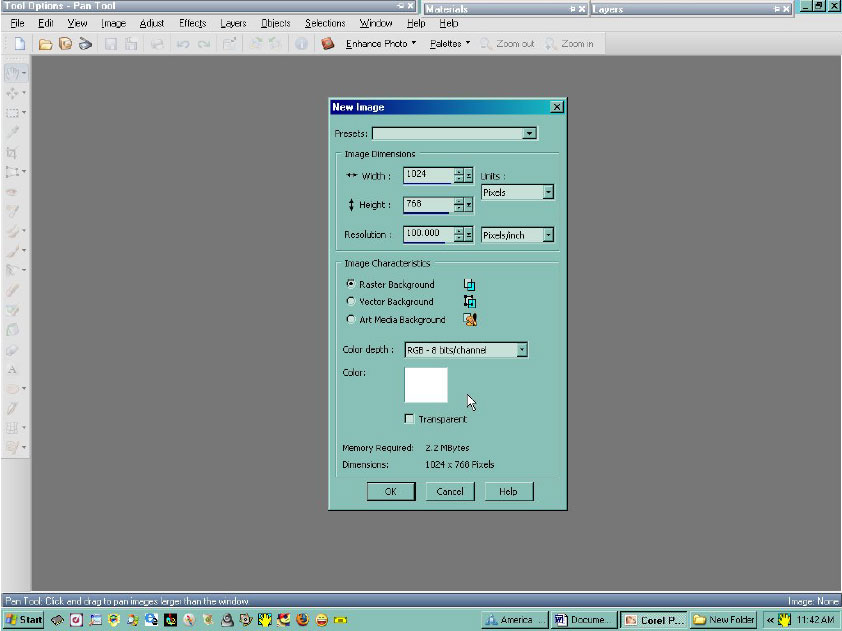
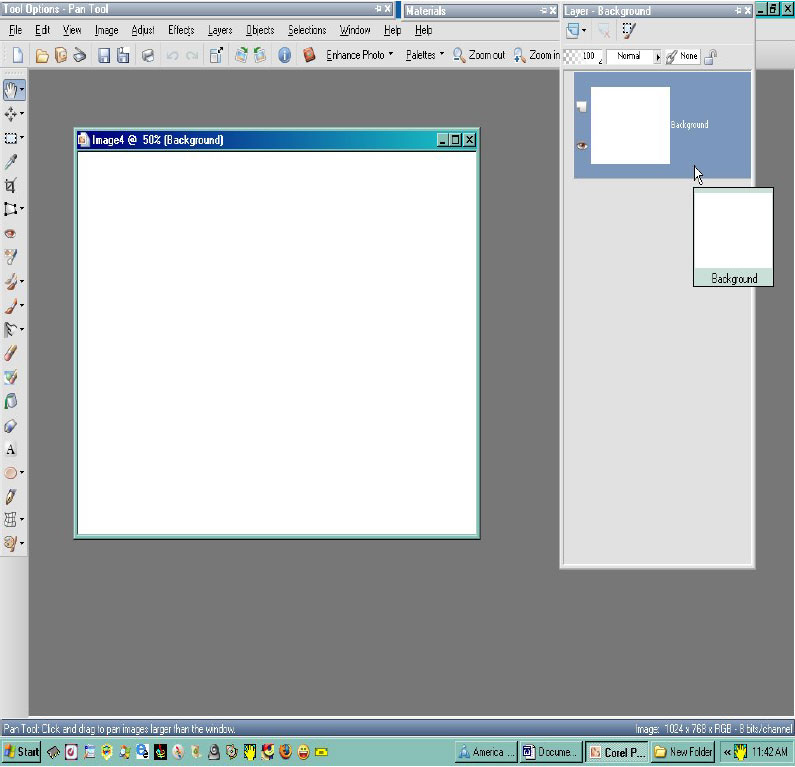
By Unticking the transparency option you can now make your back ground layer any color you want. Here you can see a small white square, this is telling you that your 1 st. new layer will be
white. This can be changed by simply clicking the colored square and selecting the color you want form the color picker menu.
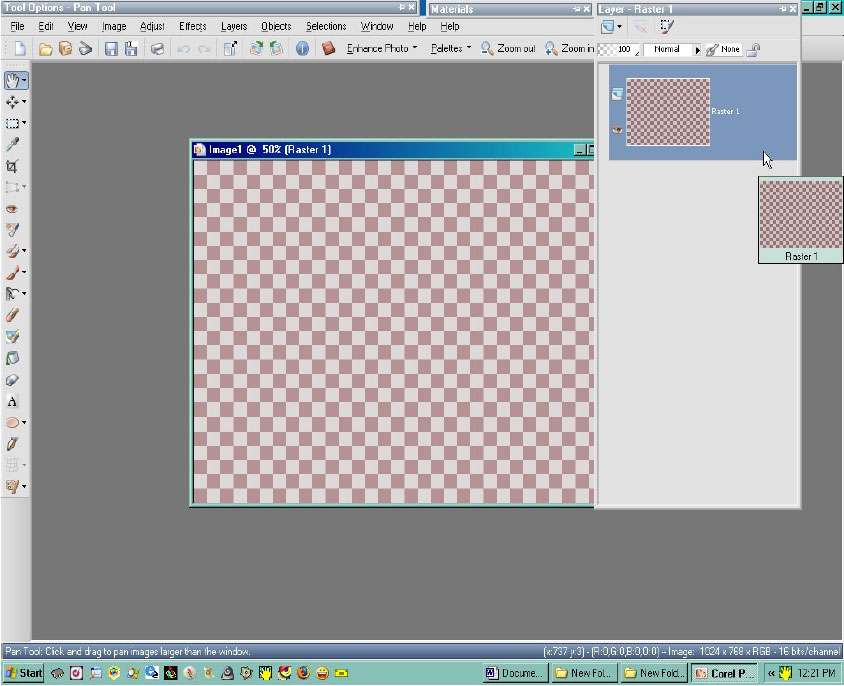
Here in This screen shot you can see what the transparent Layer will look like. By hitting the F-8 key you will open your layer pallet, there is an undocking option in your pallet options which allows you to move your pallets where you want them to be placed, I have chosen to place mine thusly, with PSP 10 you also get a small thumbnail picture of the layer you will be working on if it is highlighted as it is in the screen shot.
Here you can see what your new 1 st. layer will look like if the Transparency option is unticked in the initial selection setup.
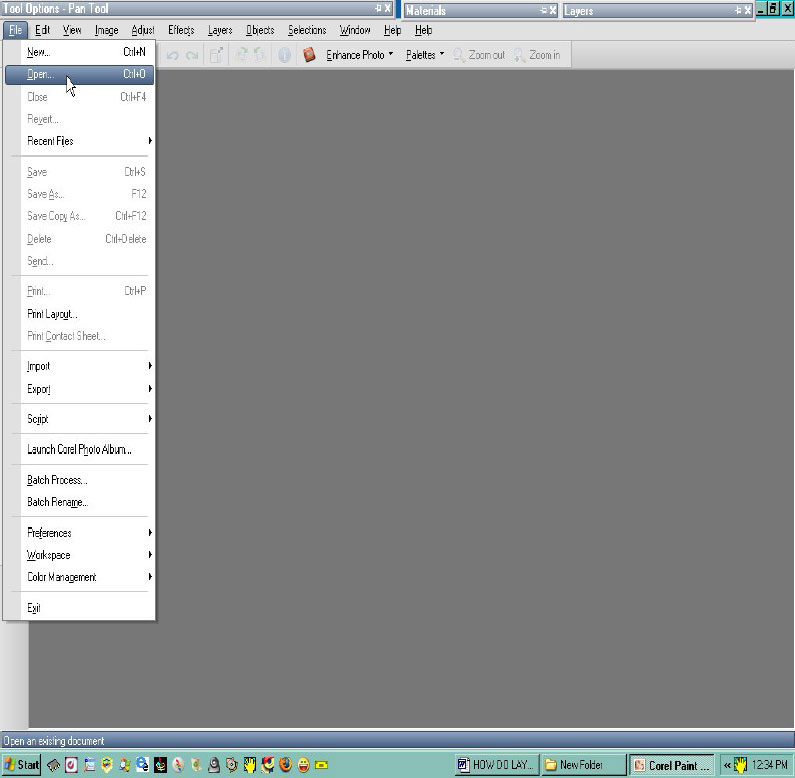
The other way to start working with layers is to open a new PSP file by going to the file option in the upper left and clicking it will open the menu as shown, from here you choose open as shown.
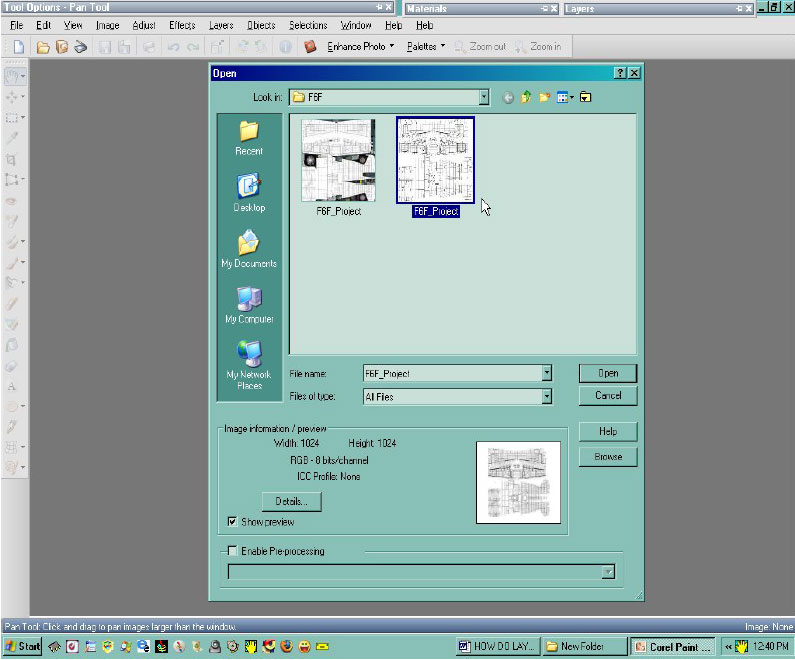
Here you can see that you have navigated to the file you wish to open, not shown is the small help box which will appear when you place your mouse on a picture or an object onto your Paint Shop Pro desktop.
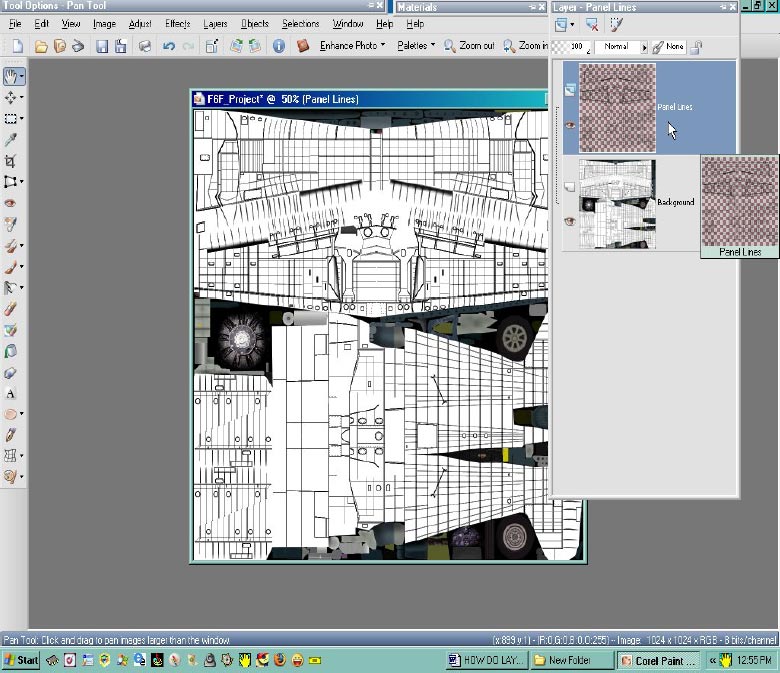
When you double click the image you want to open into your PSP desk top it will open up as shown, by placing your mouse over the layer pallet you can see it open and it will show your layers, this is an F 6 F template I have just begun work on and I have the panel lines done. So there are two layers visible in this screen shot, next I will show you how to insert a new layer.
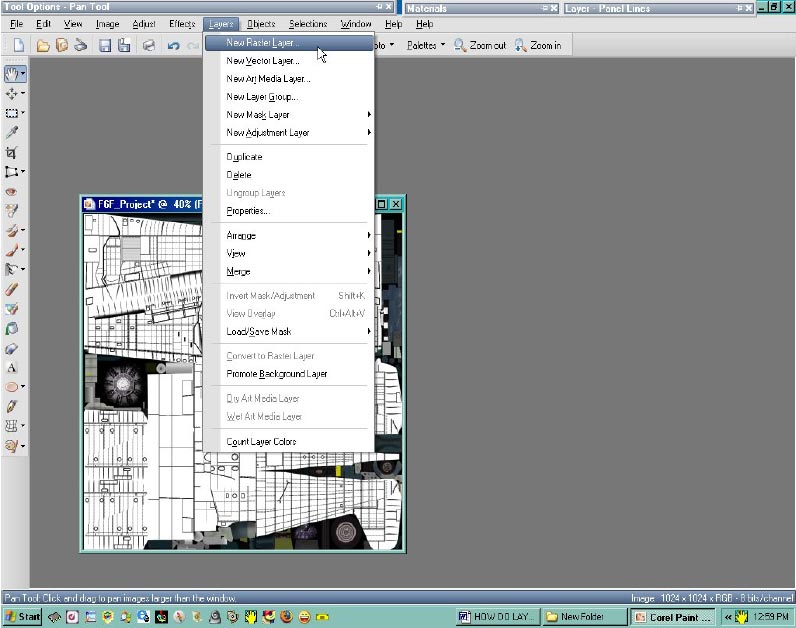
Go to your layers option as shown, I work with raster layers so that is what I will show you how to insert. As you can see by the drop down menu there are other types of layers. Click the raster layer option and a menu box will open up.
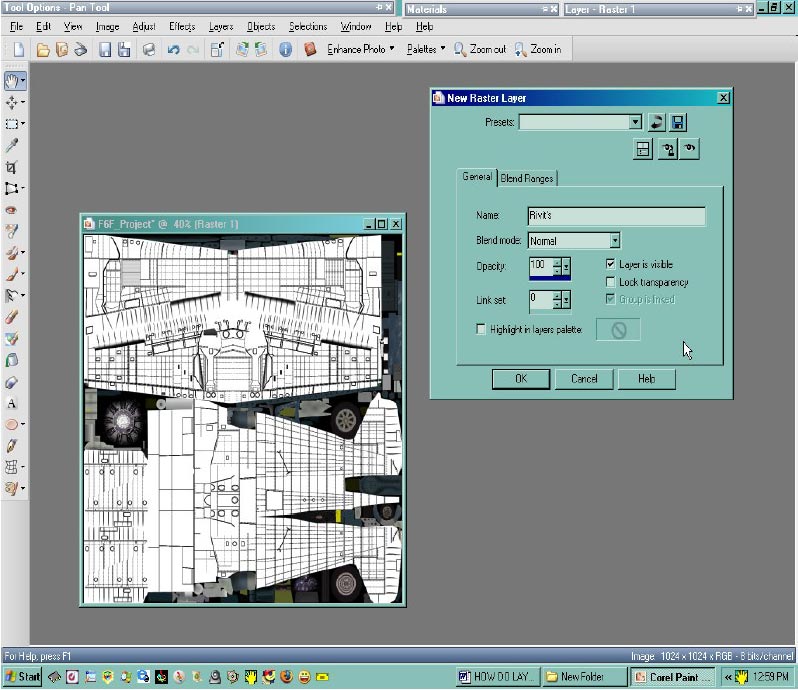
Here you can see the new raster layer tool box, You can name your layer anything you wish by simply typing it into the name field as shown, I have called this new layer rivets.
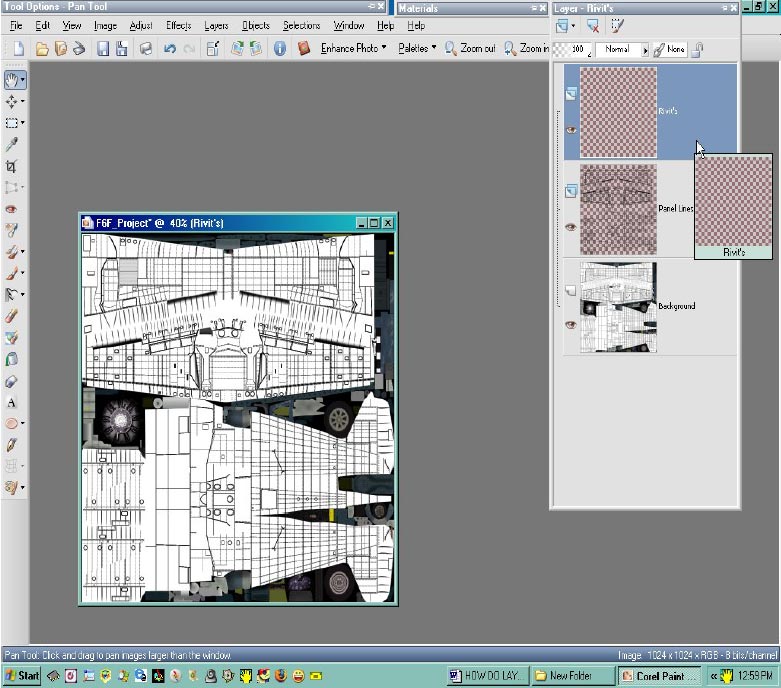
Here you can see your new layer in your layer pallet, when you insert a new layer it will be highlighted as shown. When you work on a particular layer it must be highlighted in order for any changes to be made to that particular layer.
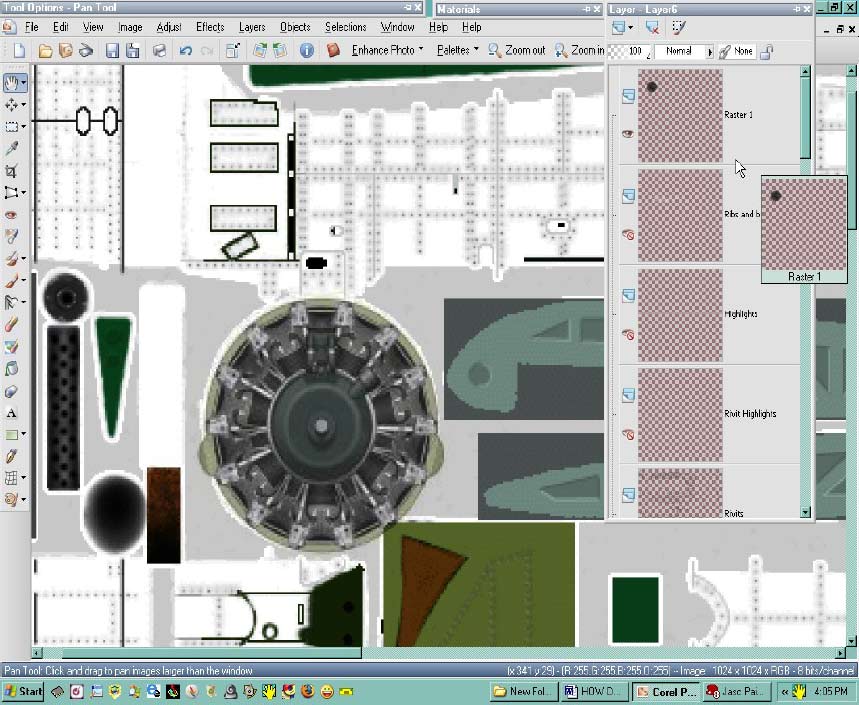
This is an A6 zero I was working on, there are 20 layers in this skin.
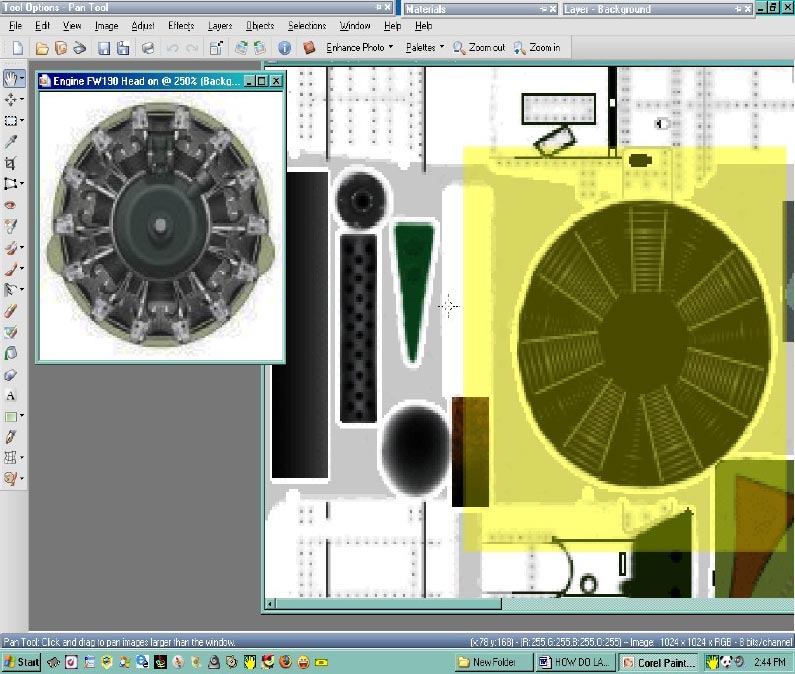
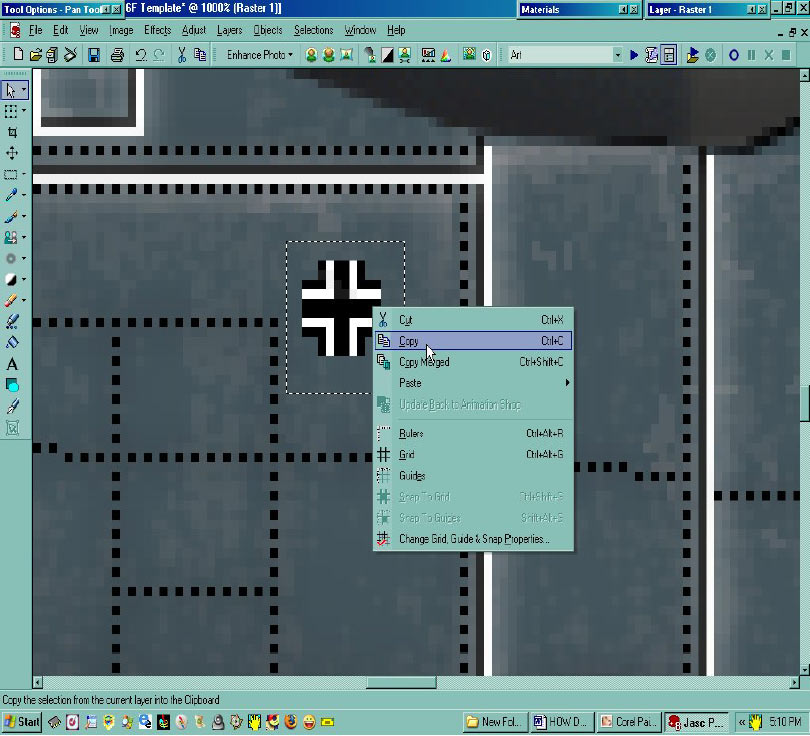
Ok let?s say you want to insert a new engine into your skin cause the one which came with it just doesn?t strike your fancy. First navigate to where the new engine part is located and open it up into your PSP desk top like this. The yellow highlight is just to show you where we will be placing the new engine.
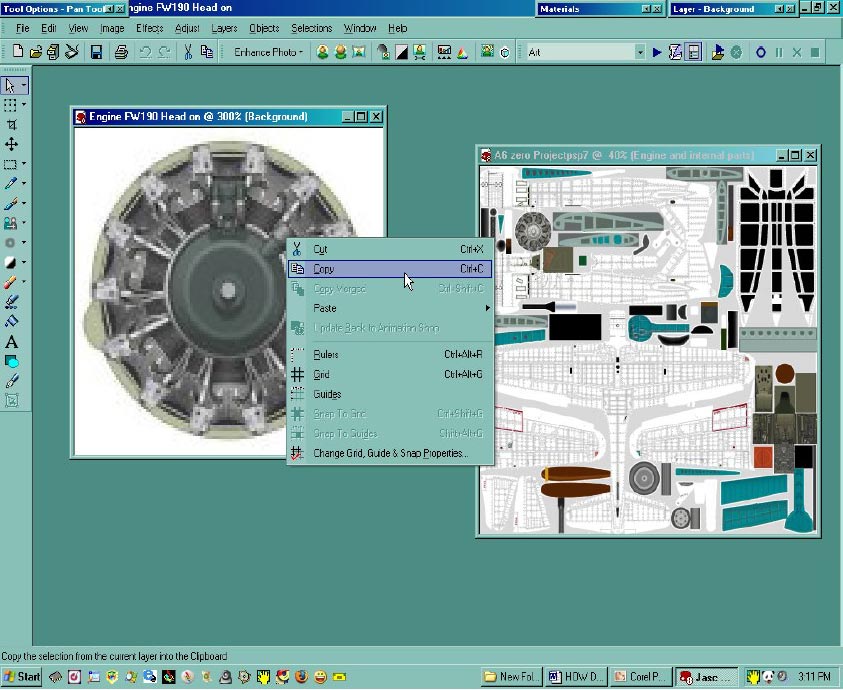
Choose your new engine by clicking it, this will turn the bar at the top a darker color, this will let you know which pallet you are currently on. Place your mouse cursor on it and right click the picture of the new object. A menu will appear as shown, place your mouse cursor over the option you want to accomplish in this case you want to copy this image by left clicking your mouse.
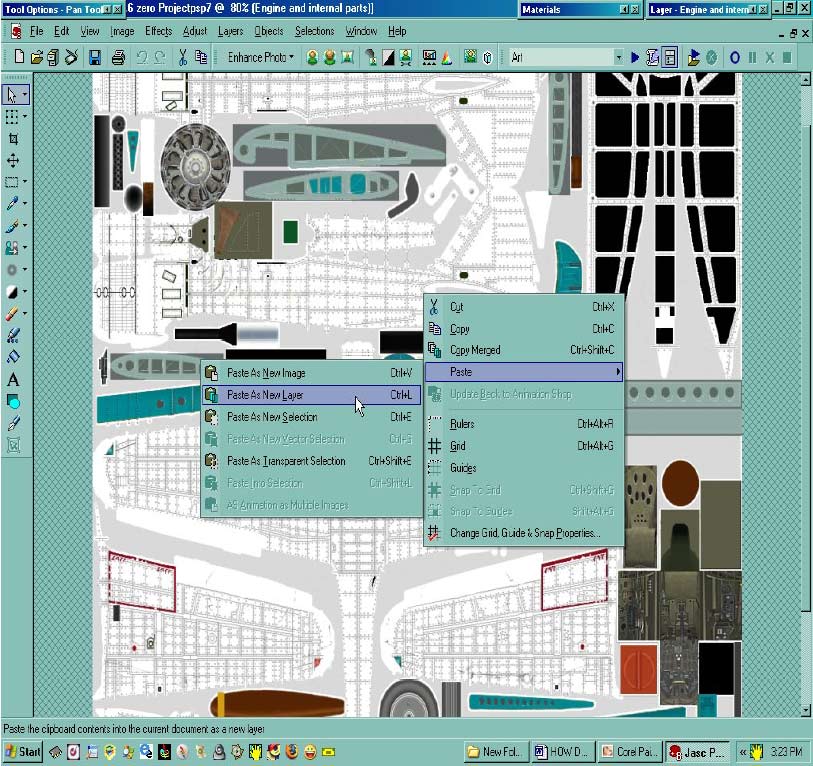
Now place your mouse cursor on your project and right click , you will get another menu
as shown, scroll down to paste and this will open a sub menu for paste, choose paste as a
new layer as shown.
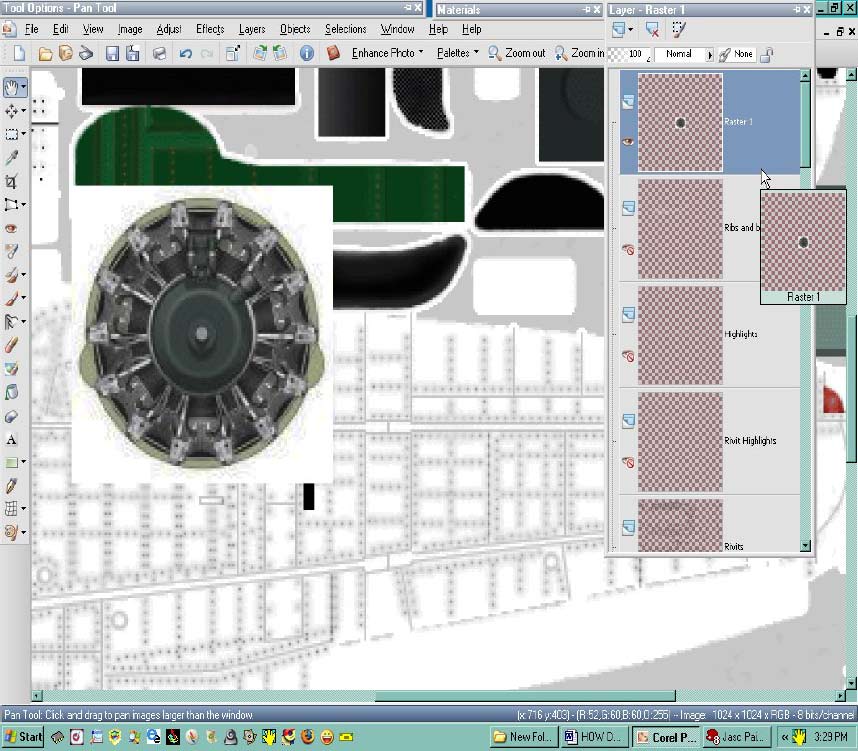
Now you have a new layer inserted into your project as shown, the layer will be highlighted which is indicating this will be the layer to be worked upon. Now, your new engine will have some white background to it or some other material, here you see it is surrounded by white. We will eliminate this by using Mac?s remove white plug-in located in our effects browser.
Here you can see the white back ground has been removed from your new engine. The engine appears in the layer pallet on its own layer as shown, remember all layers are, are see through pieces of paper which are in a computer program. Which keeps track of them and organizes them for you.
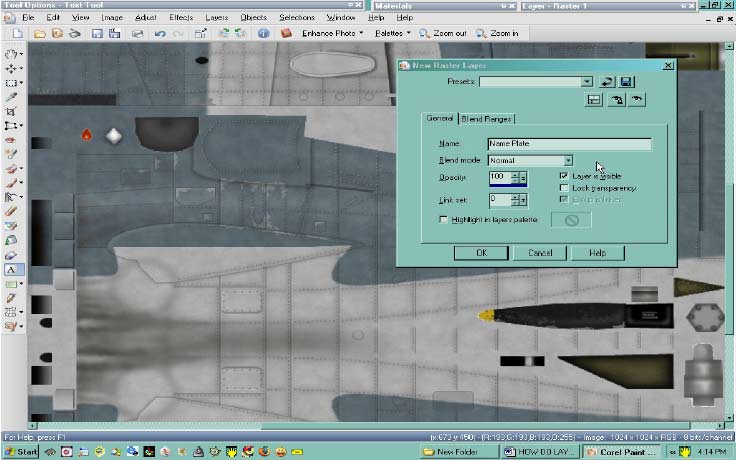
Fig.#18
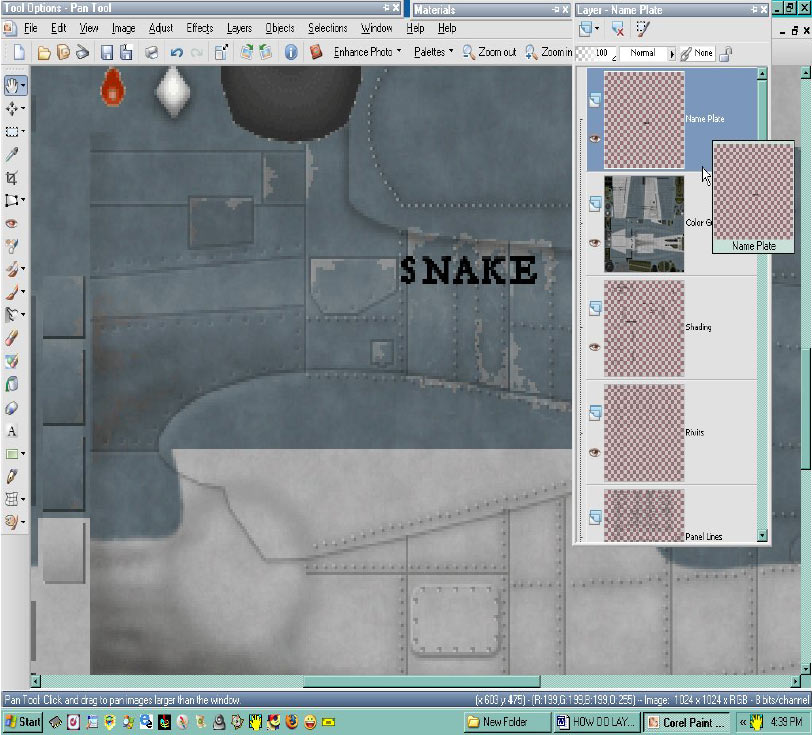
Let?s say you want to add a personalized name to your skin. First make a new layer as shown in Fig. # 18 and call it what ever you want, I call mine, Name Plate. And I insert it into the layer pallet just like I did all the other layers.
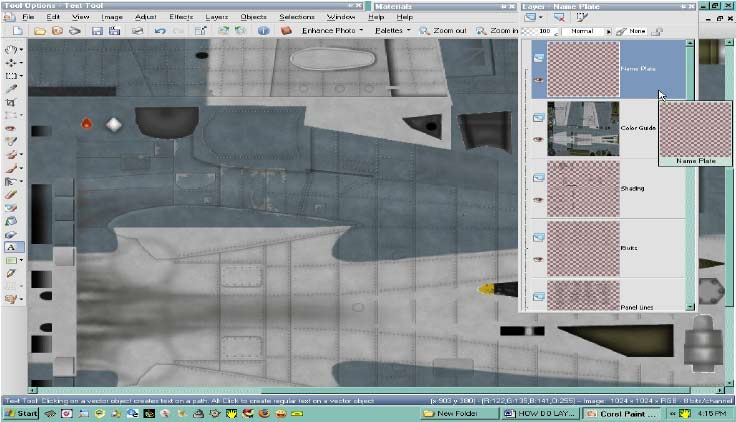
Make sure the layer your going to be working on is highlighted as shown before you start any texting, or you will have done work for nothing and you will have to go back and repair your work.
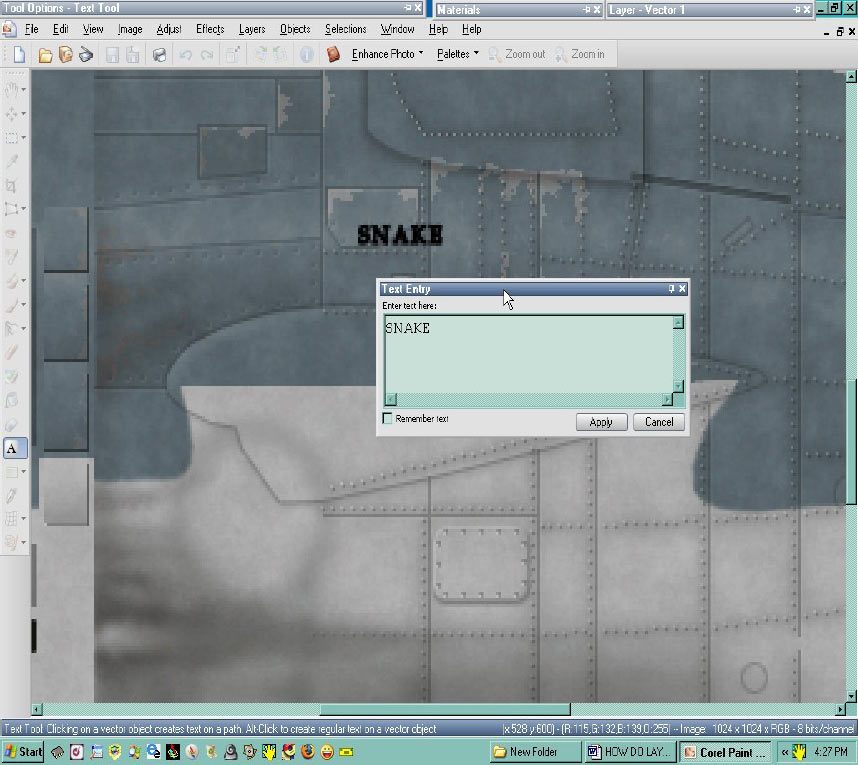
After making sure your layer is highlighted open your Text tool by clicking your T key, or by clicking the text option in your tool bar which is located on the left hand side of your PSP desk top.
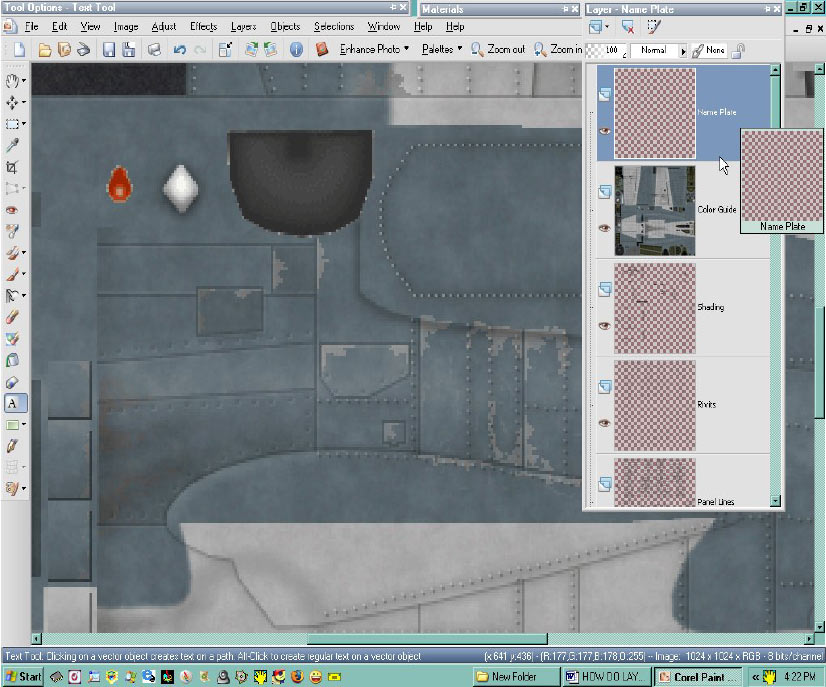
Here you can see your name Layer and your name as it appears on your skin, of course you will have to make some adjustments as your name will not be perfectly square in your skin the very first time.
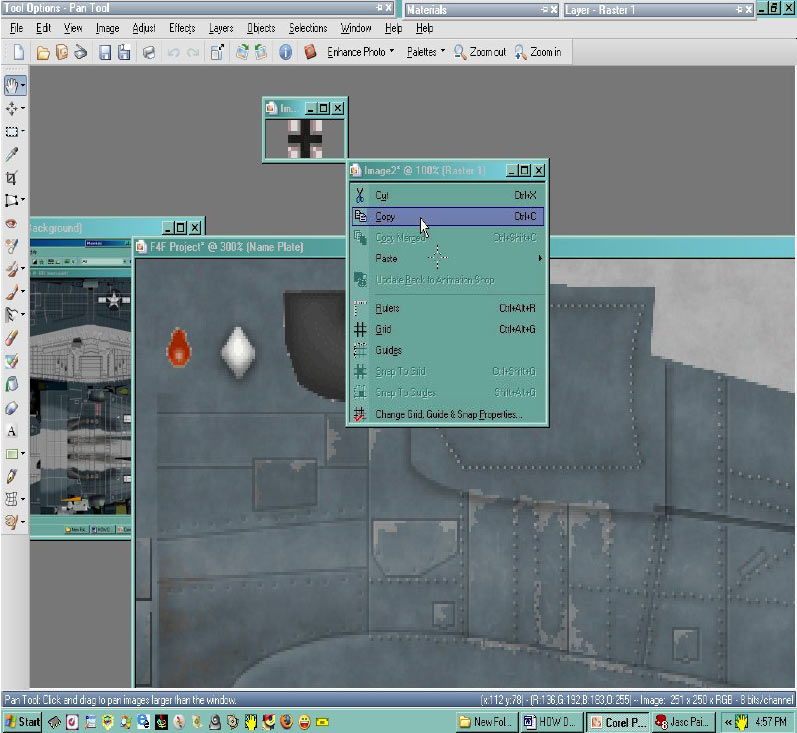
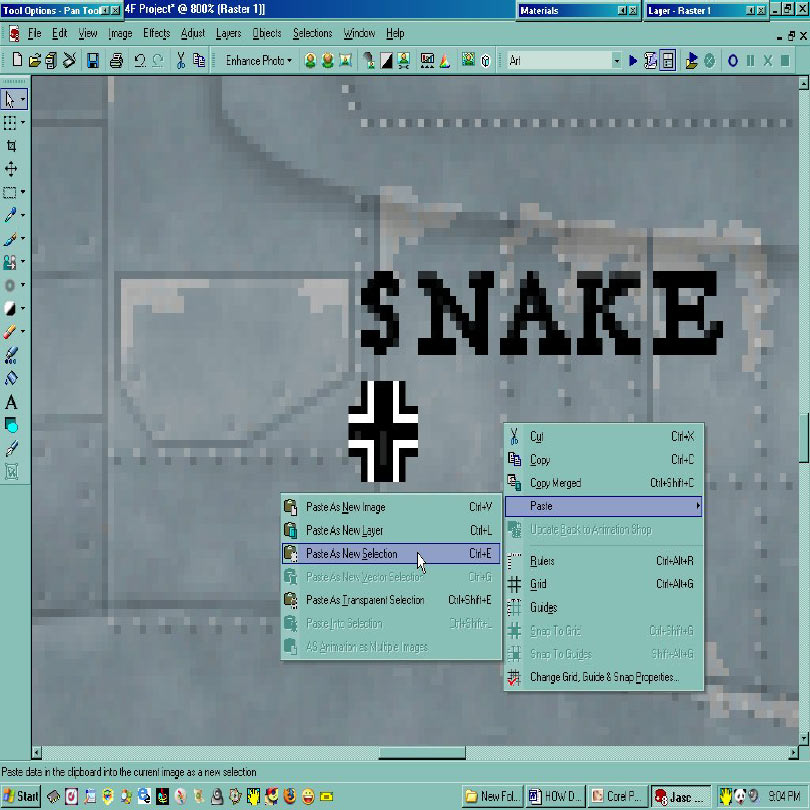
Now let?s say you want to add some kill marking?s on your skin on the same layer as your name.
Locate your kill marking as shown and right click and scroll to copy and left click on copy.
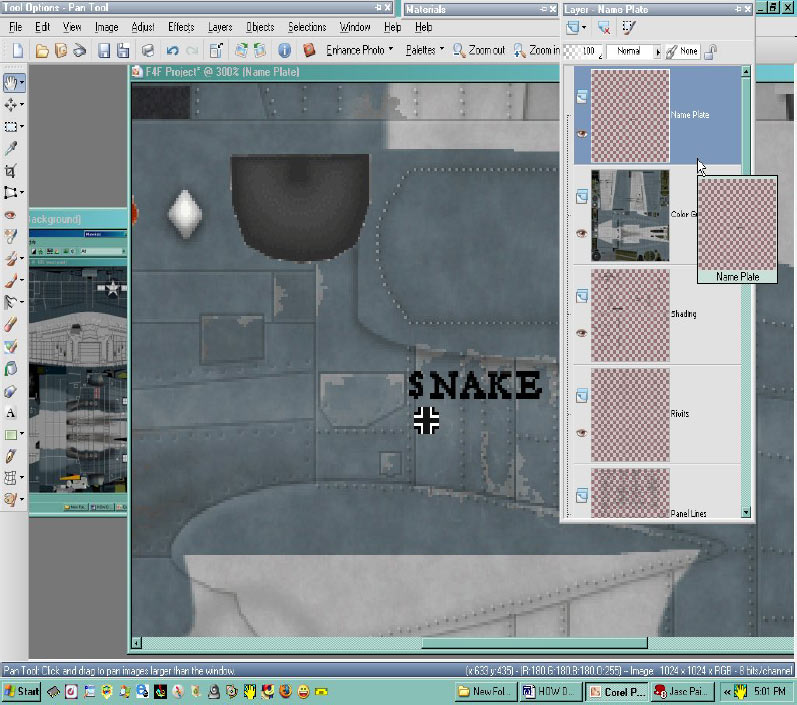
Now place your mouse on the pallet and right click it, A menu will appear, scroll to paste; a second sub menu will open now scroll to paste as new selection. Your kill marking will appear on the designated layer.
Here you can see your kill mark on your name plate layer, now, lets add some more markings.
Using the selection tool, or by clicking your S key you will open your selection tool. The selection tool is used to copy a particular portion of a picture or object as shown, when you select it, a broken line will appear around the area you will be copying.
Place your mouse cursor next to the area where you want the other kill marks to appear and right click your mouse. The paste menu will appear all you need do is paste as a new selection until you have the desired number of kill markings you want. This small trick can be used in making rivets or anything else which requires a lot of repeative work.
Here you see the finished kill markings.
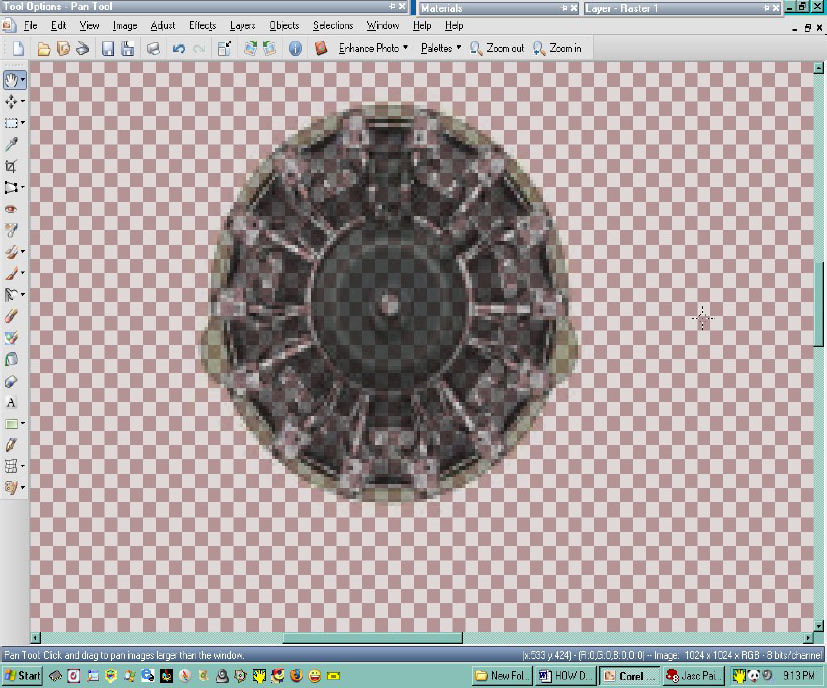
If you have an object that is too transparent after removing all the white back ground, this can be easily fixed .
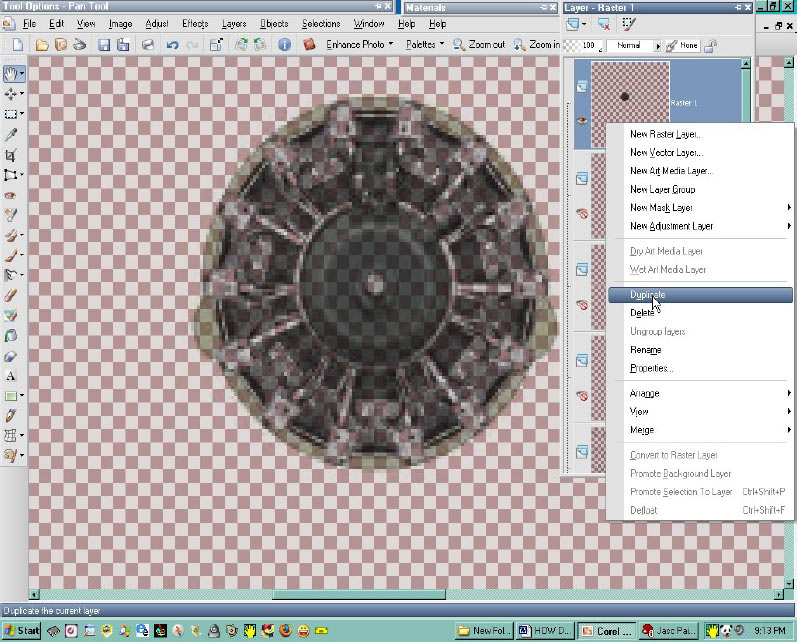
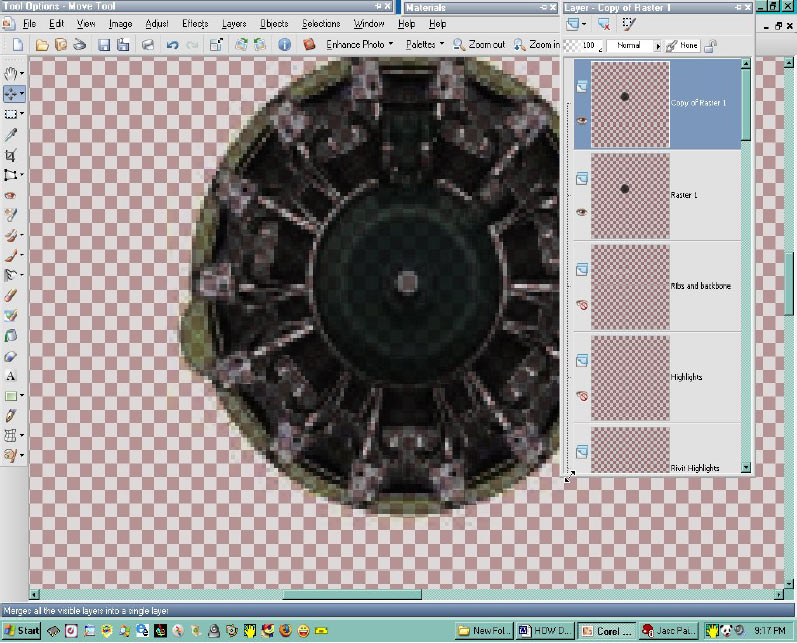
By making duplicate layers of an exact object you can fill in the transparency
Here I have made a copy of the engine layer which has filled in the see through aspect making it look solid.
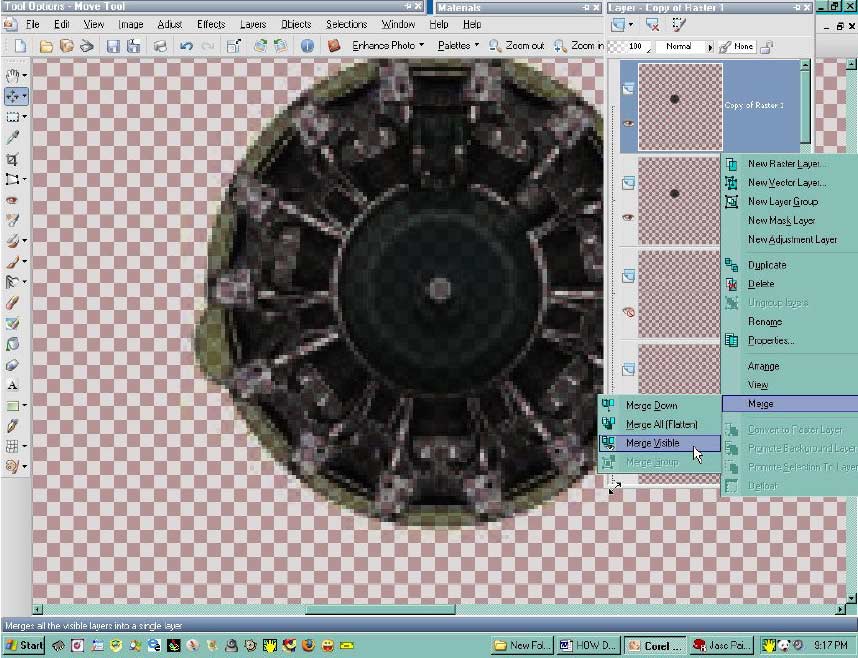
Now close all the other layers in your project except for your copied layers, right clicking over the image will open a menu and sub menu choose to merge visible layers and then left click , this will merge all visible layers into one to save pallet space and make it easier to work with. In some instances you may wish to keep all the copied layers for shading effects etc.
This is just the tip of the iceberg for layering, you will find that you are only limited by your imagination. I hope this gives you some Idea of how layers work, they are simple and quick and they keep your work organized. Do not be afraid at first to put everything on it?s own layer, you can either merge it later or jockey it around your layer pallet. You can move a particular layer from the bottom of the pallet to the top or anywhere you choose by simply highlighting it, left clicking on it while holding the mouse button down drag it up or down within the pallet to where you want it.
Hopefully this will help you to understand layering in Paint Shop Pro. And the same with Photo Shop as both use layers.
Enjoy
Charlie
Last edited by Serval; 18th November 2015 at 15:03.
 Posting Permissions


 Reply With Quote