

 )
)Keep in mind it isn't overly thoughtful or scholarly but I think it's worth posting although I can't say why I haven't posted it before...
The basic cylinder:
What most people do, and this is an old standby from airbrush days, is just put a little black at the top and a little more black at the bottom, put a white highlight 1/3 of the way from the top and call it done. This does happen on real life objects but it's a simple way of looking at things. Real life is usually WAY more subtle.
There is almost always some reflected light, especially in sunlight conditions, on the lower side of any round object. This really helps define the shape. Some artist shade a cylinder so that a portion of the shape doesn't have any shading on it at all, dead space. In real photos this isn't always visible, but there is always shading from top to bottom on any cylinder type shape. For profile art, it's very important to show that shading on the whole object or you can end up with a plane that looks like it's flat sided. Of course there ARE flat sided planes but we're talking round here
An example;
The top image is what happens with more traditional profile shading-
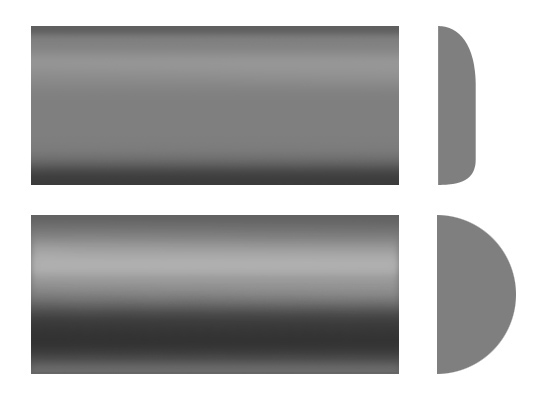
The bottom example not only adds reflected light but also shows light and shadow falling across the whole object.
A good bare metal example;
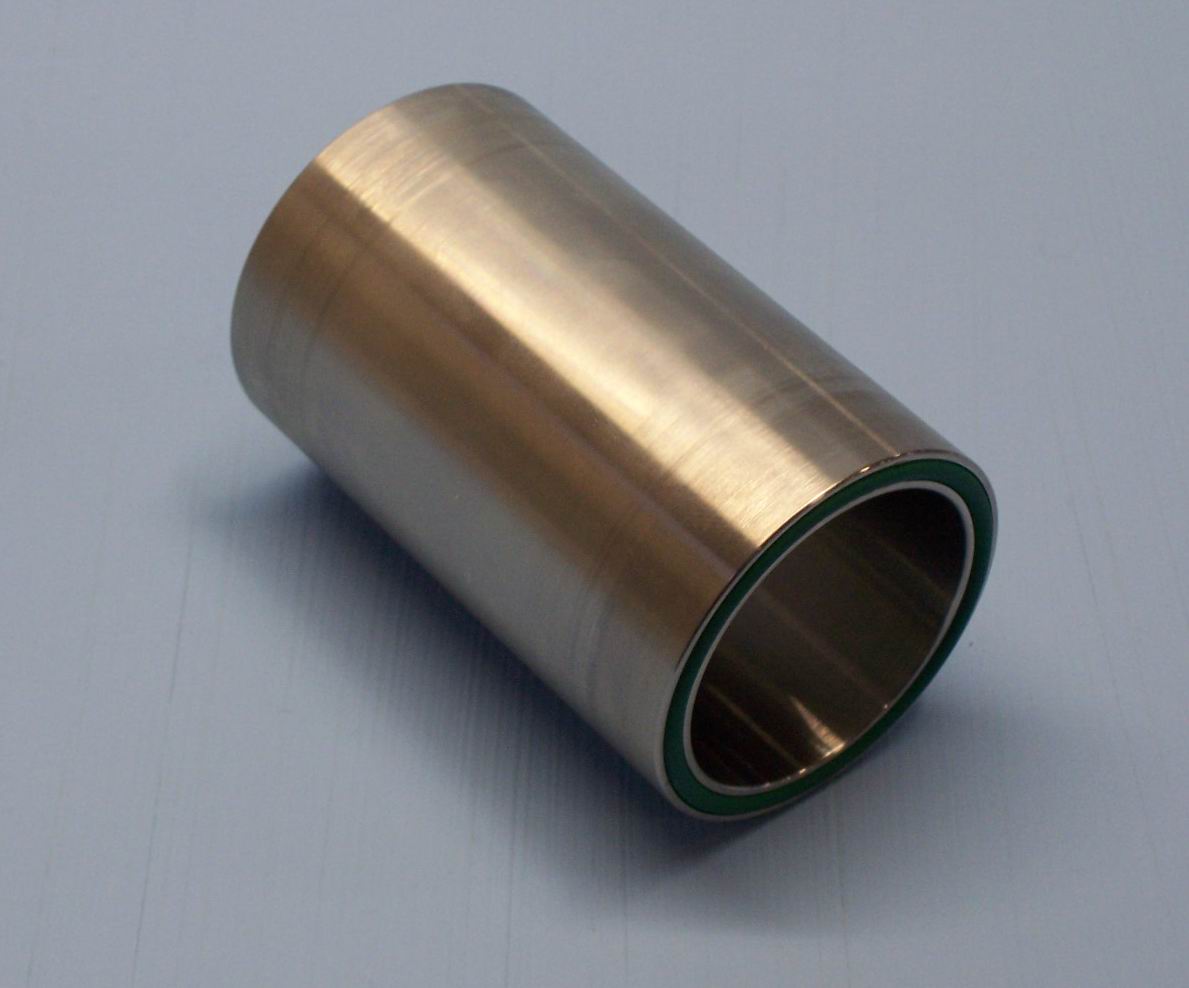
Notice that the reflected light is greater because the object is sitting on a light background. If you were to pick it up above the paper the reflected light area would be reduced. Also notice there's shadow at the very bottom on the tube. This is the reflection of it's own shadow. Depending on the direction of the light and the height of the object from the ground, this lowest shadow may or may not be there depending on the lighting.
The same again;
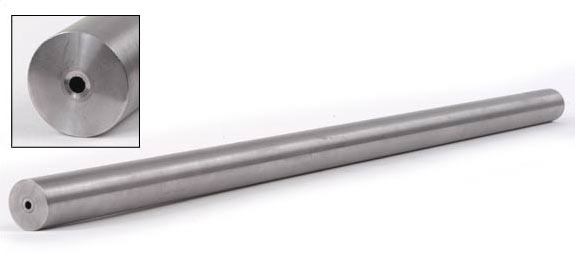
Notice how there is a constant gradient across the whole cylinder, no dead spots.
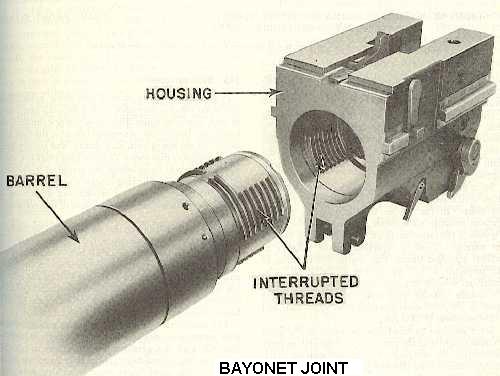
Here's a really GREAT technical illustration;
Some real aircraft examples;
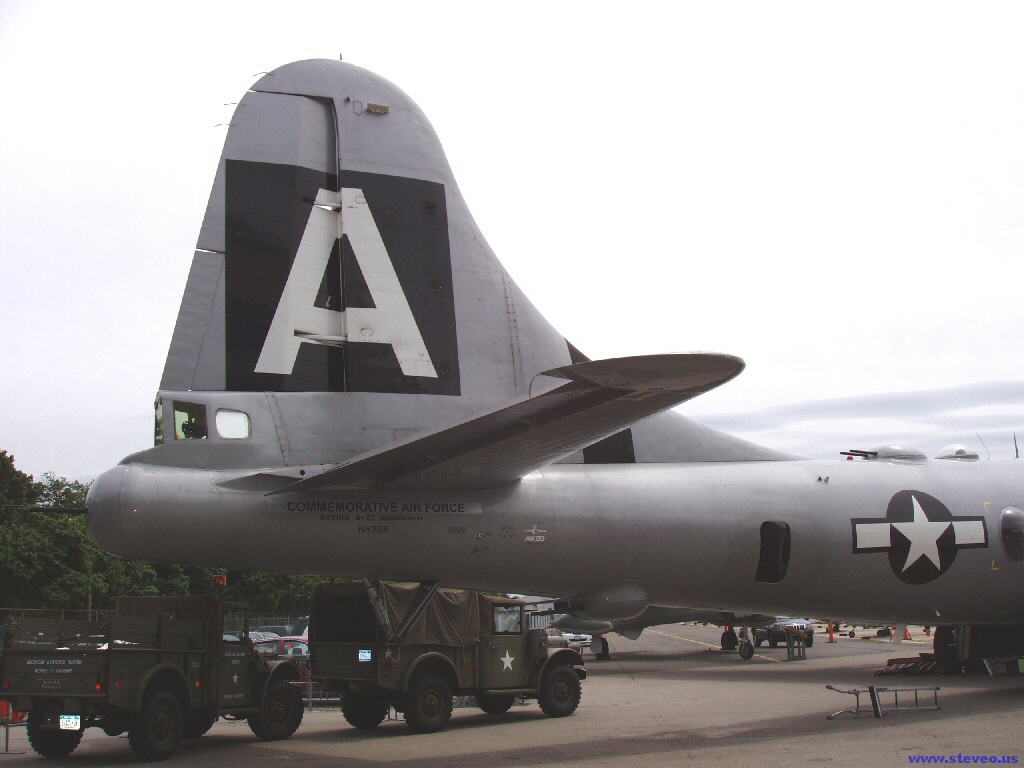
A dark gloomy day, but notice the reflected light on the underside.
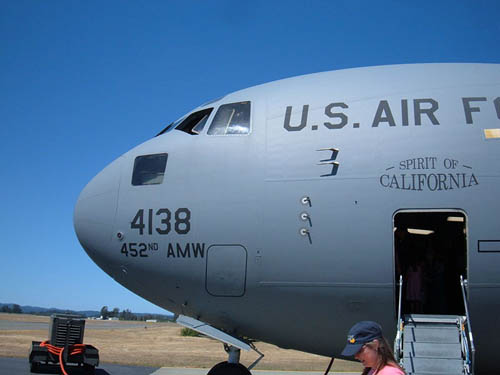
A very subtle example, but good to see the lighting on the nacelle;

Another subtle image;

Notice that this one has the reflected light under it and a secondary shadow just at the lower edge past the reflected light. This is due to the gloss paint first picking up the reflected sun light but also picking up a reflection of the dark colored wet cement, or the shadow under the plane, or both.
Does it get any rounder?
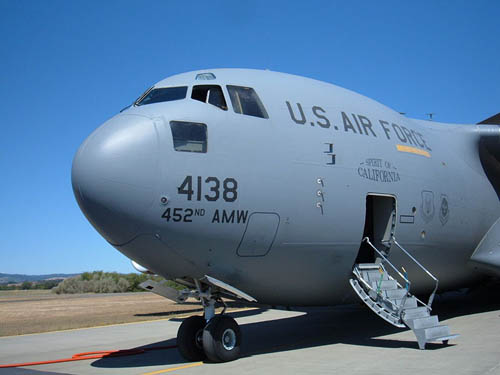
See how the shadow starts off dark but gets lighter as id curves under the plane? It also helps show that the object recedes away from the view point.
And this doesn't just happen on the ground either;
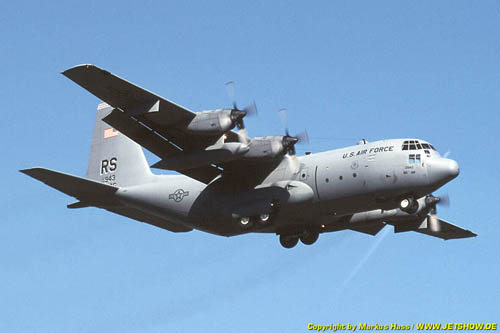

You won't always get reflected light and sometimes it's there but so subtle that you can hardly see it.
Thanks goes to Vacajun for somehow getting me to write all this out and a special thinks to Damo for giving me an extra nudge

 Section Widget
