

Here's what I do for WWII planes. I have a slightly different method for WWI and for planes that only get a few rivets here and there.
First off, start with a handy dandy plane with panel lines already set up

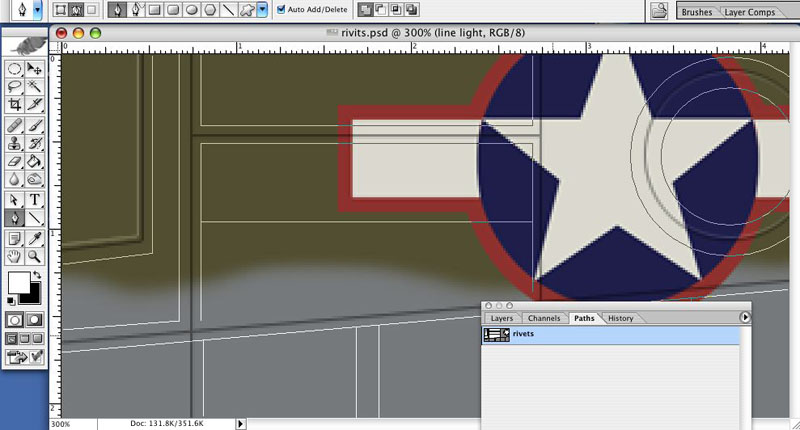
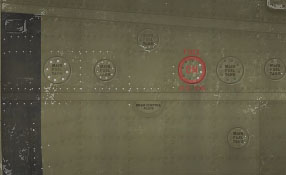
STEP 1
The first thing I do, because I like doing it this way, is to draw out paths using the pen tool where my rivet lines will be.
(skip STEP 3 if you don't want to use paths)
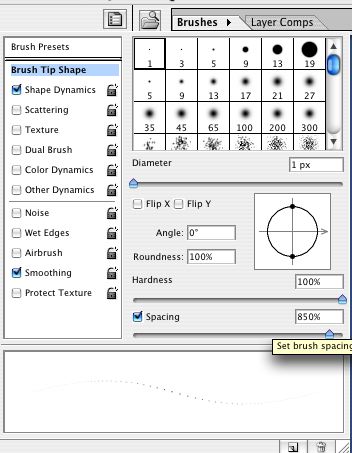
STEP 2
Set your brush up. I use a one pixel hard edged brush and I set the spacing to whatever looks correct for the plane at hand.
STEP 3
Once you've got the right spacing and the brush set up, the color you want for your rivets and a new layer for the rivets to be painted on, go to the path window sub menu and select "Stroke Path..." You can also select 1 or more paths from a whole set and selectively stroke just what you want.
(I know it sounds funny, but get yer mind out of the gutter!!!
) 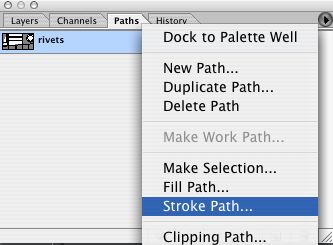
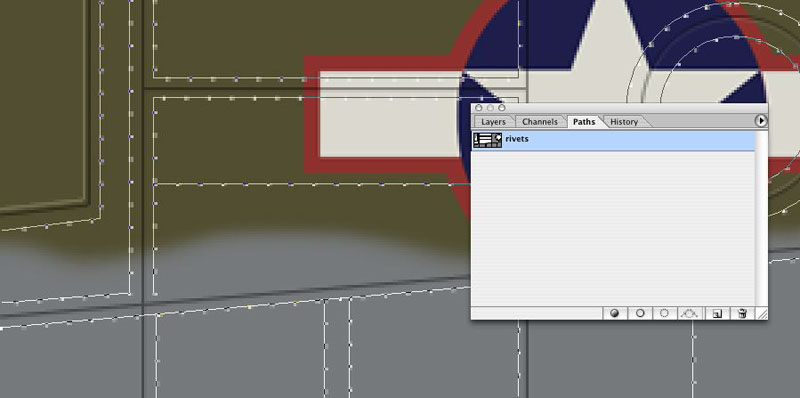
It'll ask what brush you want, in a pop up window, if you've already selected it, it'll show as the brush you'll stroke with. If not, select the brush you have just set up.
...And like magic, the rivets will just pop up!

STEP 3a
If you don't like paths or don't want to learn how to use them you can do the same by using the pen tool and the shift key to draw straight or diagonal lines, depending on when you hit the sift key. You can't, of course, draw circle rivets lines or curved rivets lines without a path. You'll have to arrange those by hand.
STEP 4
To finish it off I like to add a little shadow around the rivets. This is not only a shadow but also simulates the dirt that collects around both raised and flush rivets.
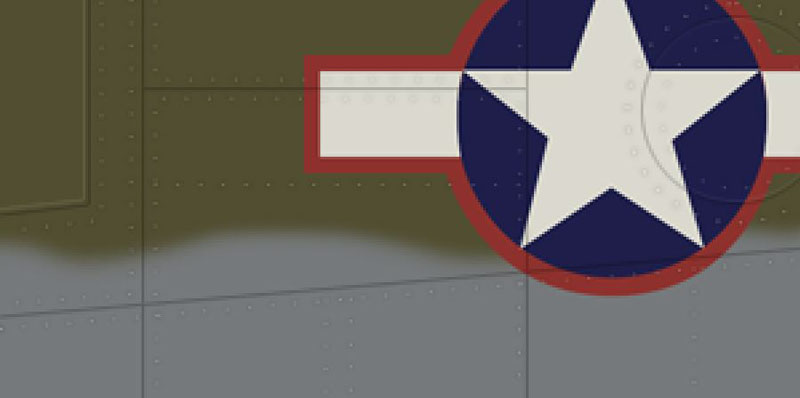
How it's done is easy, "select all" on the rivets layer and nudge the selection 1 pixel up and then one pixel down to it's original place using the move tool. The reason for this is it gives you an exact selection. If you use the magic wand the selection will never be exact no matter the setting of the wand. Next "select inverse" and create a new layer for your shadows. Fill it with black or dark brown or whatever. Then feather that selection by 1 pixel. This won't work if you've only got 1 pixel selections but if you end up with spit pixels as I have above, it'll do perfect.
Once you've feathered, clear it out. You'll be left with a perfect fuzzy dark ring around your rivets.
Of course this will only work if you have light colored rivets. Forget using that unless you want to show light catching the dimples around flush rivets, in which case you're set. For dimples you might want to expand by 1 pixel, then feather by 1 or even 2 pixels. It get's pretty damn complicated if you want to show directional light and shadow on your dimples.
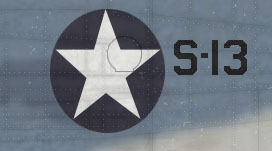
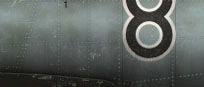
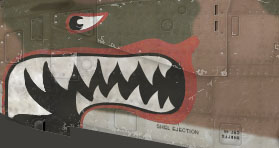
That's about it. The rest is up to you, how much you want them to stand out or blend in, what color you use, light or dark etc. I tend to like light ones but as you can see from the examples below, both work fine.
 Section Widget
