Page 2 of 7 FirstFirst 1 2 3 4 5 6 ... LastLast
Results 11 to 20 of 65
  1. #11
    Join Date
    Jul 2005
    Location
    Tracy Island
    Posts
    2,009
    Downloads
    0
    Uploads
    0

    Re: The Plastic Canvas

    Thanks guys. It's been nearly 20 years since I worked with plastic models, and this will be more customization/scratchbuilding than I've ever done. Things may be slow, but I'm looking forward to it.

    As for repaints in TS 2013, I've got the sim (and yes it did help prompt this project)... but I've not caught the repaint bug. Yet?


  2. #12
    Join Date
    Jul 2005
    Location
    Tracy Island
    Posts
    2,009
    Downloads
    0
    Uploads
    0

    Re: The Plastic Canvas

    An update after the weekend.

    I discovered that the plastic used to mold the locomotive is not compatible with my regular plastic cement. So for attaching details, I switched to super glue.

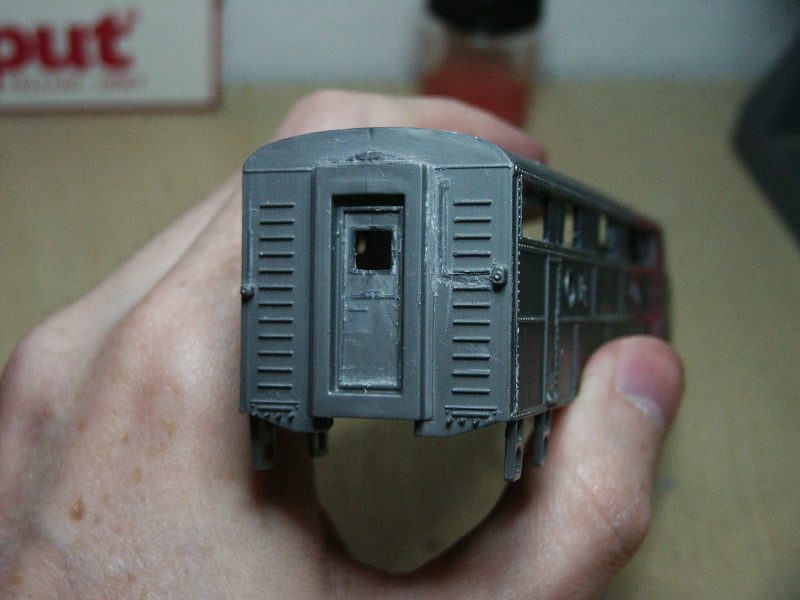
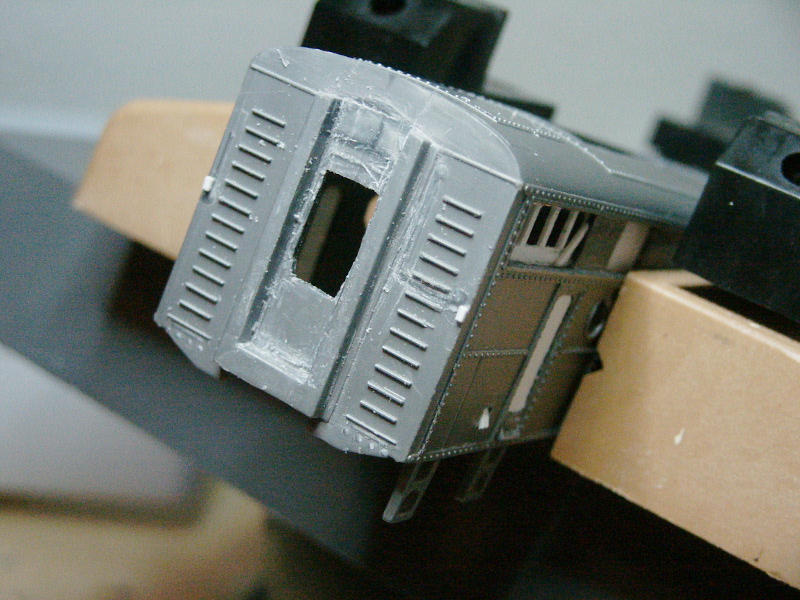
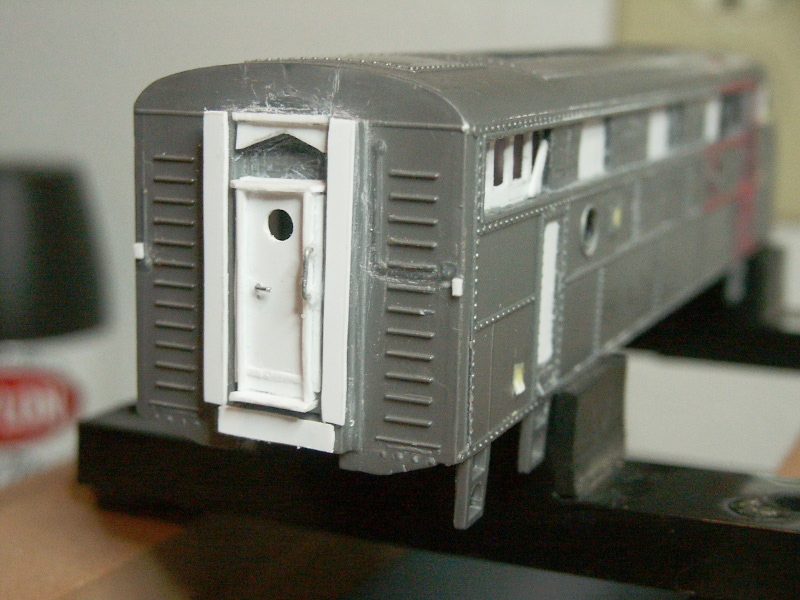
    In the first two pics, I bring the rear door closer to spec. To match the photos, it should be square on top, with the peak being only on the outer most pressure plate.
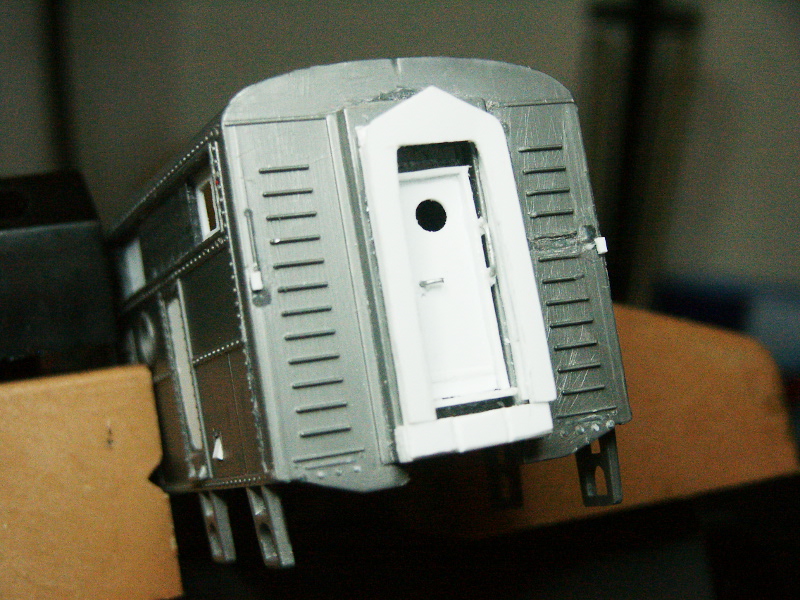
    Name:  1.JPG
Views: 125
Size:  226.4 KB

    And after:

    Name:  2.JPG
Views: 121
Size:  232.7 KB

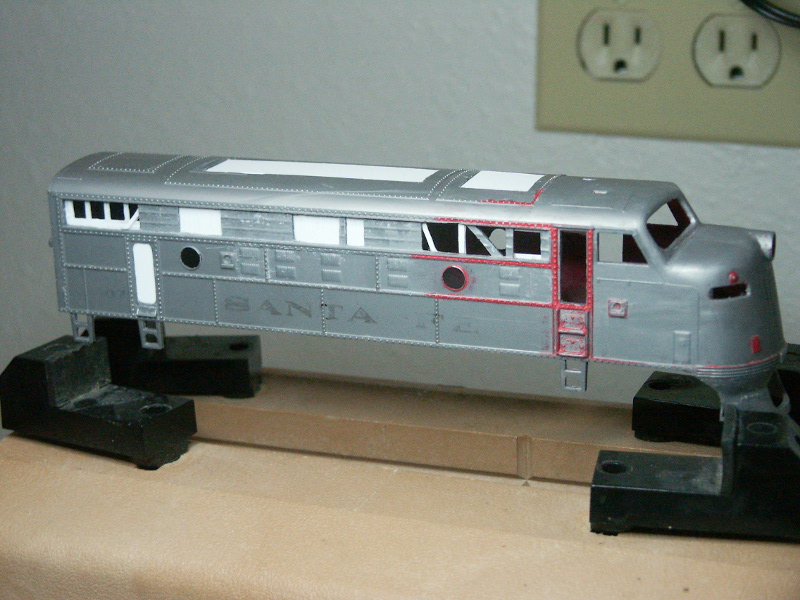
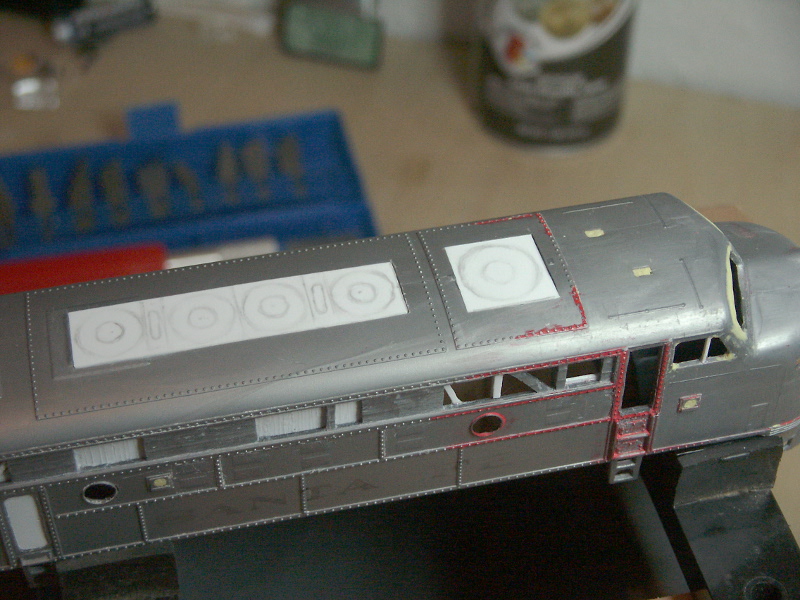
    And an overall view. The white parts are detail elements created from .020 sheet styrene and glued in place. The rear side doors have been cut out and recreated for a better depth effect, complete with the rounded corners. The rear door has the first layer of it's soft surround, to be built up further.

    On the roof, all of the fans were wrong, as was the surface they were molded on. Instead of being rounded, the fans should sit on a flat insert. You can see these inserts test fitted for the photos.

    Name:  3.JPG
Views: 118
Size:  249.9 KB

    Name:  4.JPG
Views: 120
Size:  238.3 KB

  3. #13

    Re: The Plastic Canvas

    You're getting there Your additions looks pretty good

    FAST AND BULBOUS!
  4. #14
    Join Date
    Jul 2005
    Location
    Tracy Island
    Posts
    2,009
    Downloads
    0
    Uploads
    0

    Re: The Plastic Canvas

    Another post weekend update.

    I built up the end door based on a couple of generic F9 reference pictures and some other models. The result, a covered flexible tunnel with a pressure plate.

    Name:  1.JPG
Views: 101
Size:  274.3 KB

    But then I found a photo with a barely visible bit of the end door of the exact engine I'm modeling. It was not the same door. This type has two upright beams and the door extends between them. So I ripped off all the first work, and recycled the parts. First I cut the shell into the uprights as a foundation.

    Name:  2.JPG
Views: 101
Size:  276.8 KB

    Then the detailing.

    Name:  3.JPG
Views: 101
Size:  243.9 KB

    Next up, I opened up the Milliput. This is my first time doing lots of these things, including working with this A+B putty. I started with a bit slightly smaller than a marble, working the two parts and then cutting some off for placement here and there. The really "good" working time was about 1 hour, maybe 1 hour 15 minutes. Then the putty started getting a bit crumbly as it was starting to set.

    But in that time I was able to do a good deal. I sculpted the front window shapes to something that looks less square. I also worked a bit into the corners of the cab front windows to round the squared corners. A few bits of filling on cab here and there.

    About 5 hours later, I began to gently shape and sand the putty. Results are very good so far.

    Name:  4.JPG
Views: 104
Size:  264.6 KB
    Name:  5.JPG
Views: 100
Size:  301.8 KB
    Name:  6.JPG
Views: 100
Size:  213.0 KB

    I had also sculpted a pretty good lower nose light. But the putty was ever so slightly "crumbly", as it was approaching an the 2 hour mark by then. So I scrapped it rather than risking a mess.

    Also some basic layout on the rooftop fan arrangement.
    Name:  7.JPG
Views: 101
Size:  237.1 KB

    Also this week, I've been thinking about buying an airbrush. I've only had those $9 units prior, and they didn't give very good results. I'm considering a Paasche H unit. Still not sure.

  5. #15

    Re: The Plastic Canvas

    WOW, heavy duty reworking there! Looking really good! The H is a pretty good simple basic airbrush. I've had one for more than 30 years. It's good for general coverage.

    FAST AND BULBOUS!
  6. #16
    Join Date
    Jul 2005
    Location
    Tracy Island
    Posts
    2,009
    Downloads
    0
    Uploads
    0

    Re: The Plastic Canvas

    Thanks BH.

    What kinds of paints have you had good luck with, when airbrushing models?

  7. #17
    Join Date
    Jul 2005
    Location
    Tracy Island
    Posts
    2,009
    Downloads
    0
    Uploads
    0

    Re: The Plastic Canvas

    Well, as for the H... I found a good deal on a Badger Anthem 155 so I grabbed it. The double action system might be useful for some weathering experiments, more so than the H probably.

  8. #18

    Re: The Plastic Canvas

    Double action is better if you want to do details, free hand stuff, and fine lines. I'm not familiar with that brush but it looks like it's a pretty decent one.
    I'm not a big fan of acrylic through an airbrush. I feel the that the drying "skinning" properties of either water based or alcohol based acrylic are problematic to say the least. But some people shoot them exclusively and have no problem. I'm all about heavily thinned enamels and lacquers, especially acrylic lacquer. Tamiya lacquer decanted from a spray can rules!

    FAST AND BULBOUS!
  9. #19

    Re: The Plastic Canvas

    I'm one of those who is happy going with the acrylic option, if only for the convenience and fact that cleaning the airbrush is a lot easier and quicker, plus the smell isn't so bad the other half will complain. It's the convenience that's swung it for me.

    Try out enamels and acrylics and form your own opinion though.
    Harriers...uppy downy things.
  10. #20
    Join Date
    Jul 2005
    Location
    Tracy Island
    Posts
    2,009
    Downloads
    0
    Uploads
    0

    Re: The Plastic Canvas

    Thanks for the input guys, I appreciate it. I've got both acrylics and enamels on hand, so I'll test with each.

Posting Permissions

  • You may not post new threads
  • You may not post replies
  • You may not post attachments
  • You may not edit your posts
  •