Page 7 of 9 FirstFirst ... 3 4 5 6 7 8 9 LastLast
Results 61 to 70 of 81
  1. #61
    Join Date
    Jul 2005
    Location
    Tracy Island
    Posts
    2,009
    Downloads
    0
    Uploads
    0

    Re: AMT Shelby GT350 build

    Hmm, I had not thought of that.

    But I'm sure someone has, 3D printing would be ideal for things with complex curves, like bodywork, which could then be smoothed to final form with putty and sanding.

    I will look that up today. Not that I'll ever get into anything like that myself, but it would be interesting to see what is possible/being done.

  2. #62
    Join Date
    Jul 2005
    Location
    Tracy Island
    Posts
    2,009
    Downloads
    0
    Uploads
    0

    Re: AMT Shelby GT350 build

    Very little hobby time this week. But some important progress.

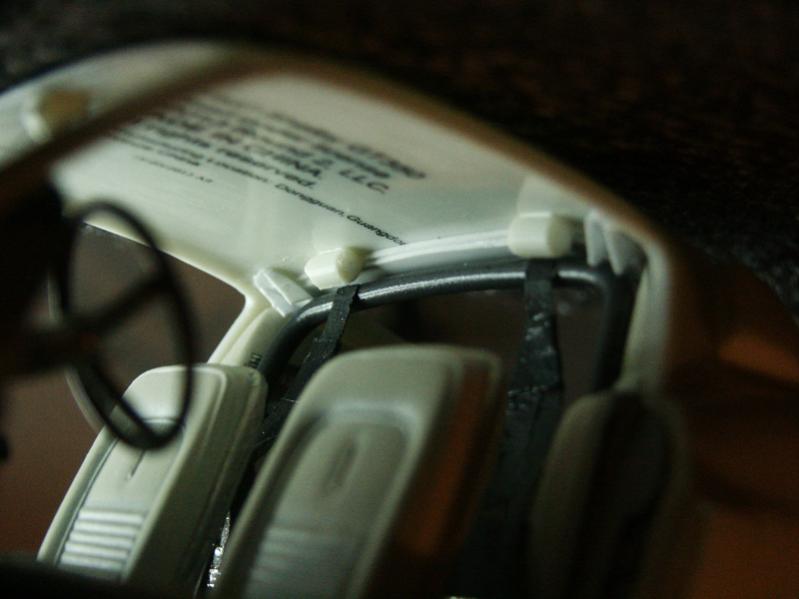
    I built the brackets that are welded to the top of the roll bar, which bolt to the roof of the car. These are glued to the roof, and thus don't touch the roll bar. Yet... I may amend that as assembly closes down the road.

    Name:  190 Roll Bar Mounts.jpg
Views: 69
Size:  35.7 KB

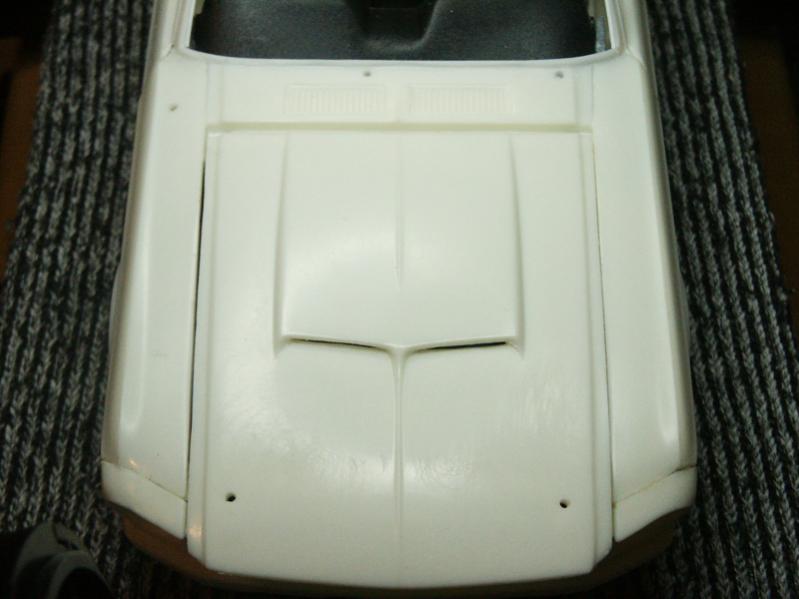
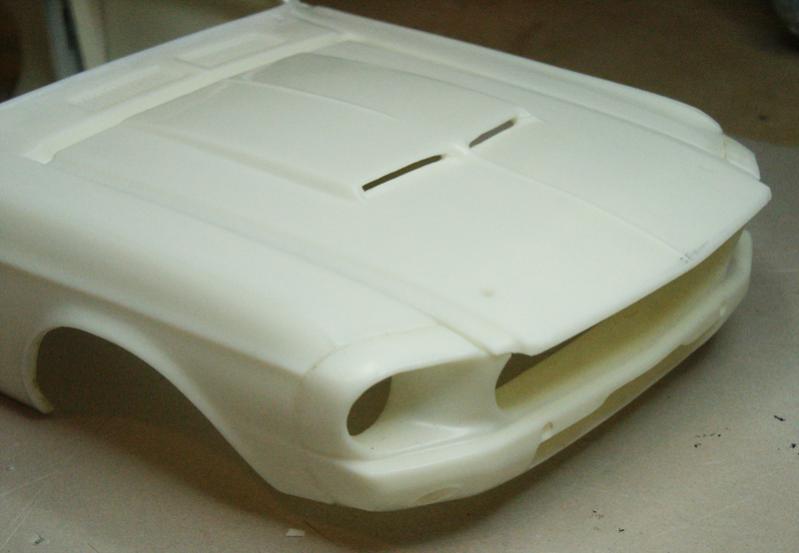
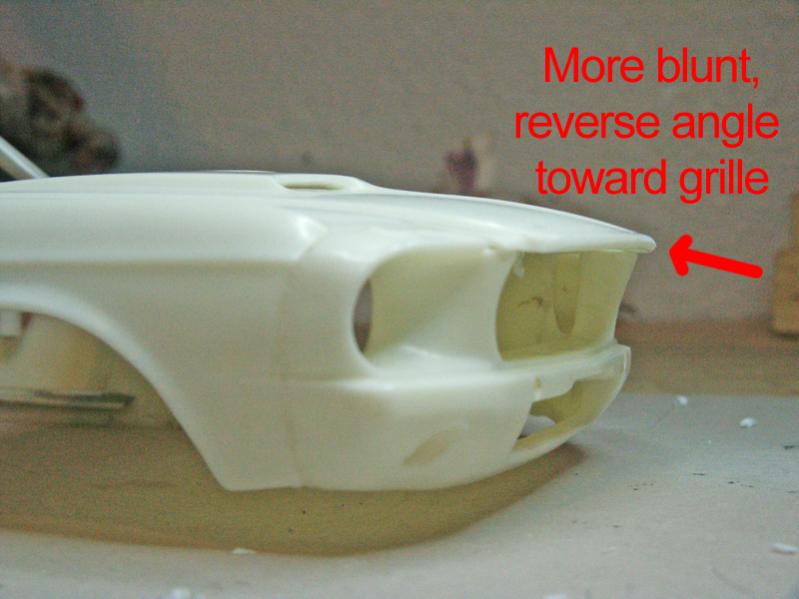
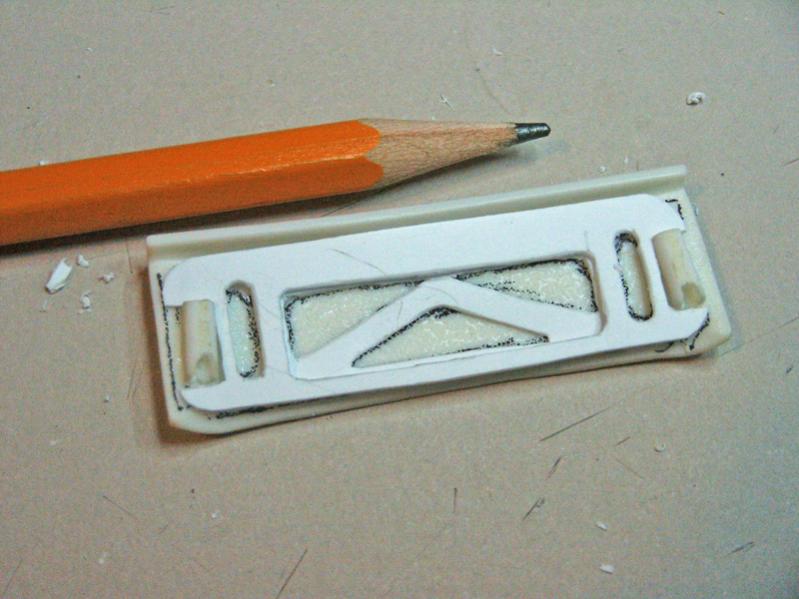
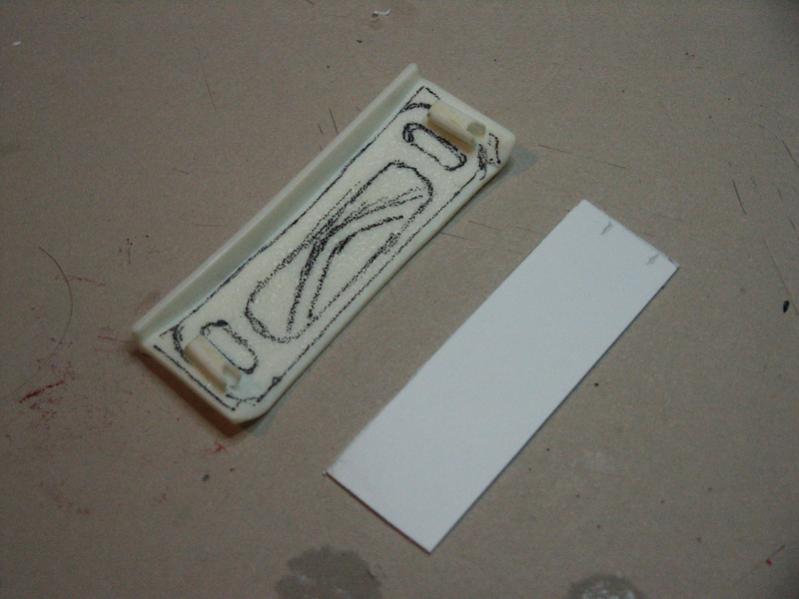
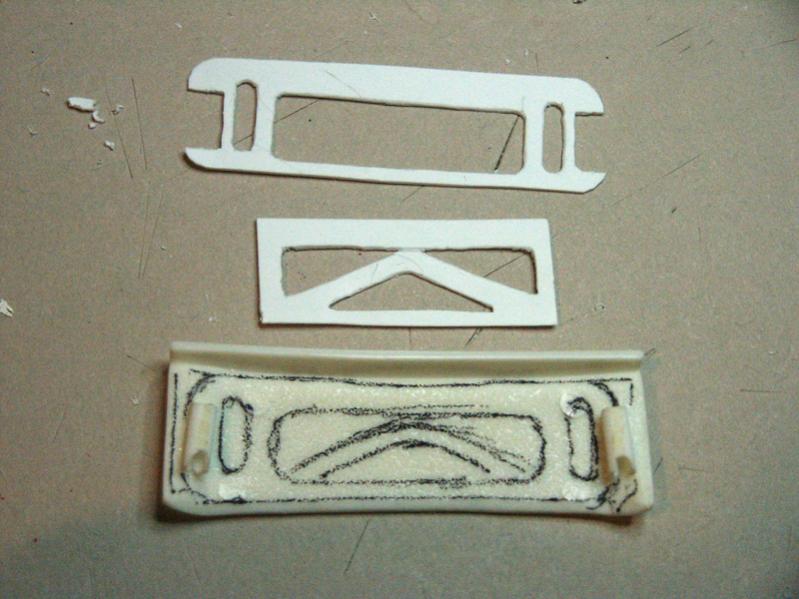
    Now the inside of the trunk lid needs some structural elements based on the photos I have. Below is the buildup. This is all glued and drying in clamps now. Still need the trunk latch underside of the lid. Then similar work on the underside of the hood next week!

    Name:  191 Trunk Structure Sketch.jpg
Views: 68
Size:  40.7 KB

    Name:  192 Trunk Structure Parts.jpg
Views: 68
Size:  60.7 KB

    Name:  193 Trunk Structure Fit.jpg
Views: 68
Size:  54.9 KB

  3. #63

    Re: AMT Shelby GT350 build

    This is so detailed you'll need to add the rust under the trunk mat

    FAST AND BULBOUS!
  4. #64
    Join Date
    Jul 2005
    Location
    Tracy Island
    Posts
    2,009
    Downloads
    0
    Uploads
    0

    Re: AMT Shelby GT350 build

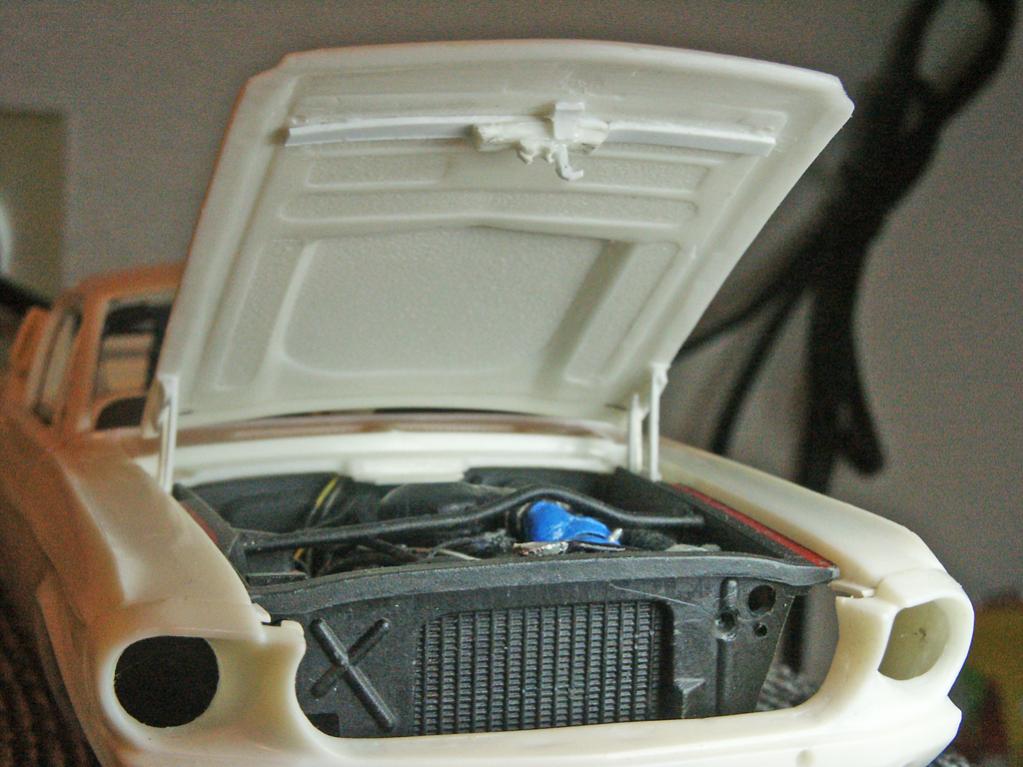
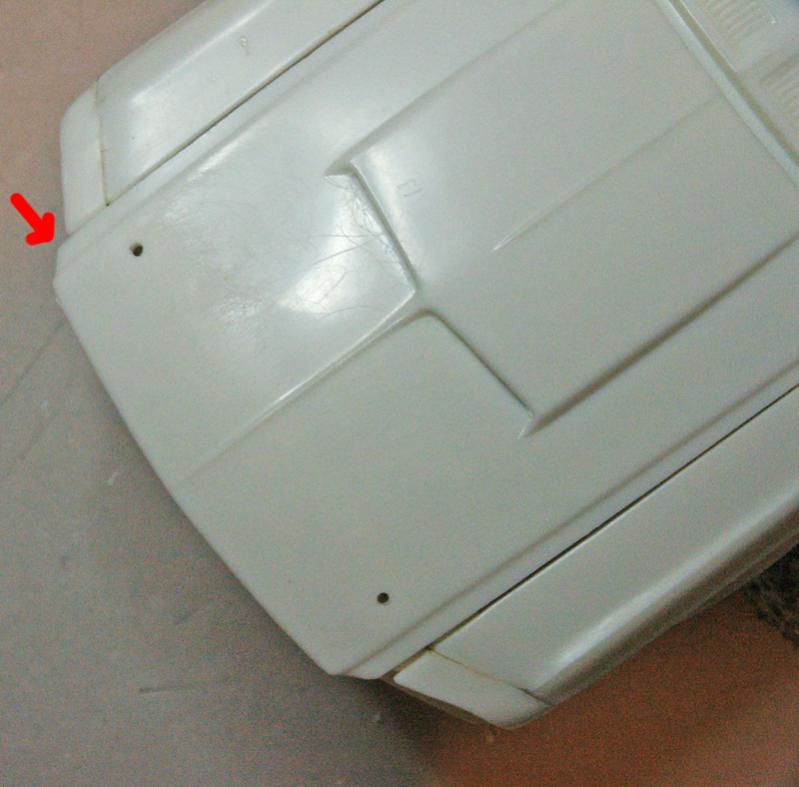
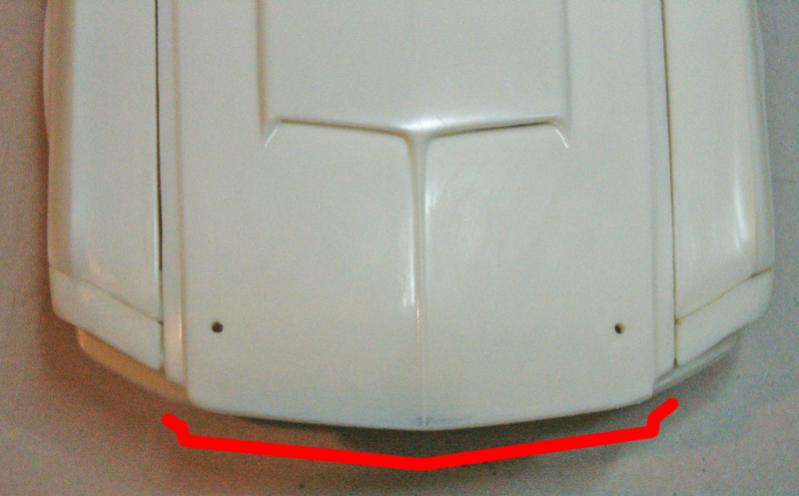
    No.... Not the rust!

    Well, maybe some road grime settled in the corners, I'm sure though.

  5. #65
    Join Date
    Jul 2005
    Location
    Tracy Island
    Posts
    2,009
    Downloads
    0
    Uploads
    0

    Re: AMT Shelby GT350 build

    Well I skipped the update last week, not much that was worth showing. Mostly very tiny sanding and such to refine the gaps on the doors, hood, and trunk. I want them to close and travel without touching the bodywork.

    Oh, and those trunk detail parts... The arrow shaped part in the middle, I looked at the photos, drew it UPSIDE DOWN, and then glued it upside down! Some time was spent correcting that.

    Built the hood latch:
    Name:  194 Hood Latch Open.jpg
Views: 60
Size:  92.6 KB

    Name:  195 Hood Latch Closed.jpg
Views: 61
Size:  51.4 KB

    A shot of the door gaps:
    Name:  196 Door Gaps.jpg
Views: 61
Size:  64.4 KB

    And I've been drilling the holes for the hood pins, windshield wipers, and radio antenna:
    Name:  197 Holes.jpg
Views: 63
Size:  42.0 KB

    Test fit radio antenna (final part will be steel, not copper):
    Name:  198 Test Antenna.jpg
Views: 61
Size:  61.4 KB

  6. #66

    Re: AMT Shelby GT350 build

    I swear this thing is going to drive away one day, 0-60 is six seconds or less.
    My stuff
    Milne Bay Campaign (Flightsim Files)
    Historical Pacific Single Mission Pack 01
    Historical Pacific Single Mission Pack 02
    Historical Pacific Single Mission Pack 03
    Historical Pacific Single Mission Pack 04
    Historical Pacific Single Mission Pack 05
    Saipan Thunderbolts Campaign
    Chance Encounter (M4T Exclusive)
    Russian Roulette (M4T Exclusive)
    Missionpack - BH-21 (M4T Exclusive)

    here at: http://www.flightsimfiles.com and http://mission4today.com
  7. #67
    Join Date
    Jul 2005
    Location
    Tracy Island
    Posts
    2,009
    Downloads
    0
    Uploads
    0

    Re: AMT Shelby GT350 build

    Ha! Racing to it's display case (I hope!)

    Well, an early update this weekend! Got a couple of good sessions finishing off body work, and got to spray primer!

    First, some changes to the hood. I noticed that the hood was sitting a bit forward, mostly due to my gluing it forward to allow a decent clearance for the rear of the hood to open. You can see the overhang here, particularly notable at the red arrow.
    Name:  199 Hood Too Long.jpg
Views: 54
Size:  53.6 KB

    And here, the reshaped hood. Red line indicates the shaping area. This was done with a piece of 100 grit sandpaper on a wooden block clamp, by hand.
    Name:  200 Hood Reshaped.jpg
Views: 51
Size:  29.6 KB

    Side view:
    Name:  201 Hood Reshape Side.jpg
Views: 51
Size:  31.3 KB

    And here, you can see that the very tip I blunted (it had been a bit sharp) and sanded-in a reverse angle slope toward the grille, as per photos of the real thing.
    Name:  202 Hood Reshape Tip.jpg
Views: 51
Size:  42.9 KB

    And primer! There were a few more details I had been considering adding before primer, but they can easily be done later. The body is lighter (and looks more rough) because the primer on it has been wet sanded at 1000 grit. It's actually smoother than the doors, hood, and trunk lid, which still await their wet sanding.

    A few tune-ups, and then another light primer coat will follow, and maybe more wet sanding to finalize for the acrylic body color.

    Wheels sit in for added fun. Sorry the photo has poor depth of field... low light, hand-held, and tired.

    Name:  203 Body Primer.jpg
Views: 52
Size:  78.0 KB

  8. #68

    Re: AMT Shelby GT350 build

    Don't apologise for the photo, it's looking good.
    Harriers...uppy downy things.
  9. #69
    Join Date
    Jul 2005
    Location
    Tracy Island
    Posts
    2,009
    Downloads
    0
    Uploads
    0

    Re: AMT Shelby GT350 build

    Color is on, the car is red.

    Unfortunately, so is a lot of other stuff in my workshop and even beyond. This Vallejo Flat Red 70.975 paint has been a total mess.

    I applied 6 thin coats over the medium-dark gray primer, spread between 2 days. Total spray time per coat was around 2 minutes for the entire body, keeping it thin, and very even. Until the 5th and 6th coats, the coverage on the car was very weak and the color wasn't saturated enough.

    But after the 6th thin coat, it was looking pretty good. Then I discovered that the floor, workbench table, shelves, tools, art supplies, etc. were also covered in a fine layer like dust. Wiping horizontal surfaces with an alcohol soaked cloth brings it up. Some paint "floated" or was tracked from the shop floor further into other areas. So I've been spending my free time cleaning every surface of this mess.

    Really took me by surprise. I have airbrushed various acrylics on canvases in this same workspace for a couple years, more than a dozen paintings. Even misting on large blue sky-scapes and out-of-focus effect green foliage backgrounds in nature scenes. Red and oranges in butterflies. I have NEVER had anything but a bit of predictable overspray on my workbench drop cloths and easel.

    I am ending all airbrush usage in my workshop. I'll do any further outdoors only. My most recent airbrushed canvas painting was completed nearly a year ago, so I am not really missing out on much. I am very happy that I didn't have any of my current painted canvases or Bristol paper artworks stored or drying near where they could be totally ruined.

    Anyway I'm a bit annoyed with it all. I'll get back to the model sometime later.

  10. #70
    Join Date
    Jul 2005
    Location
    Netherlands
    Posts
    2,066
    Downloads
    100
    Uploads
    55

    Re: AMT Shelby GT350 build

    That sounds bad.
    Is it possible to install a hood like one you use for cooking to keep the workshop clean?

Posting Permissions

  • You may not post new threads
  • You may not post replies
  • You may not post attachments
  • You may not edit your posts
  •