


 Reply With Quote
For some reason I almost expect an 8-Track player to be installed under the dash. Awesome work!

 Forum Guy

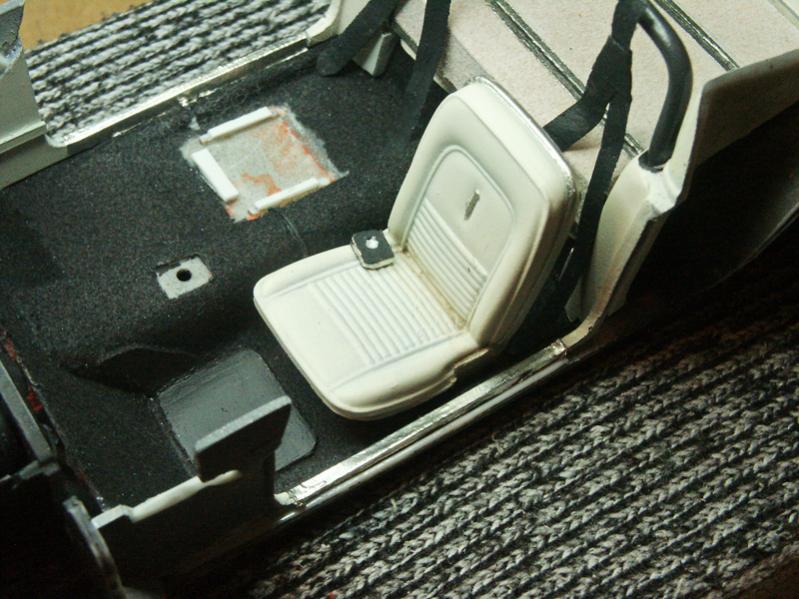
A good bit of work completed this week, but just two photos. Most all of the work was final gluing of everything you've already seen so far in the interior. Seat belts, lap belts, seats. Seats were glued using plastic cement, but the seat belts were glued using E6000 adhesive. I chose this because it seems to hold well in my few prior uses, and it allows me a brief time to position the item before it dries.
My CA glue is literal instant bond. First touch is locked in place, and with the seat belts, the lap belt retractors especially, which need a good bit of fiddling to get the right spot, CA would have been unworkable.
Here's a photo of the Bare Metal Foil thresholds under the doors:
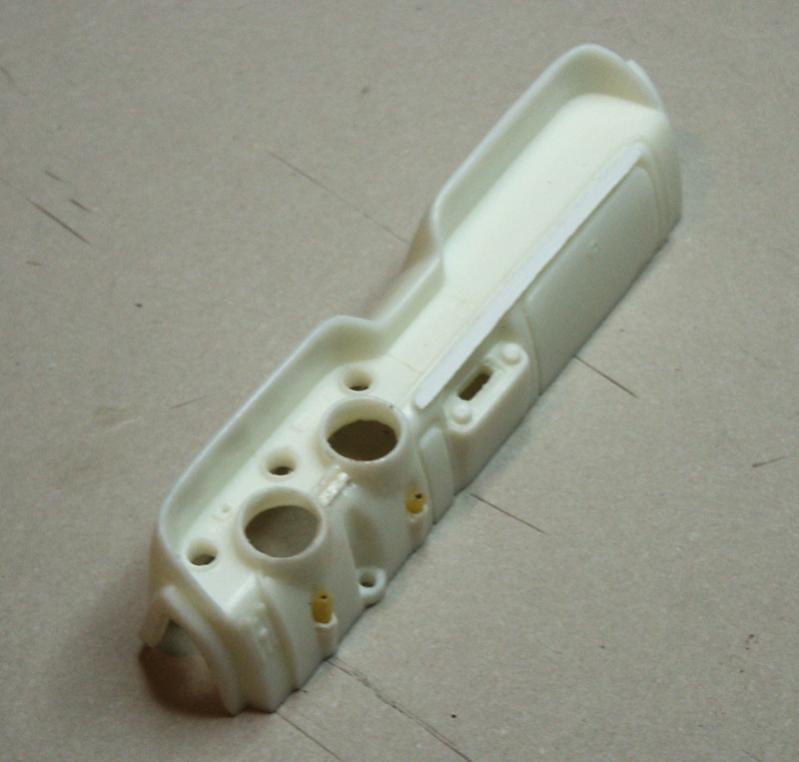
Next, some progress on the dash panel. You can see the early works of the new light switch and ignition switch below dash. The wires will be puttied in place (maybe Milliput) and contoured, to better place them (IM. Also you'll see two strips of white styrene glued along the dash. One small one, between the speedometer and tachometer, the other longer, a padding that runs above the radio and glove box. Both fix deficiencies compared to photos of the real car.
These need a bit more shaping, but look the part already. I still need to add the bracket to the lower left of the dash for the parking brake handle. These should be ready for primer this week!
Member
For some reason I almost expect an 8-Track player to be installed under the dash. Awesome work!
My stuff
Milne Bay Campaign (Flightsim Files)
Historical Pacific Single Mission Pack 01
Historical Pacific Single Mission Pack 02
Historical Pacific Single Mission Pack 03
Historical Pacific Single Mission Pack 04
Historical Pacific Single Mission Pack 05
Saipan Thunderbolts Campaign
Chance Encounter (M4T Exclusive)
Russian Roulette (M4T Exclusive)
Missionpack - BH-21 (M4T Exclusive)
here at: http://www.flightsimfiles.com and http://mission4today.com
Forum Guy
Hahah! No 8-track, but it will have the factory option AM radio!
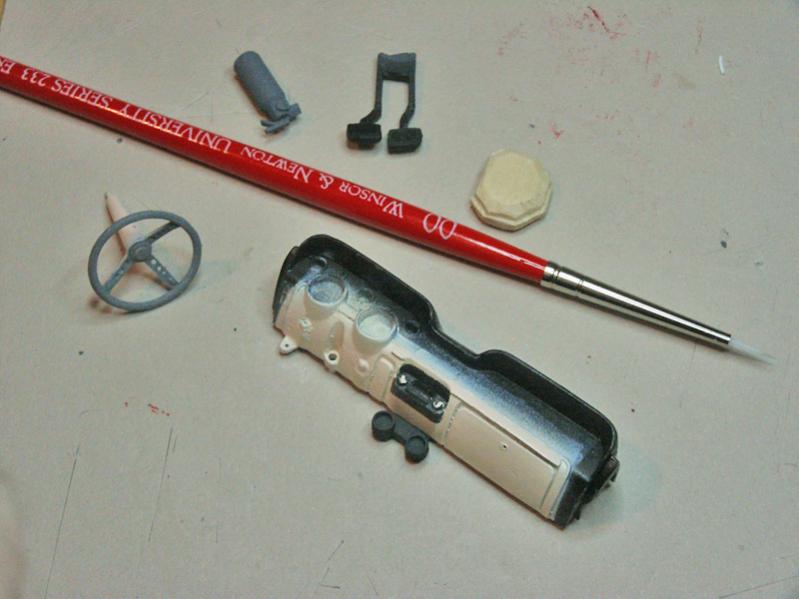
The dashboard continues, little by little.
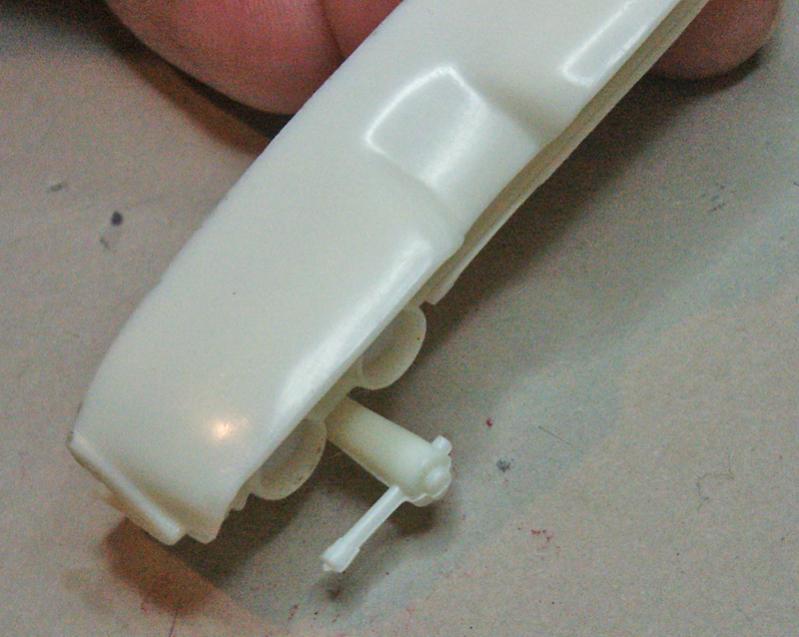
Up first, a shot of the steering column and the too large and (apparently) wrong angle lever.
I cut the levers off, drilled a hole through the column, and used steel wire (with some black insulation on the right hand lever). Note the signal lever leans toward the driver a bit, rather than 90 degrees out.
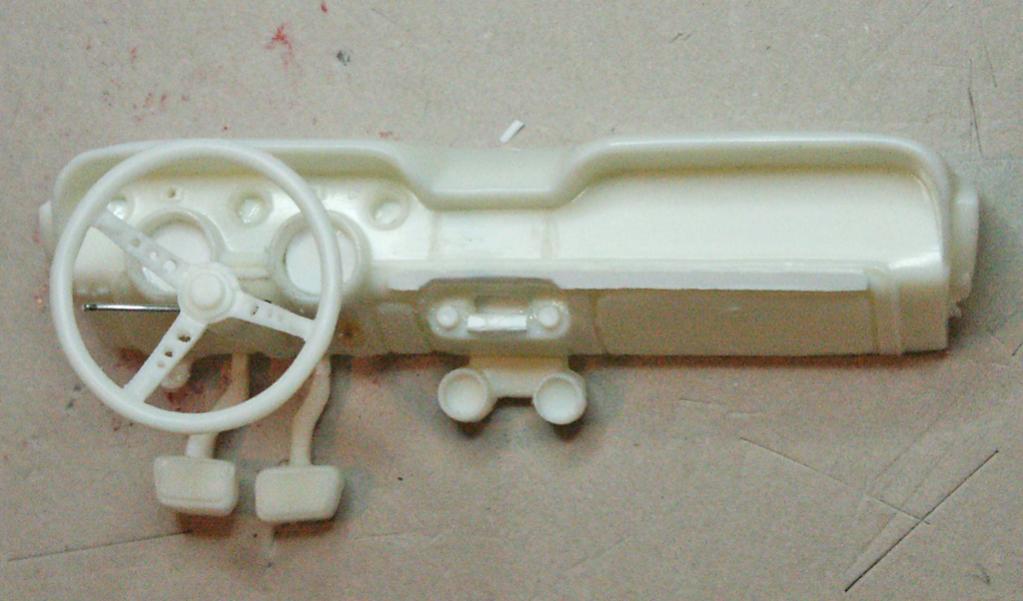
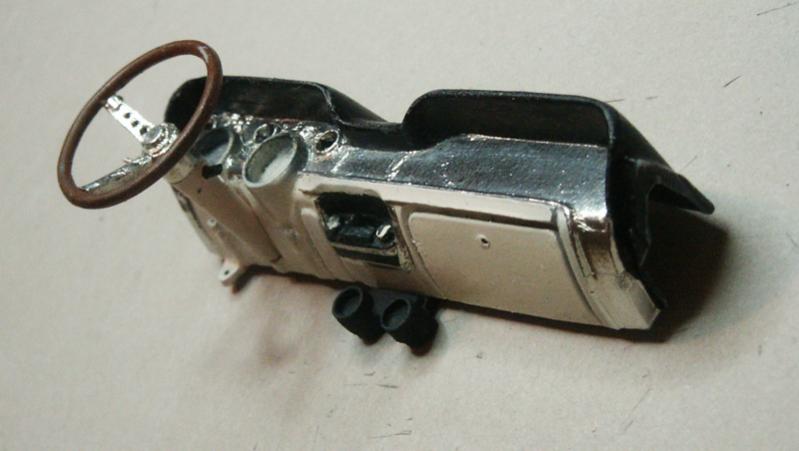
And a test fit. All instruments drilled and smooth backing glued in place. AM Radio too, along with it's push buttons. I also drilled out those tiny holes in the steering wheel using three sizes of wire as bits in my pin vise. Pedals are just sitting in for effect.
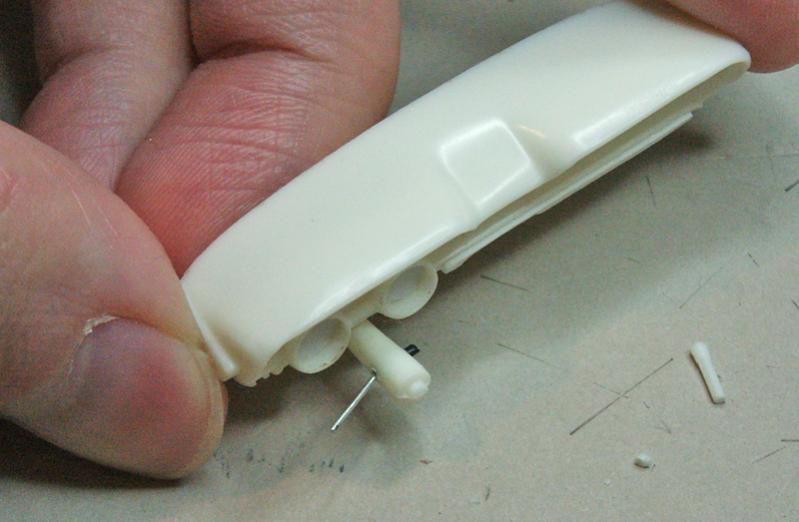
Lower angle shows parking brake bracket, wire replacements for the lights switch and ignition switch, and shows off the padding running above the radio and glovebox.
Darn close to primer on this. Weather outdoors lately is either baking hot, or wet and humid, neither of them fun for spraying priming.
Grand Wazoo
GREAT!!!!!

FAST AND BULBOUS!
Forum Guy
Ah YES! The dimmer button. And it looks like the 1967 models had a foot operated washer fluid lever on the floor, right above the dimmer button. I'll have to model that, too!
This week, primer went on the dash parts. Time to paint. Painted, ruined it. Just a knick on the lower parchment color, but enough to require a repaint. So, OK. I move on and do a clean job on the black vinyl dash top. And then ruin that too, making an ugly mark on the acrylic satin varnish.
So all ruined. All sanded back to mostly some scuffy paint and primer. And painted all over again, and cleanly. Whew.
Here the second coat of paint drying for the night:
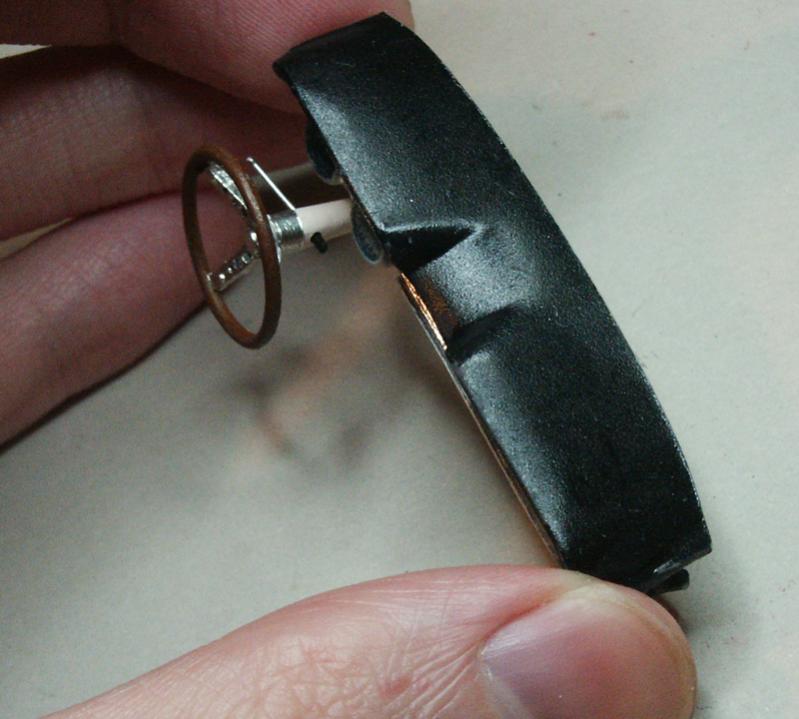
And then on to applying the bare metal foil. This went well for the most part. To get a smooth finish between the instrument nacelles, I had to piece it... many many pieces. Arg. Still some remains, the radio buttons and knobs, and such. Also got the steering wheel done with foil. My florescent ring light makes the metal foil look terrible, but in person it's pretty good. I'll grab a few under better lighting before final dash installation.
And the satin black vinyl top of the dash.
Up next, printing out the instrument decals, and preparing the clear plastic lenses to cover them.
And trying not to ruin anything.
Member
That dash is awesome, you have far more patience than I.
My stuff
Milne Bay Campaign (Flightsim Files)
Historical Pacific Single Mission Pack 01
Historical Pacific Single Mission Pack 02
Historical Pacific Single Mission Pack 03
Historical Pacific Single Mission Pack 04
Historical Pacific Single Mission Pack 05
Saipan Thunderbolts Campaign
Chance Encounter (M4T Exclusive)
Russian Roulette (M4T Exclusive)
Missionpack - BH-21 (M4T Exclusive)
here at: http://www.flightsimfiles.com and http://mission4today.com
Grand Wazoo
Yeah, it looks just like padded vinyl
FAST AND BULBOUS!
Forum Guy
Not much chance to work on this during the past week, but a bit of progress.
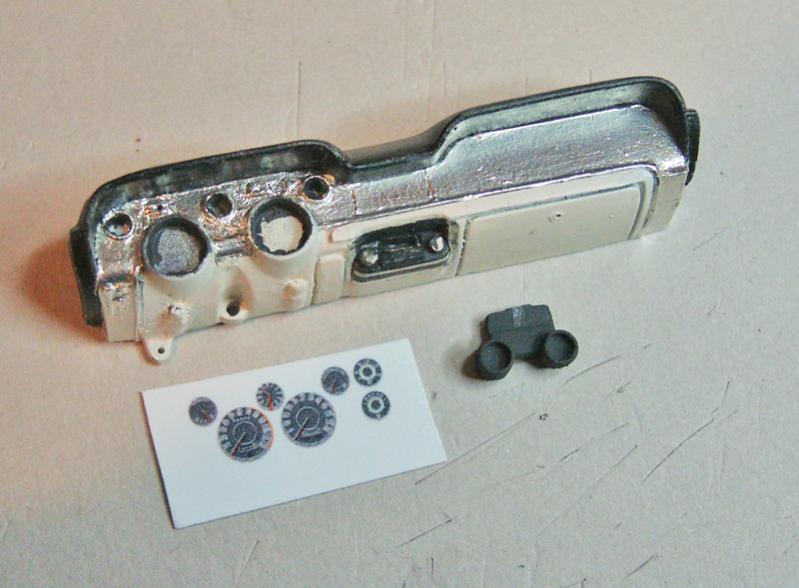
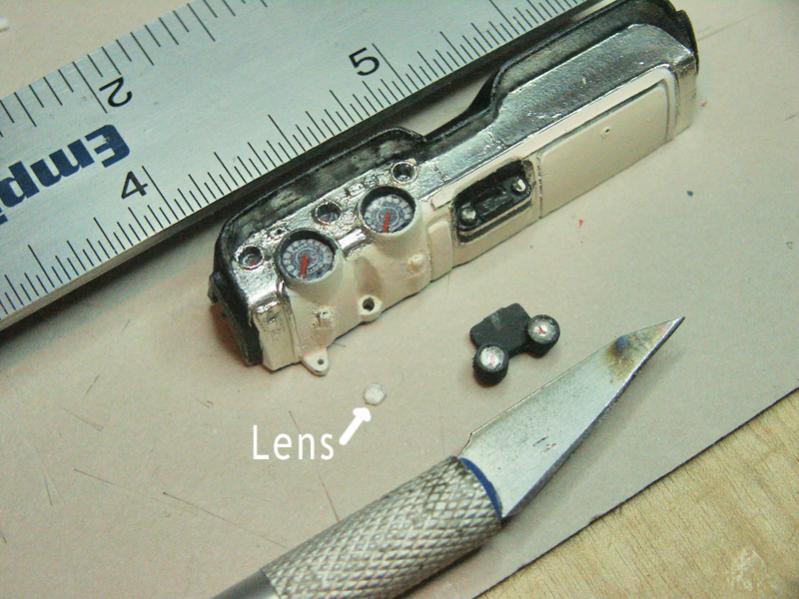
First, I created my gauge art and printed the decal on heavy paper.
The parts ready for assembly. Note that the orange gauge needles didn't print out as bright as I wanted. I repainted them with a 00 size brush for better intensity.
Here, the lower gauge set is done, complete with a round bit of foil on each, and then the needle painted on top, and under the plastic lenses. You can see another lens awaiting installation on the main panel, too. Those lenses are made from the plastic you find in ordinary "blister" product packaging. Slow work.
Also, you can see the foil again here. Not sure I'm really going to be satisfied with the final result here, but it's all soooooo tiny. Even my 00 paintbrush seems like a Marks-A-Lot. :dizzy: See the repainted needles.
Once the gauges are done, and the steel wires for the glovebox door button, and the wiper switch, and the little window for the radio dial, it should be about ready to glue in place. Maybe next week!
Junior Member
Hi.
Thanks for your reply message on how to cut the doors out from the body molding. Regards
Forum Guy
My pleasure!
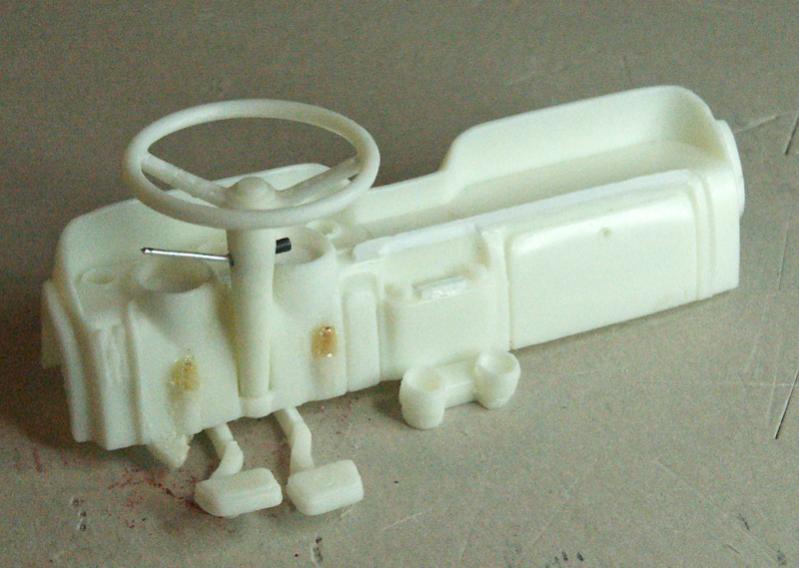
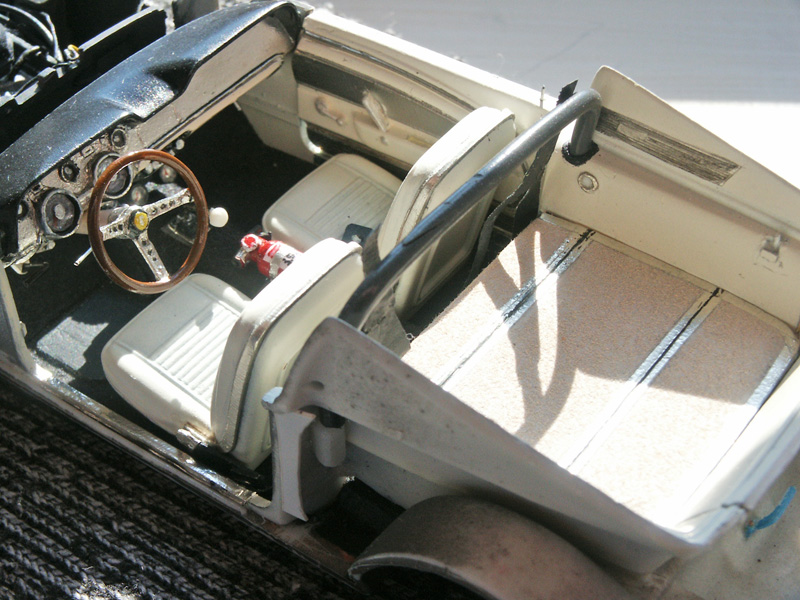
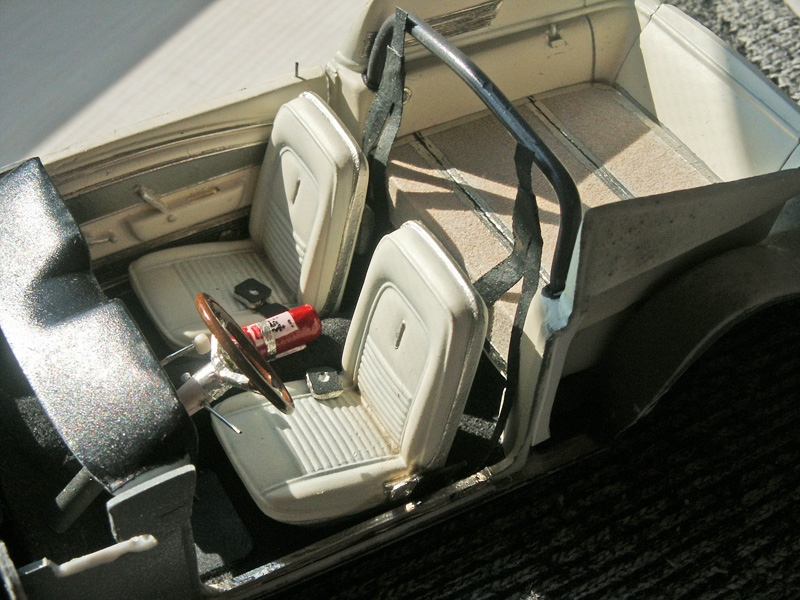
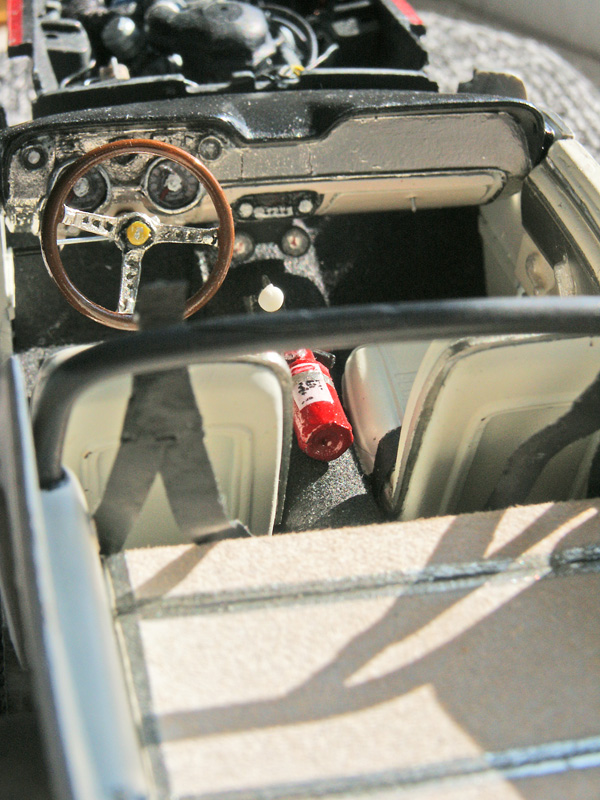
Ok, well a few new things here. Completed the gauges, placed their little lenses and then applied the center "hubs" on each lens. Also glued the under-dash steering column from which the pedal assemblies will be hung. Painted and detailed the fire extinguisher, still not glued in place as I'm not sure where I'll put it.
I've used these photos to correct a few little problems, and I still see a few more than need fixing. Biggest is the missing Shelby emblem on the passenger side of the dashboard. This wasn't molded in the kit, and looking closely, there isn't even one molded on the drivers side of the trunk lid, NOR on the fenders! So some extra fun making those.
I took these photos in direct sunlight, hoping to get a better result that the flat and dull florescent ring light.
 Posting Permissions