-
Re: AMT Shelby GT350 build
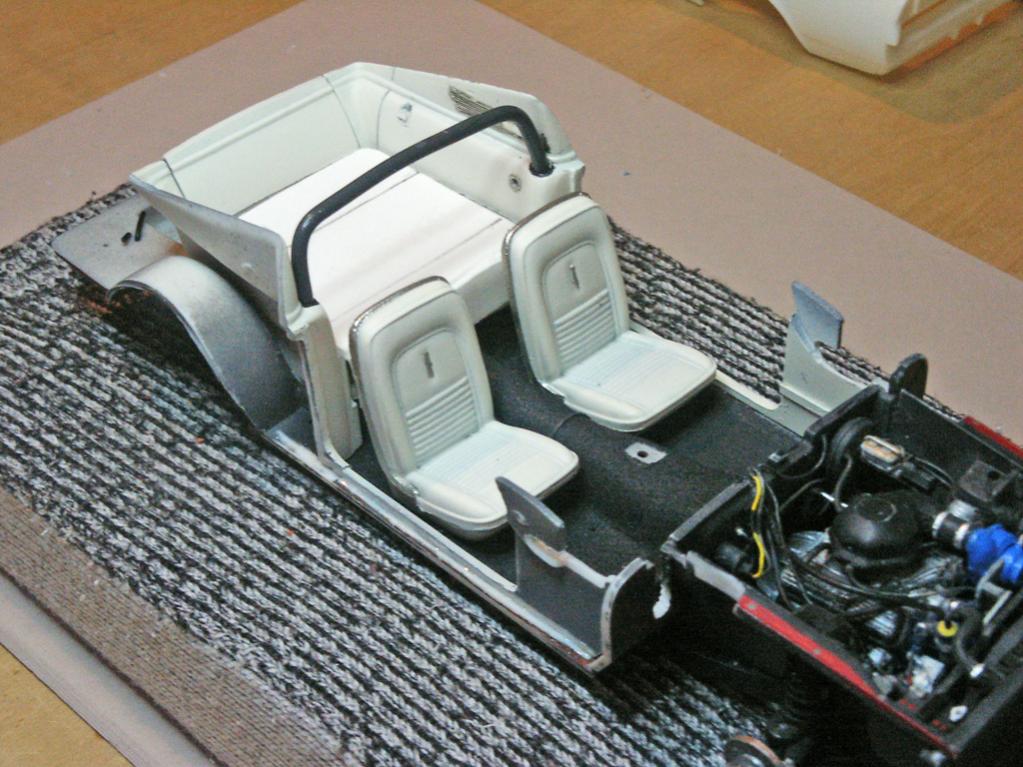
Finally making some headway on the interior. So many little things getting worked on individually, that it seemed like overall progress had slowed!
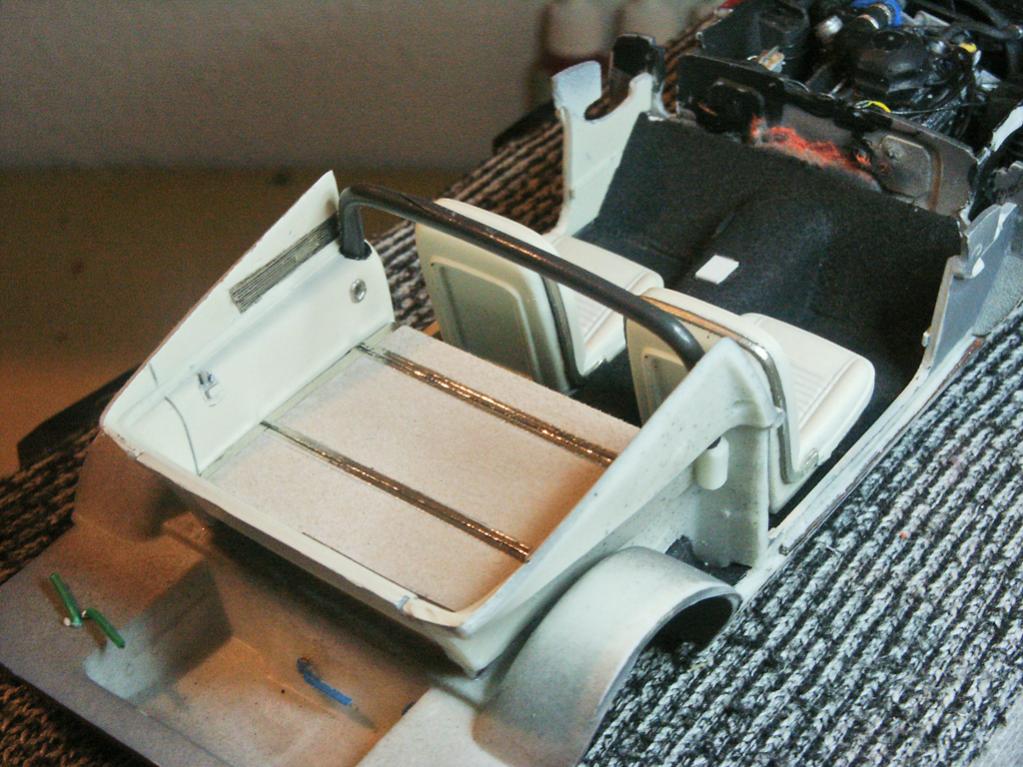
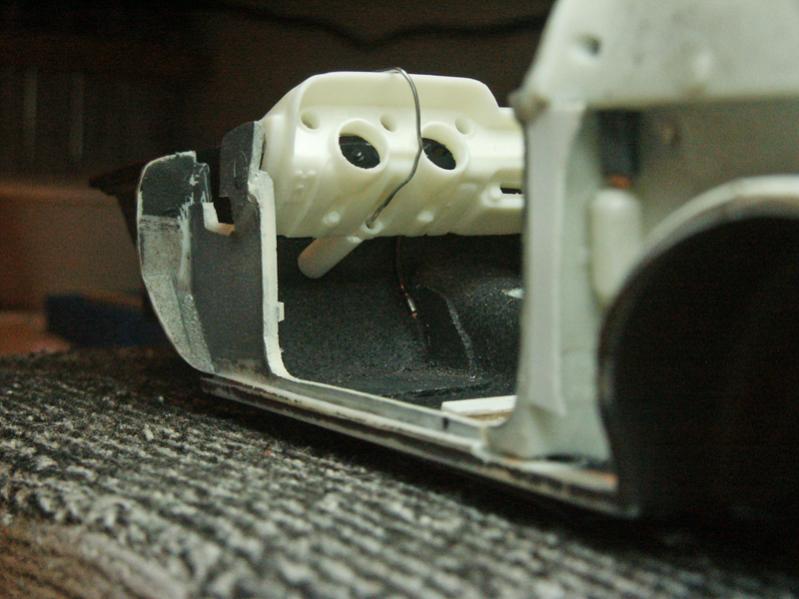
First picture shows the roll bar which I shaped from coated copper wire. To this bar I'll superglue the inertial reel seat belt mechanisms in place, as well as the mounting flanges that bolt to the roof. I am also thinking about building a little fire extinguisher and strapping it to the roll bar on the passenger side. It may add some interesting details and color variety in the interior.
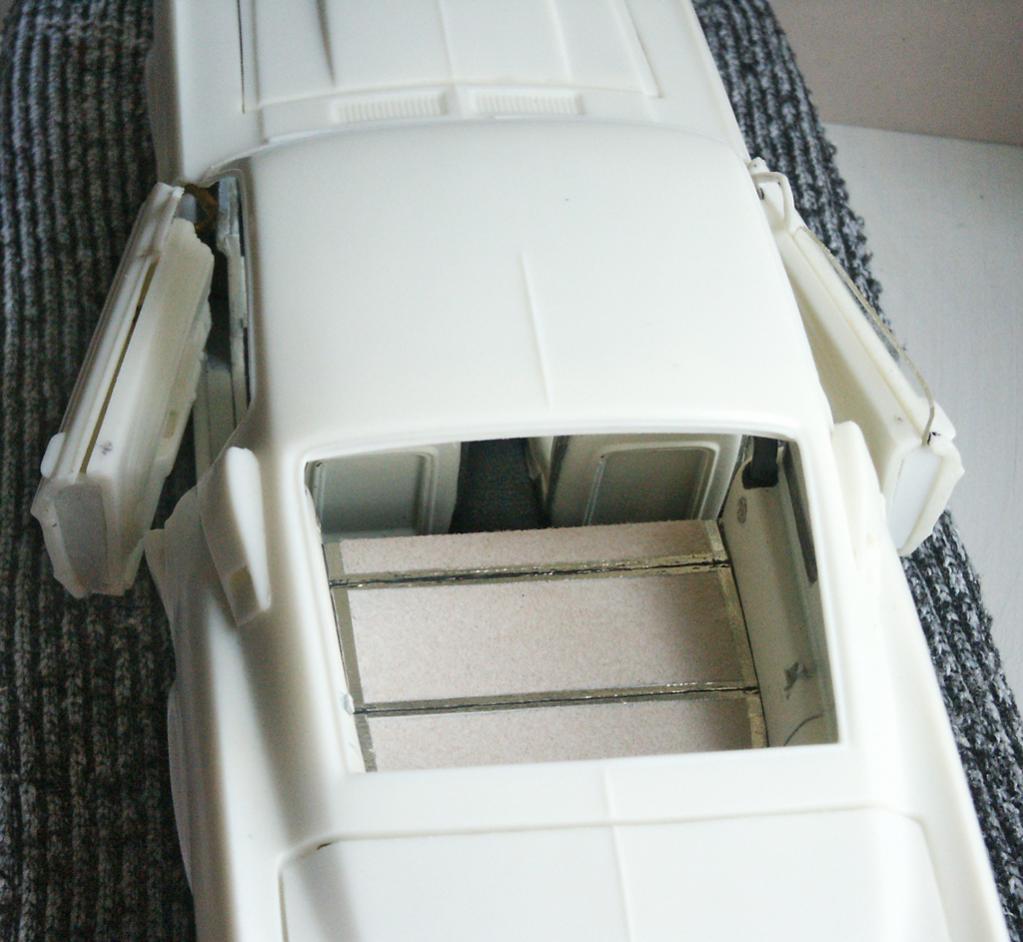
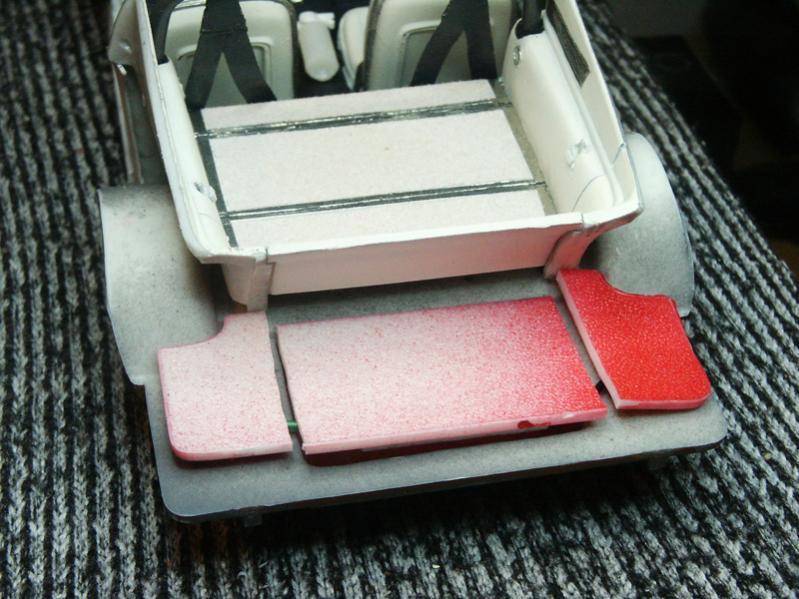
The rear center panel of the interior is glued in place now, and I had to cut away the molded-in rear most rear floor panel which was attached to it. That floor panel was much too short, and it'll be easier to work the the floor panel as one piece, rather than several anyway.
So the floor panel in this first photo is a piece of carboard cut to shape, and has pencil lines where the panel seams should be.
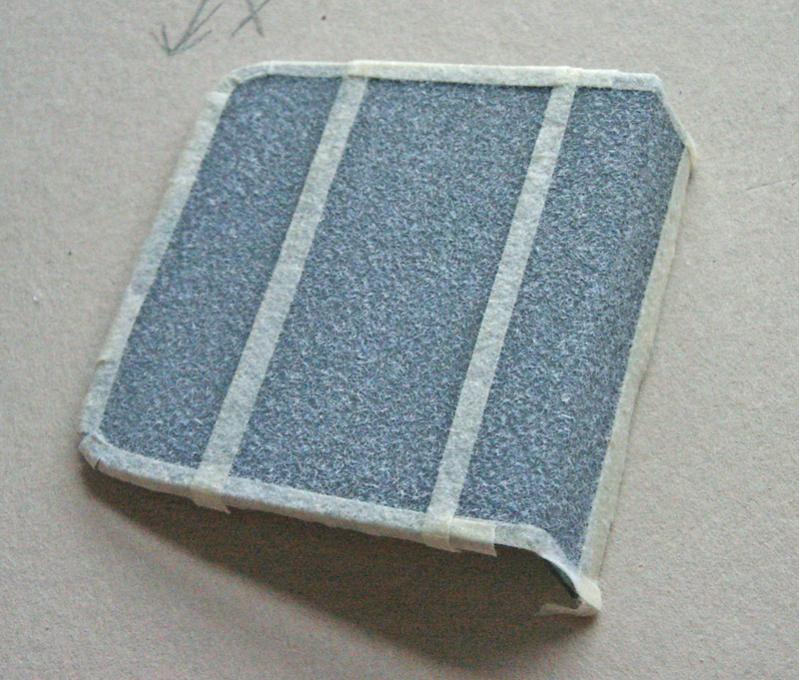
Here in the second photo, the folded seat backs/floor panels are shaped in sheet styrene. Panel lines are scored in to a modest depth. This entire part is ready for priming, but the weather today isn't great so I may wait. After priming I'll mask off the edges of the panels where the metal frames and piano hinges go, and then flock it. The carpet flocking I am going to paint a slightly darker, warmer tan color, for a bit of visual contrast against the lighter plastic sidewalls. Then the masking will be removed and bare metal foil will be applied to the panel edges and along the scored panel lines.
The interior needs vacuuming again (with a soft brush, lol) as the sanding leaves little debris everywhere!

-
15th June 2014, 05:14
#32
-
16th June 2014, 02:51
#33
Re: AMT Shelby GT350 build
Super nice detail!  I like the carpet.
 FAST AND BULBOUS!
-
23rd June 2014, 02:07
#34
Re: AMT Shelby GT350 build
Thanks BH, I'm glad I got the carpet to turn out. I am constantly ensuring that it stays clean and protected now, lol!
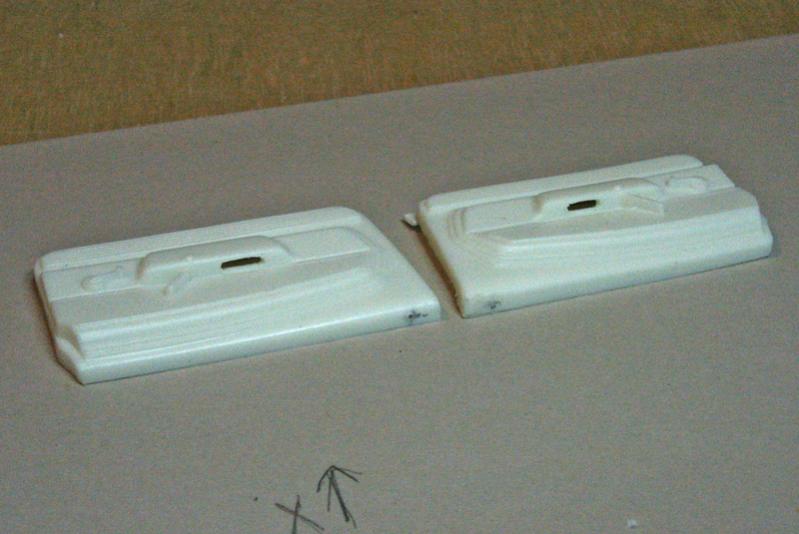
More little details being worked on. I drilled/carved out the hand pulls on the interior door panels, and drilled the hole for the door lock with a wire heated in a candle flame.
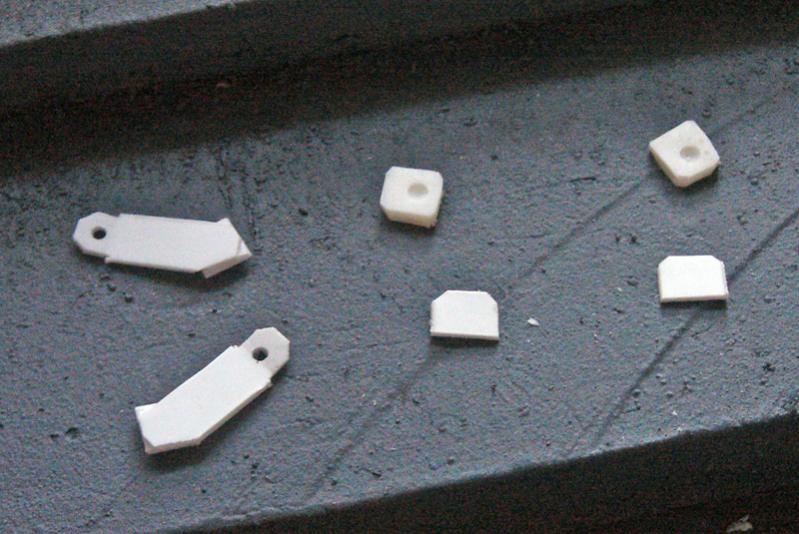
This past week, the seat belt hardware. Lap belt retractors, buckcles, belts, and floor hardware for mounting the shoulder belts later.
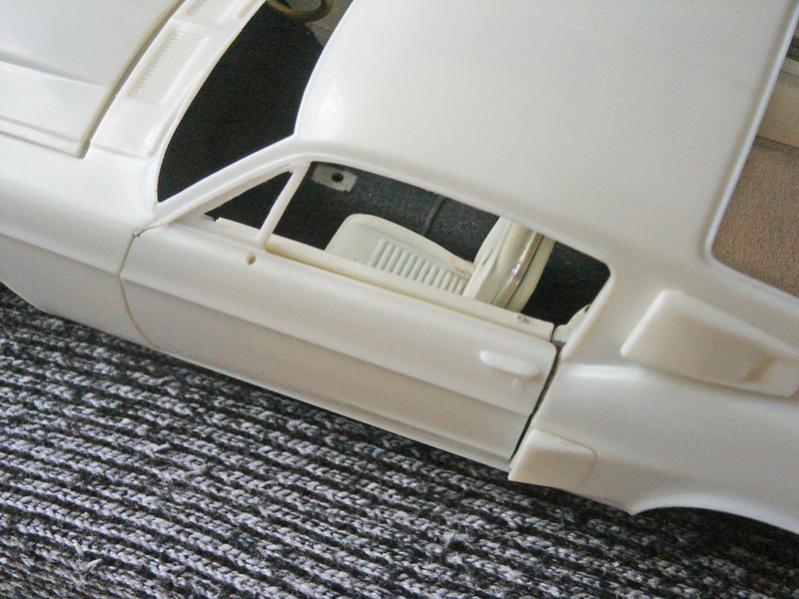
Here some test fitting the interior door panels to the exterior door. You can see the slot opened up for the window glass (and a scrap test glass test fitted on one side). Also used this time to work on closing the bottom and rear of the doors up with scrap sheet styrene.
Interior door panels were temporarily tacked in place using CA glue for this work.
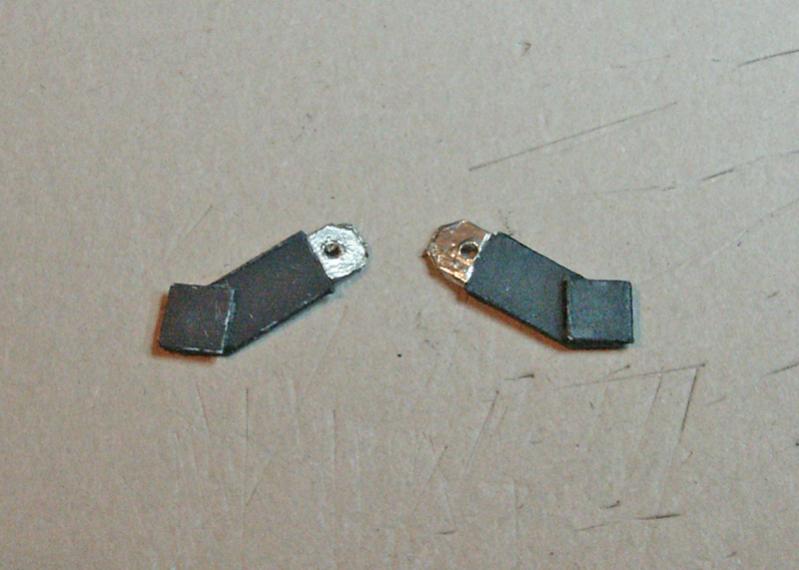
All these interior parts went out for priming today. Here are the painted lap belt retractors with bare metal foil used on the catch.
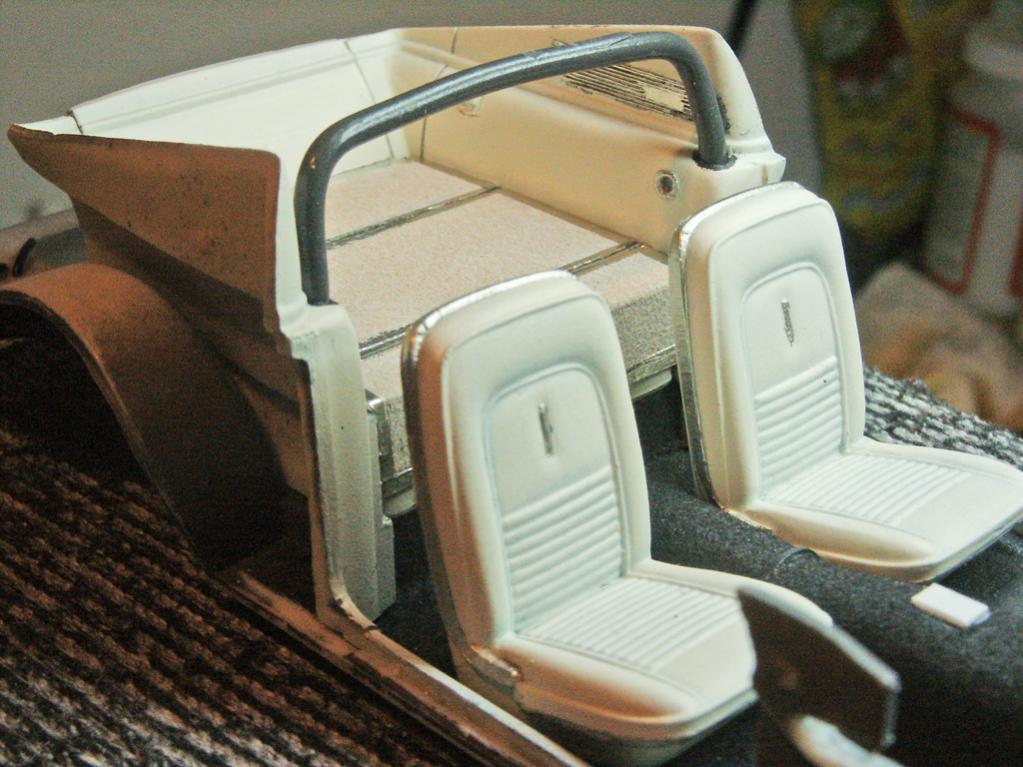
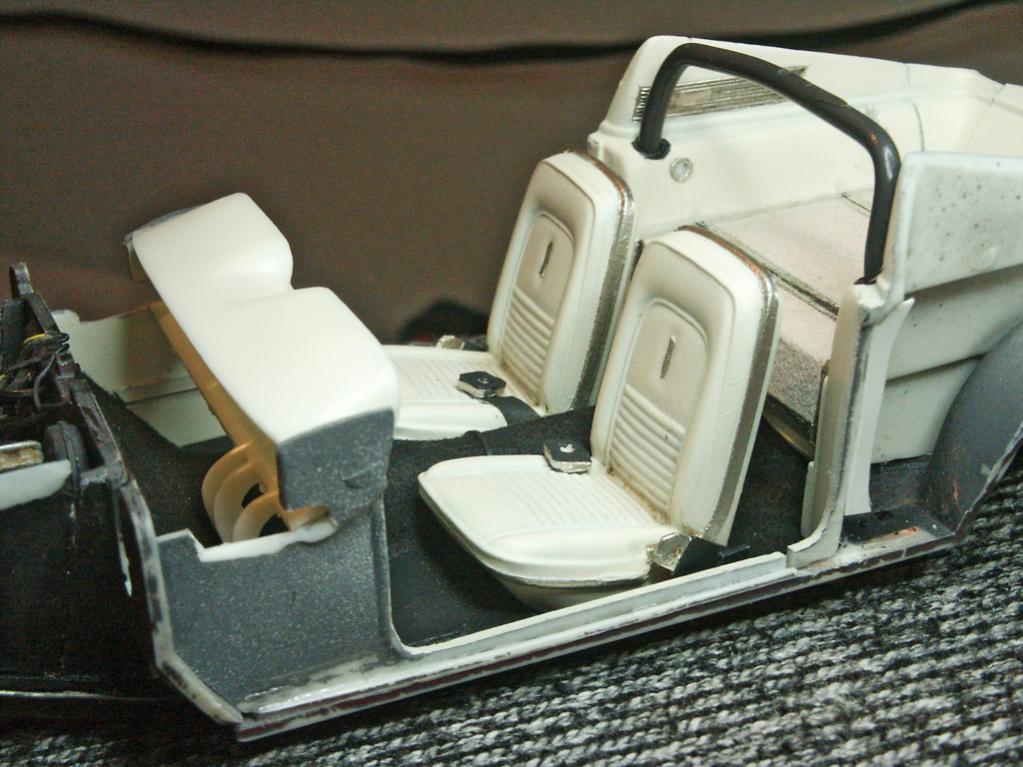
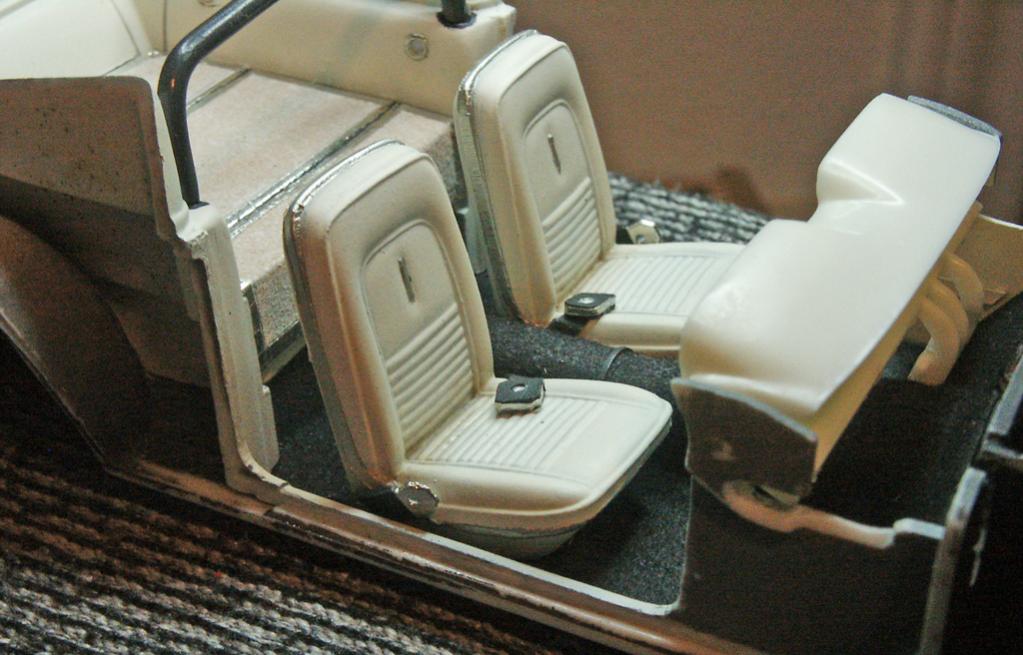
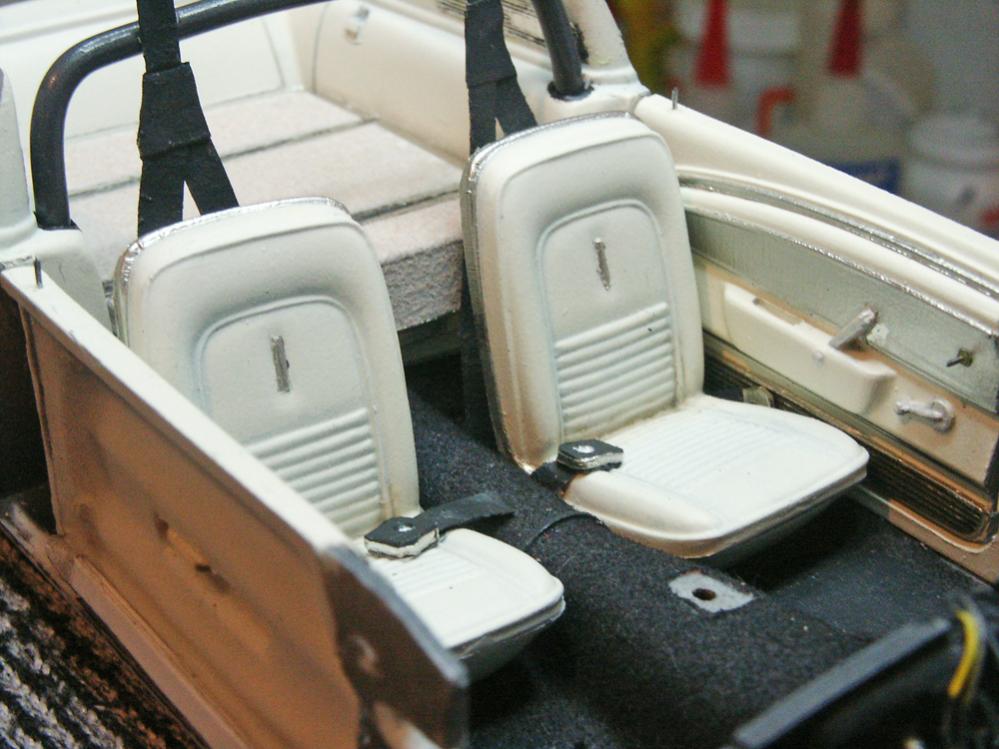
And now, all test fit together. Still not going to glue the seats, as I've got to leave my fingers enough room to install the shoulder belts that hang from the roll bar. Once they are in place and glued, then the seats and lap belt retractors can glue in place.
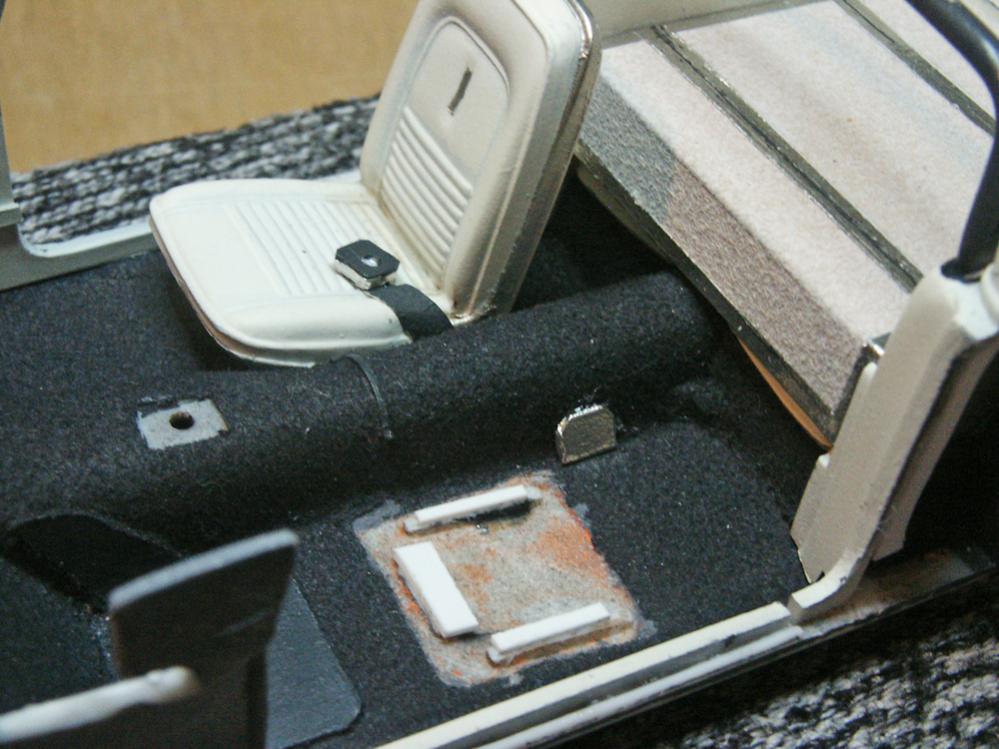
The lap belt buckles are glued in place on the seats. Also note in the rear, the courtesy lights (below the roll bar) now have the bare metal foil rings and white lenses glued in place, made from scrap sheet plastic.
One other new bit of detail, after applying the satin varnish to the seats, I have brushed a bit of artists acrylic burnt umber into the fold of the seat, to add a bit of depth.
-
29th June 2014, 20:05
#35
Re: AMT Shelby GT350 build
Thanks guys, I'm really happy to be getting the results I am.
I'm done with my work session for this weekend, so here's the update.
Front seat should belt mounting plates covered in bare metal foil and installed on the floor with E6000 glue.
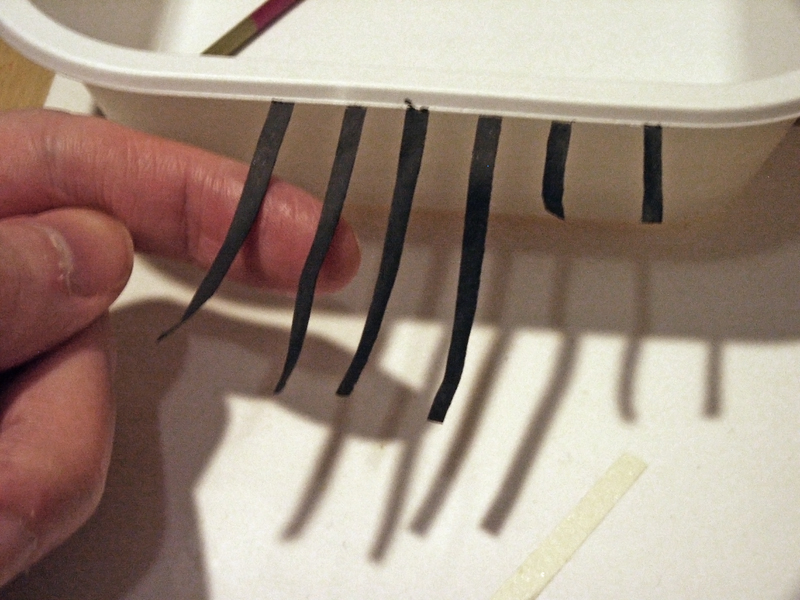
And the shoulder belts themselves. Made from masking tape cut into strips, then CA glue applied along the sticky side. Paint and dry. Then they glue together into the "Y" shape and get trimmed to size.
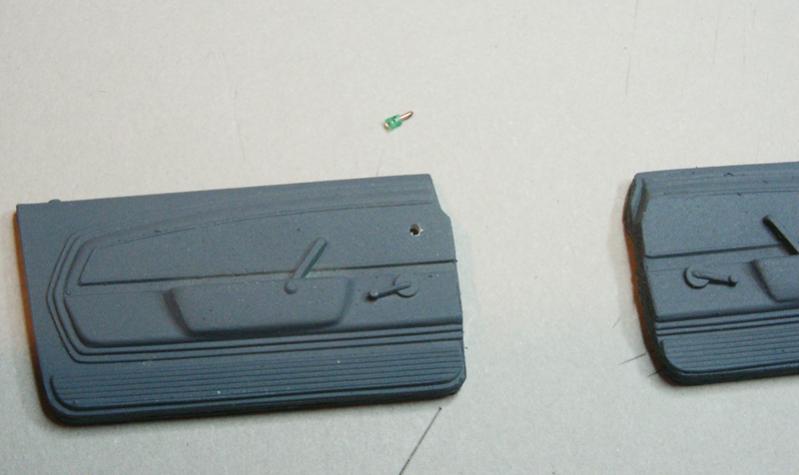
Door panels are next, some primer from earlier in the week. Yesterday I painted them 3 times trying to get a good color match to the rest of the interior plastic (the seats are intentionally lighter). The little part is a wire WIP mirror adjustment joystick for the drivers door (you can see the hole I drilled), which wasn't modeled in the kit molding.
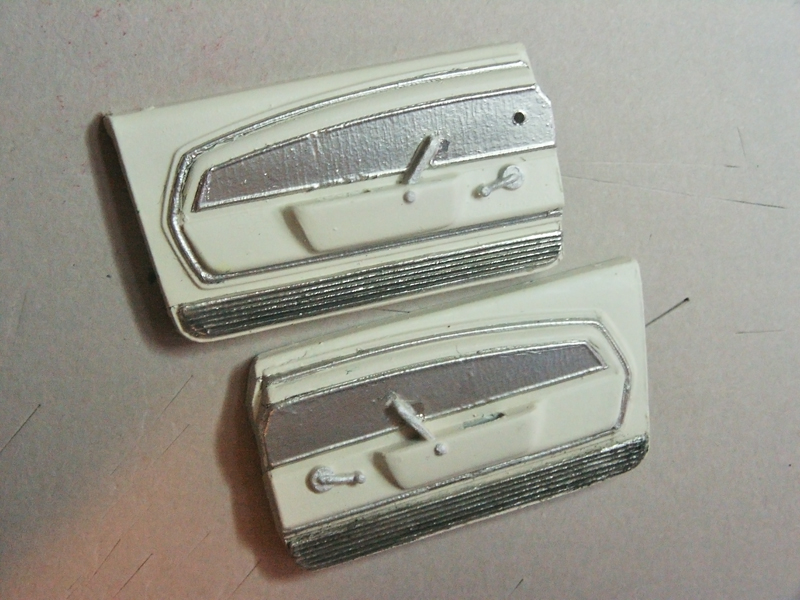
And this morning I applied the bare metal foil trim, the and some satin acrylic varnish. This photo makes the parts look rough as a cob! It seems to look better in person, even the two following test-fit photos don't look this bad.
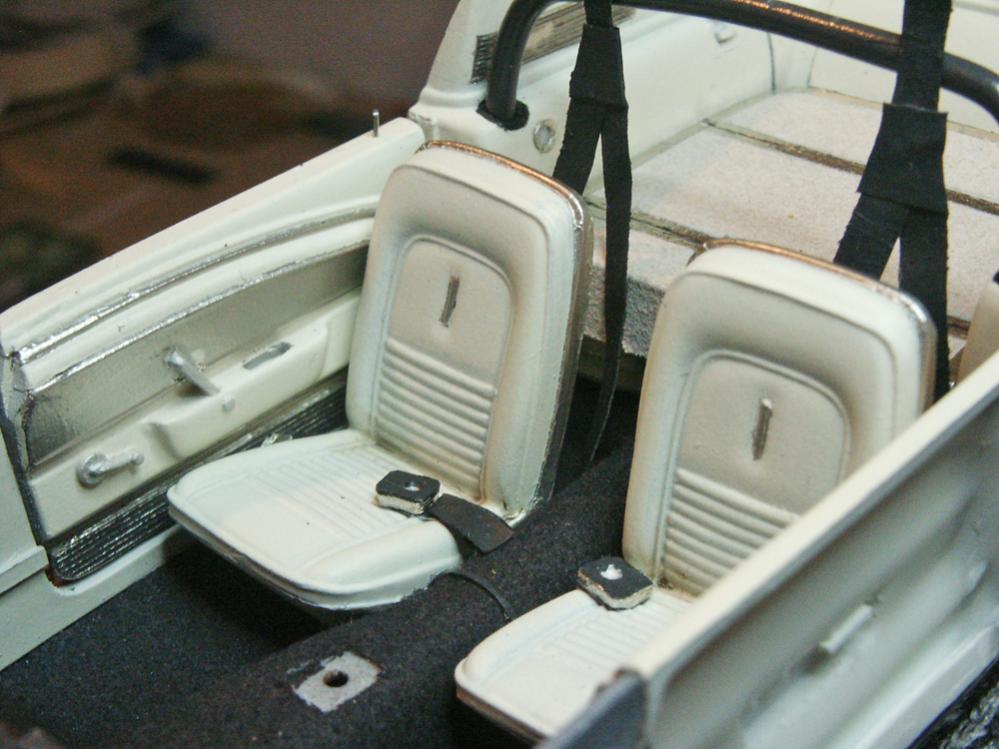
So here's the test fit. Shoulder belts will be glued in next, then the seats and lap belt retractors in that order.
Also note the door lock levers installed, as well as the mirror adjustment joystick, all steel wire. Pretty happy with this!
After a final glue up on all these parts, I think the next step is the dashboard! I've been thinking about how I am going to do the dashboard details for weeks... Can't wait to get started!
-
-
Re: AMT Shelby GT350 build
LOL! A real car would be pretty fun! You may remember back in the 1990s you could buy some fantastic 1/8th scale model kits by a company called Pocher of Italy. EVERYTHING was modeled, metals, plastics, leathers and rubber. I drooled over those kits in the Autoworld catalog as a teenager, but at $400+, there was no way! And to be honest, I just didn't have the patience back in those days that I do today.
So perhaps just a bit of my dream of those kits is being relived here! 
And I do owe you a thanks, BW. Back when I was building those paper trucks you encouraged me to try my hand at plastics. So when the model building bug bit again, I kept that in mind when deciding on what to do. 
Plastic is a completely different workflow, materials, techniques, etc. than the paper, obviously, but still I find loads of fun here.
Quite a bit of real life eating up my time this past week. But I managed a few bits of progress.
First, some prep work on the dash. Here's the stock panel, and a pic of the lower side where the pedals are molded on.
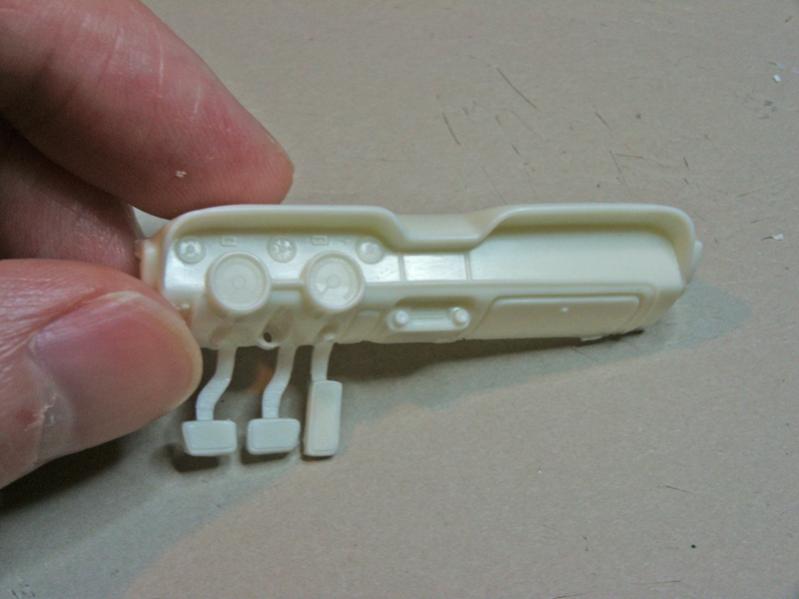

I drilled out the instruments and the radio, and will scratch build those. Also cut off the pedals, you can see the brake and clutch with extensions of sheet styrene glued in place. There is more to do here. I am not satisfied that the placement of the lights switch and ignition are far enough forward on the lower side of the panel, so I may drill them out and move them forward a touch. Also will probably drill out the dash latch button, for replacement with steel wire.
There also appears to be a strip of padding along the center-to-passenger side of the dashboard, which is not modeled here. I can make this with a strip of styrene.

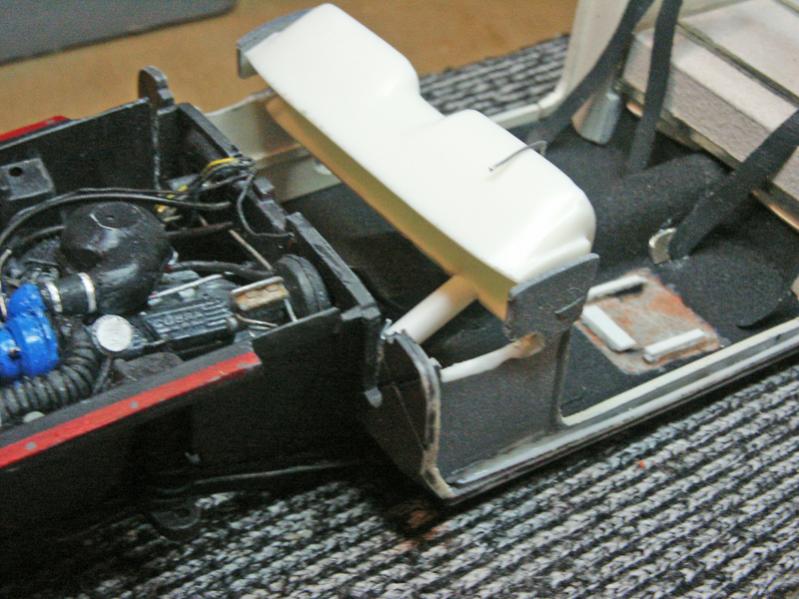
Thinking a bit about the trunk interior...
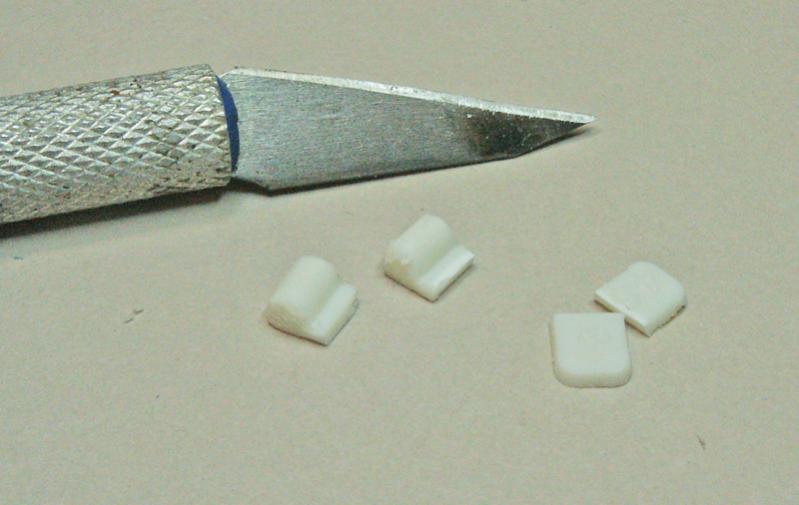
And I also got distracted with building a fire extinguisher for the interior. These parts are scrap tree, some sheet styrene, and some ball point pen parts.
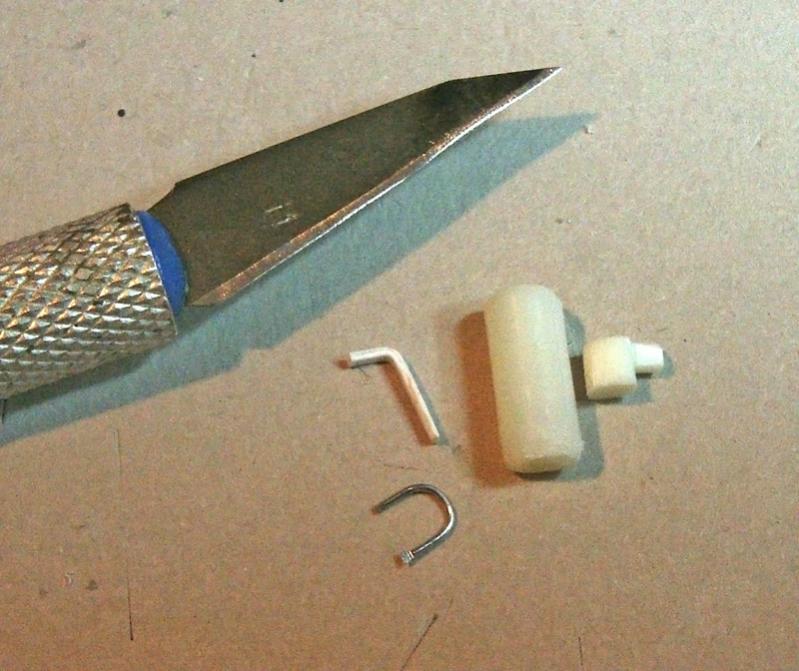
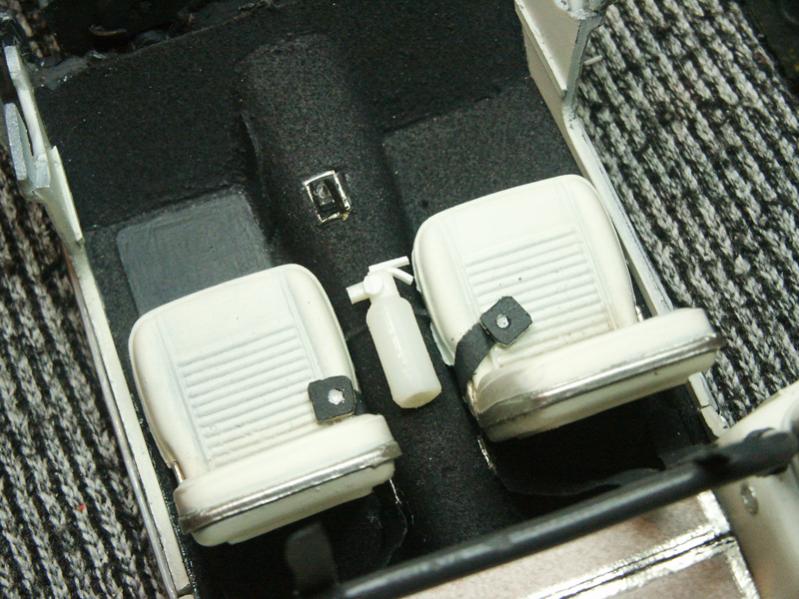
Glued up pretty well. Options for placement include on the rollbar, in front/under the passenger seat, or where it's shown test fitted.
Bottle again, and note the scratch built shifter. Stock part had a large mold mark in one side, plus some stubborn plating, so I built a new one. Styrene buildup, bare metal foil for the base plate, and a steel wire for the shaft.
-
Re: AMT Shelby GT350 build
My God, I can drive the damn thing!
-
-
14th July 2014, 05:55
#40
Re: AMT Shelby GT350 build
Real life has kept me away from this most of the week, but I did manage a bit of progress.
I have finished drilling all the openings in the dashboard, refined the brake and clutch pedal rods, and some little prep work for the metal threshold inside each door. Didn't get the apply the metal foil yet, but it's ready to go.
Also did cut some styrene tube for the lower steering column which wasn't modeled in the kit. I am going to build up a few plastic bits on this column to use as the mount point for the pedals. Pics of the column test fitted (held with wire):
Second pic you can also see a hint of the wire I'm testing for the gas pedal mount.
 Posting Permissions
- You may not post new threads
- You may not post replies
- You may not post attachments
- You may not edit your posts
-
Forum Rules


 Reply With Quote