-
25th August 2014, 04:45
#51
Re: AMT Shelby GT350 build
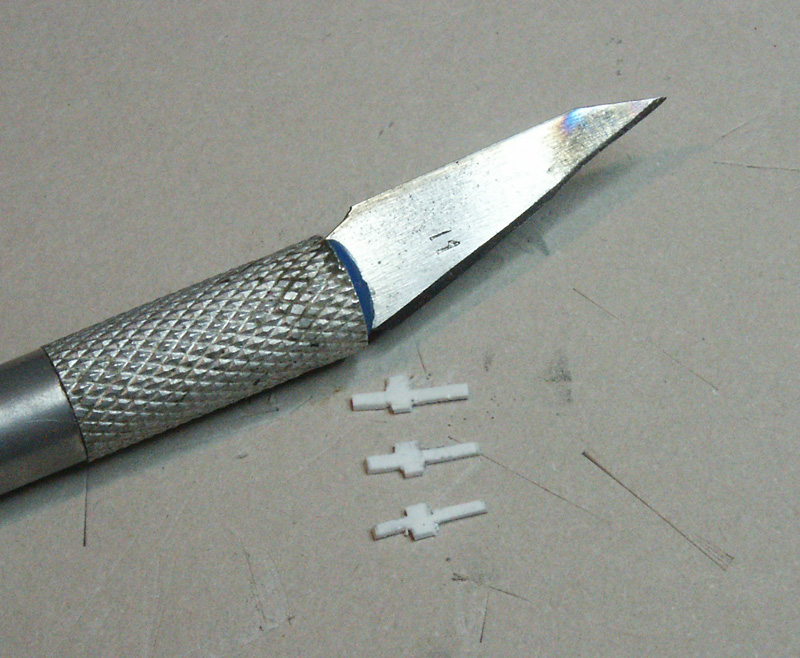
Very little time logged this week. Mostly just crafting the Shelby emblems. I'll need three, one for the dashboard (installed), one for the front grille, and one on the trunk. The only one included with the kit was molded on the grille. As you may recall, I am going to try to use a photo-etch grille, so replacing the emblem is easy enough.
Blanks cut from .020 sheet styrene:
Finished product. All three covered in bare metal foil, then detailed with blank ink and yellow paint, and finally coated in glossy acrylic varnish. You can also see the parking brake handle well in this shot.
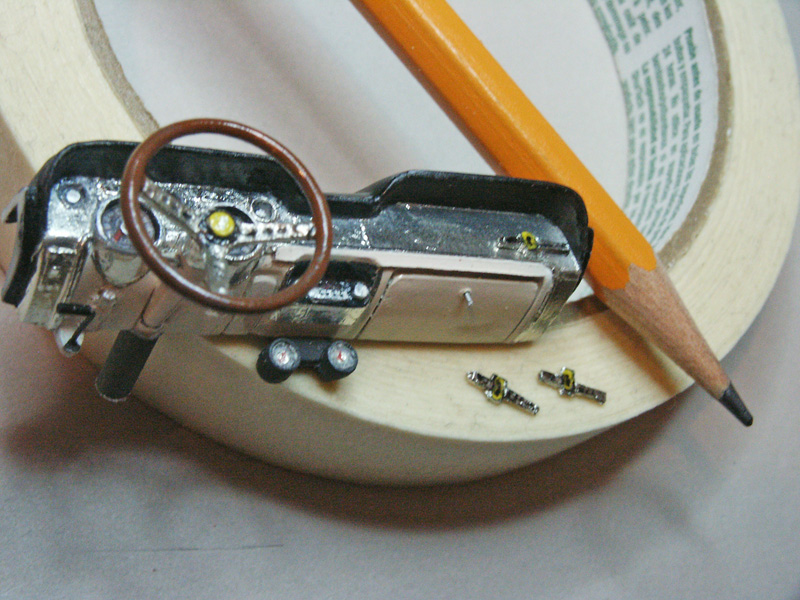
There is also a bit of work done on the clutch and brake pedals (most of it, actually), and this coming week I'm hoping to get them and the still unfinished gas pedal installed. Maybe get the dash glued in place, too!
-
31st August 2014, 06:02
#52
-
1st September 2014, 19:21
#53
Re: AMT Shelby GT350 build
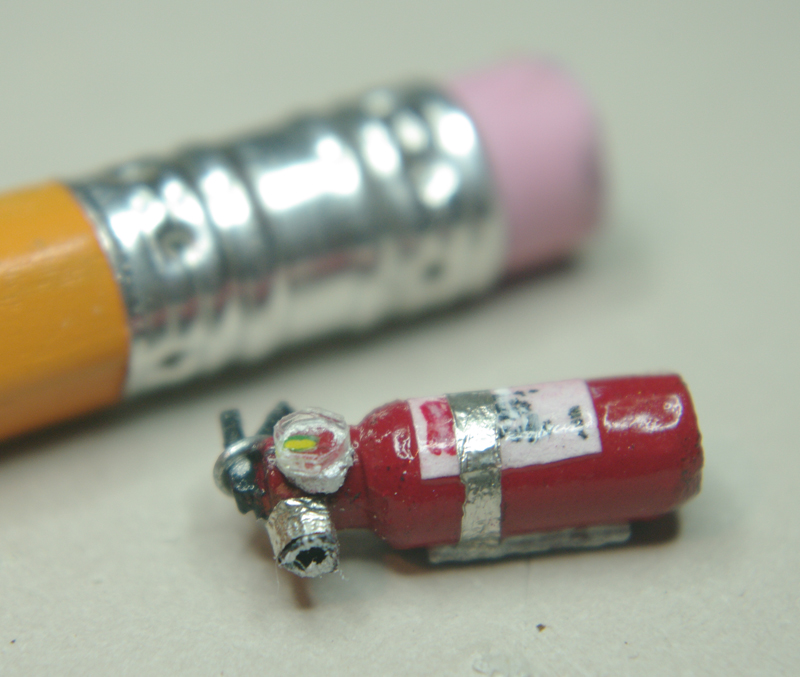
As good as going to the parts store and getting a real extinguisher 
 FAST AND BULBOUS!
-
8th September 2014, 02:51
#54
Re: AMT Shelby GT350 build
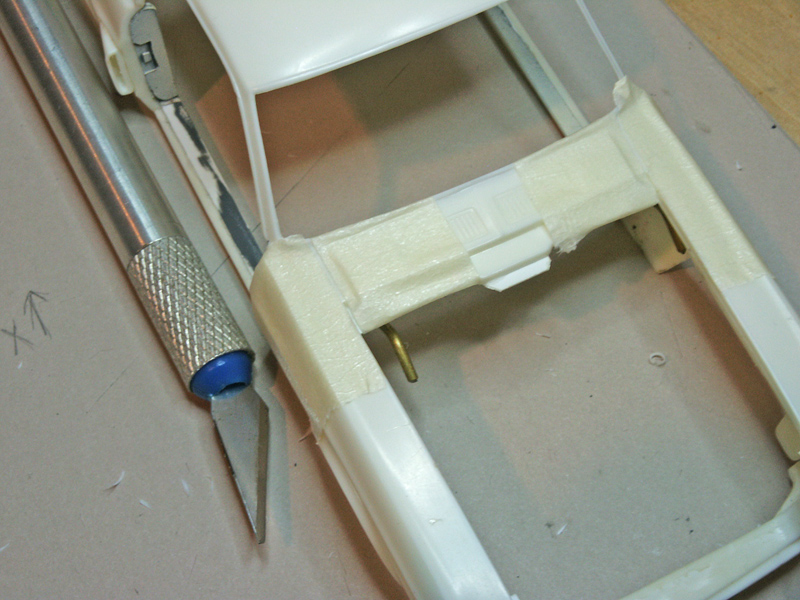
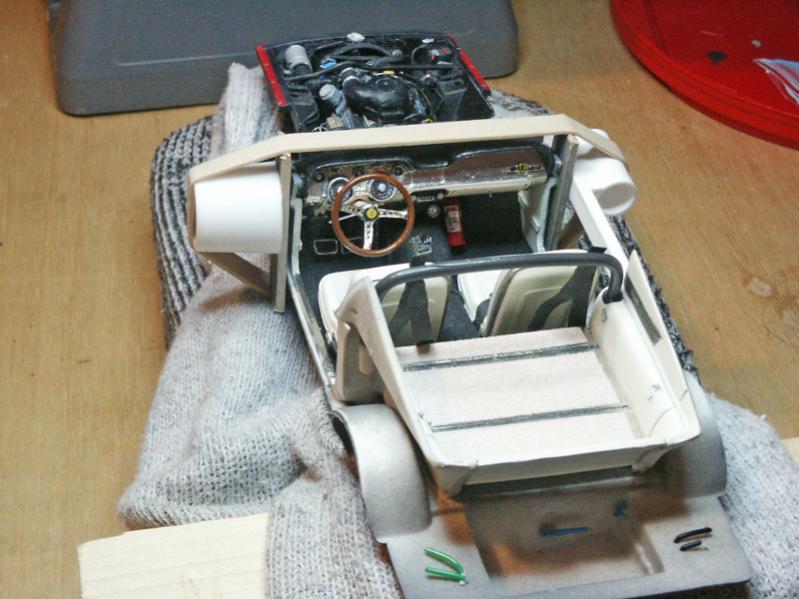
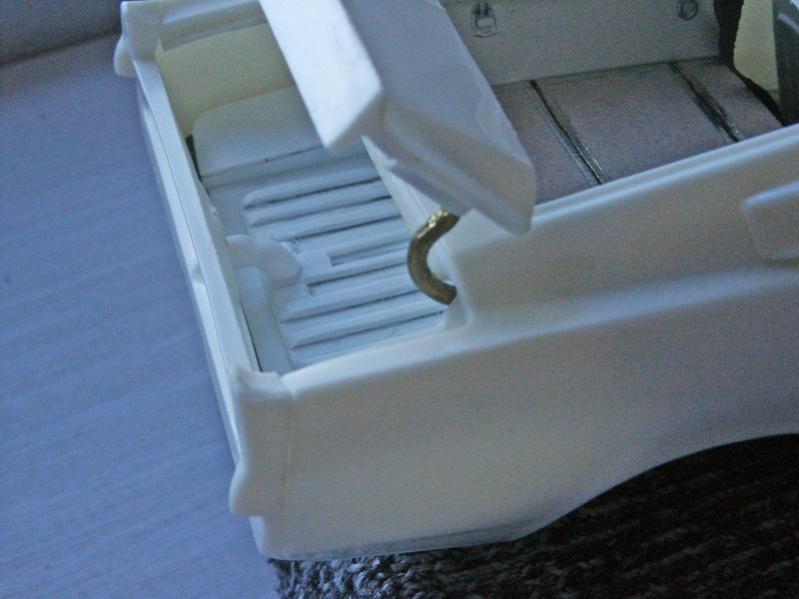
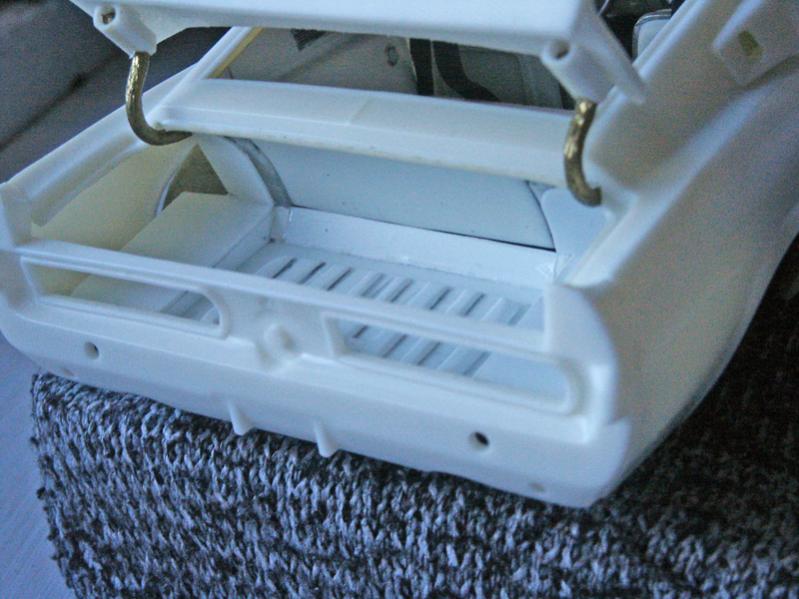
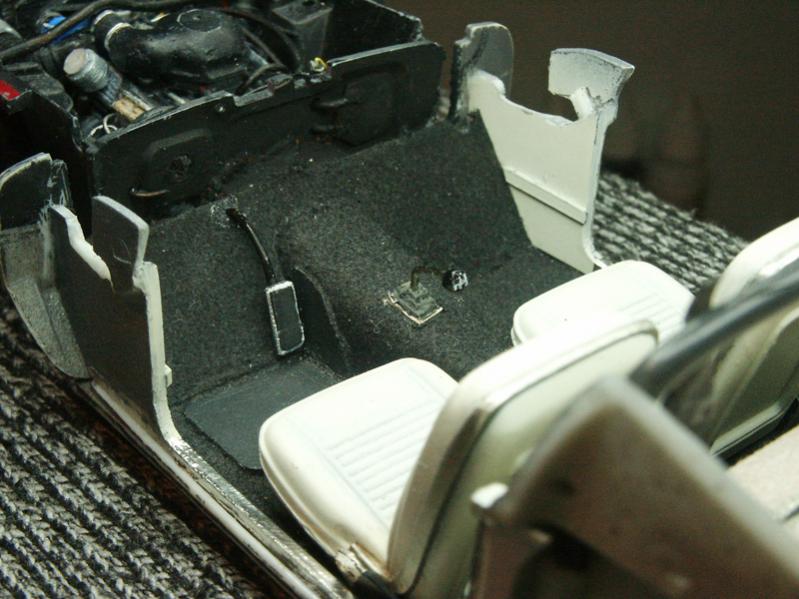
Ok, I finally have glued the dash in place, and outside just a couple of little touches, I'm moving on from the interior. I used two pieces of popsicle sticks and a rubber band to hold the interior sidewalls in place while the glue dried, tightened by the plastic cap and pen parts as you see.
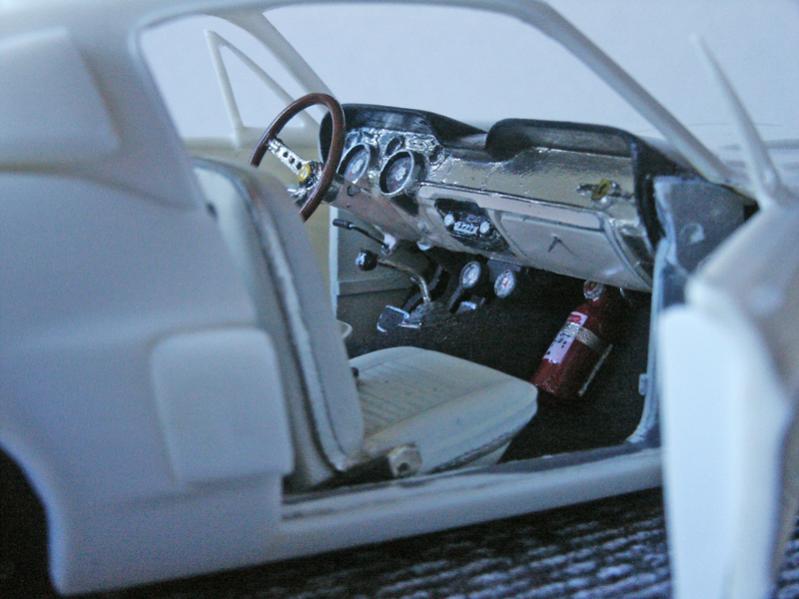
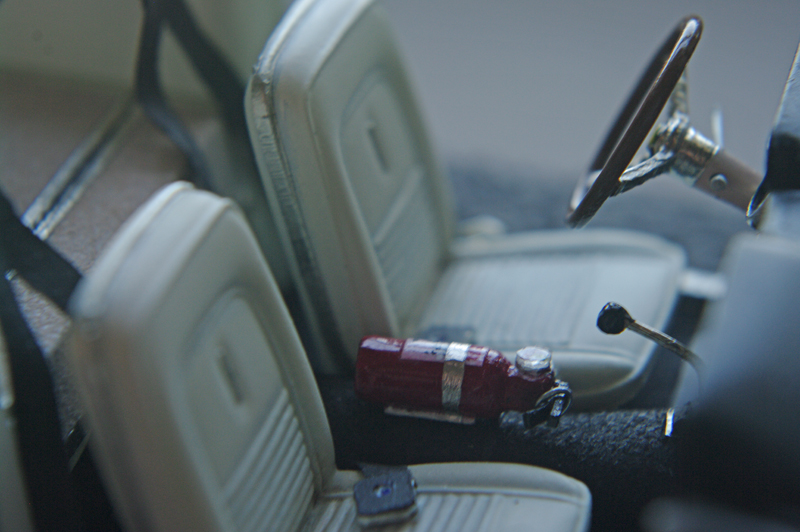
You can also see where I chose to place the fire extinguisher, in the passenger foot well. I know the details are hidden here, but such is the case with so much on this model... Truth is, I just couldn't bring myself to place it on the tunnel between the seats. It seemed too obtrusive, and if this were my own real car, I wouldn't put mount an extinguisher between the seats. In the foot well, it's accessible, yet out of the way for me and a passenger.
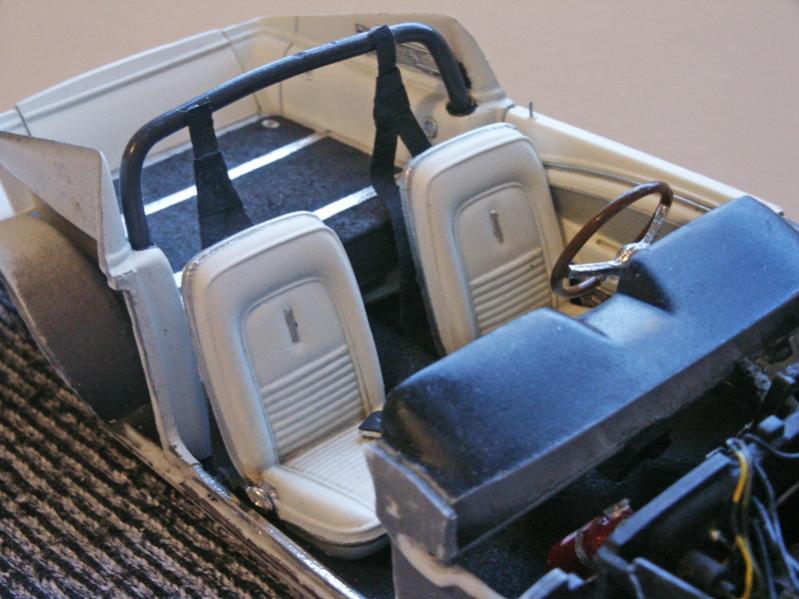
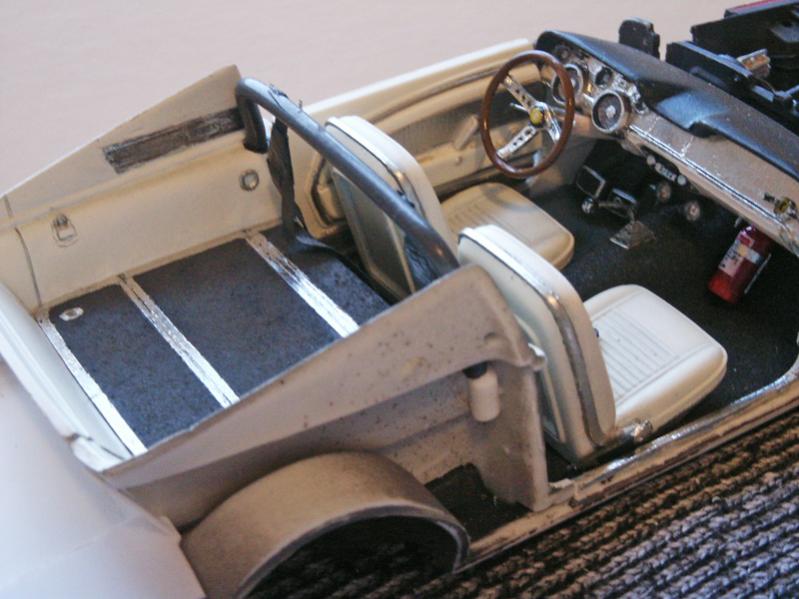
Still shows pretty well when looking in the open door.
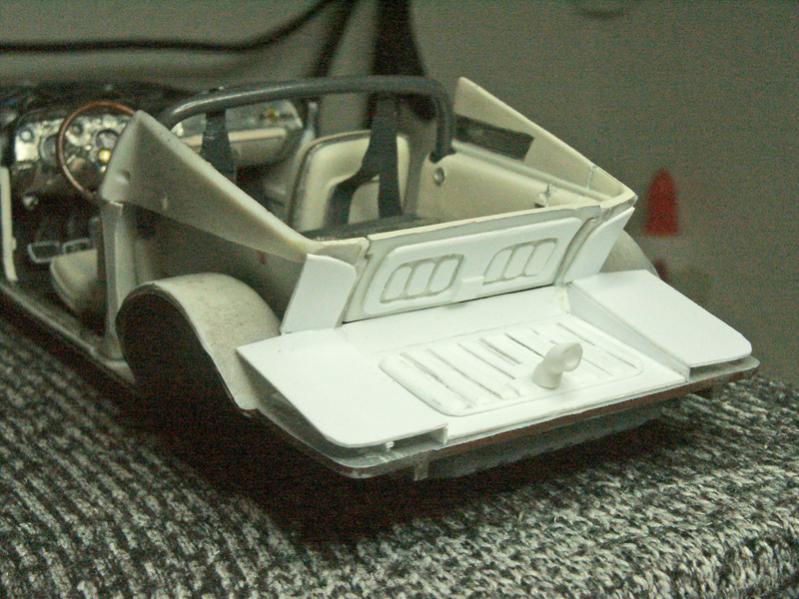
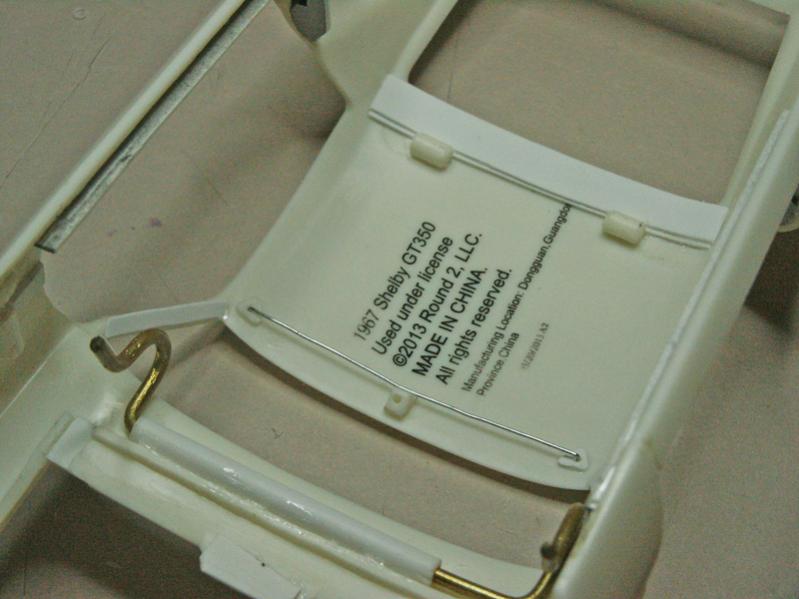
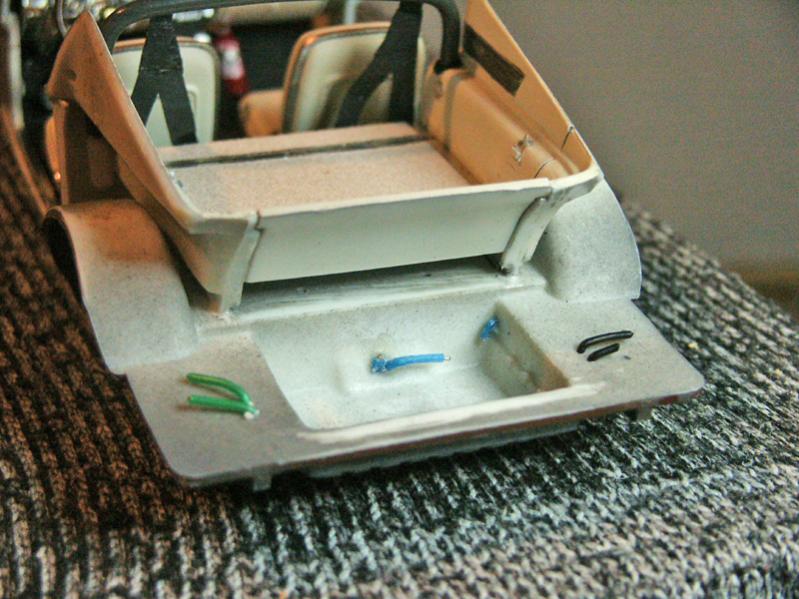
And from there, on to working on the trunk. First the stock lower chassis. The kit does provide a solid carpet texture floor to go here, but I'm going to make my own. The colored wires are detail elements on the bottom of the car, blue wire is the fuel sending unit power cable, green and black are exhaust hanger brackets.
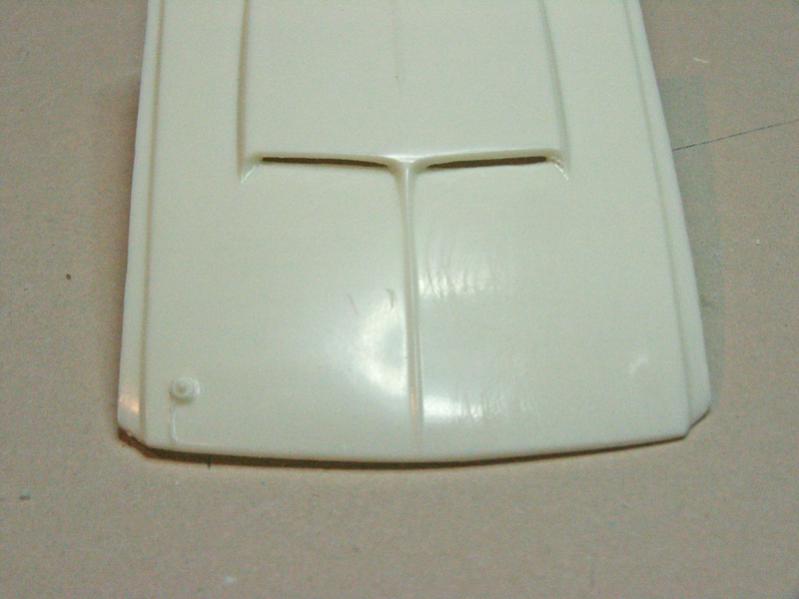
First the shaping of the welded bodywork and the top of the gas tank. All this is .020 sheet styrene.
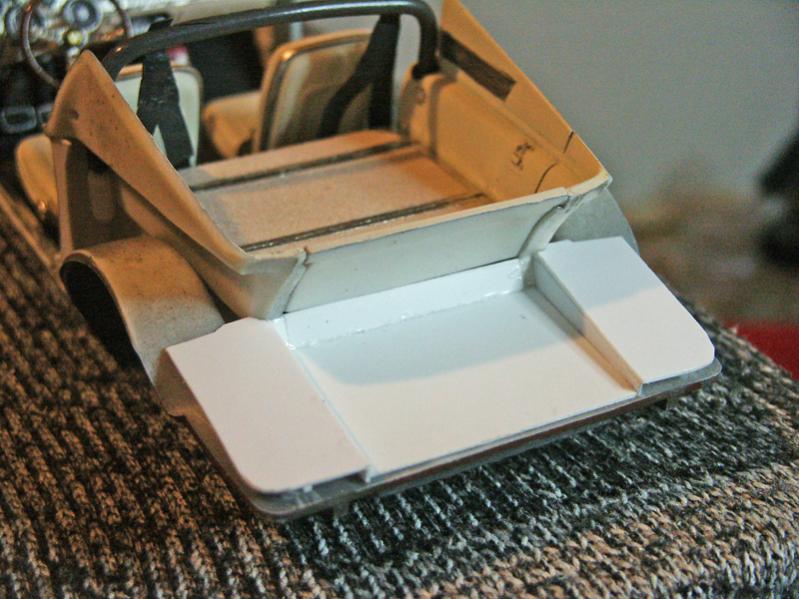
Then I made an insert modeling the top of the tank and the filler tube, here with the body fitted.
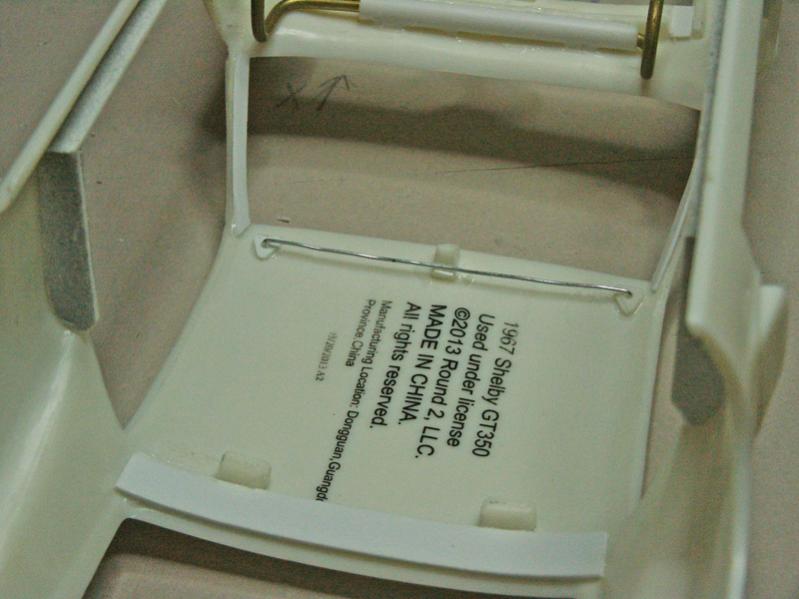
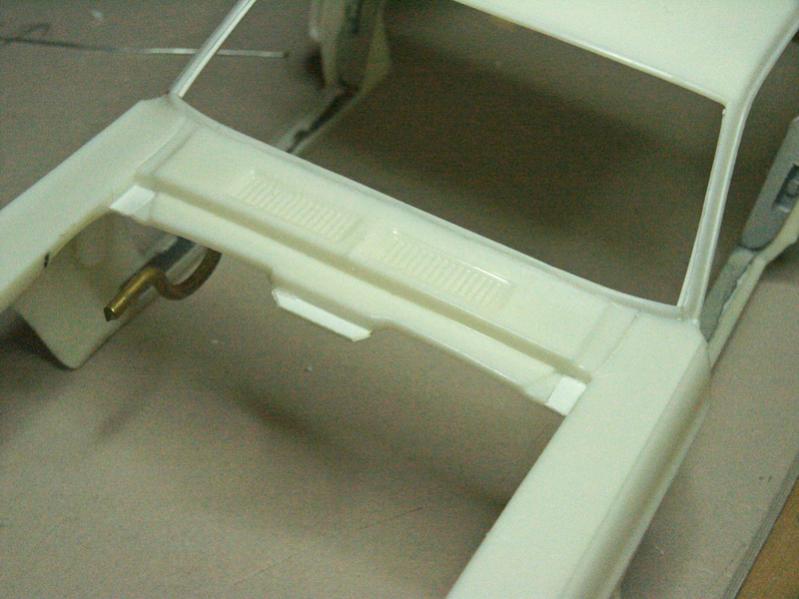
Looking forward, some of the walls closing up the open areas forward of the trunk, still more to come on this.
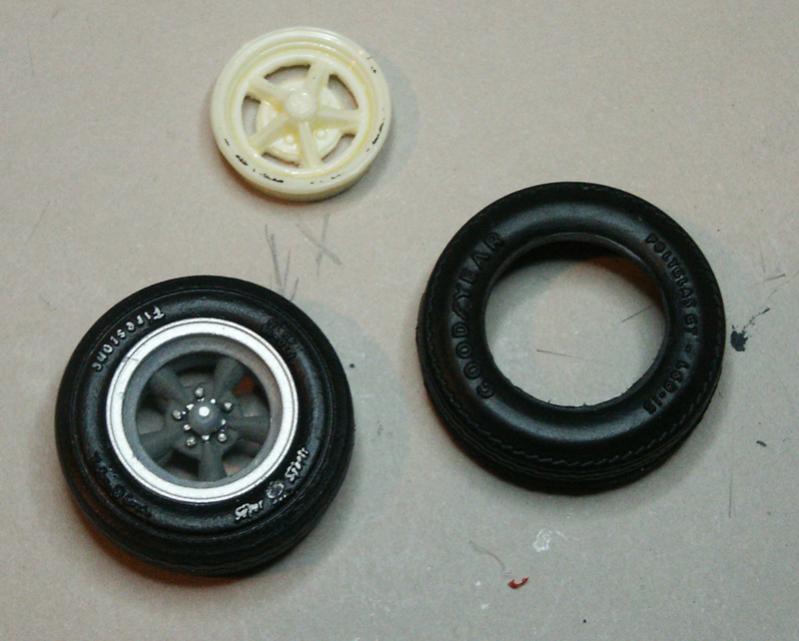
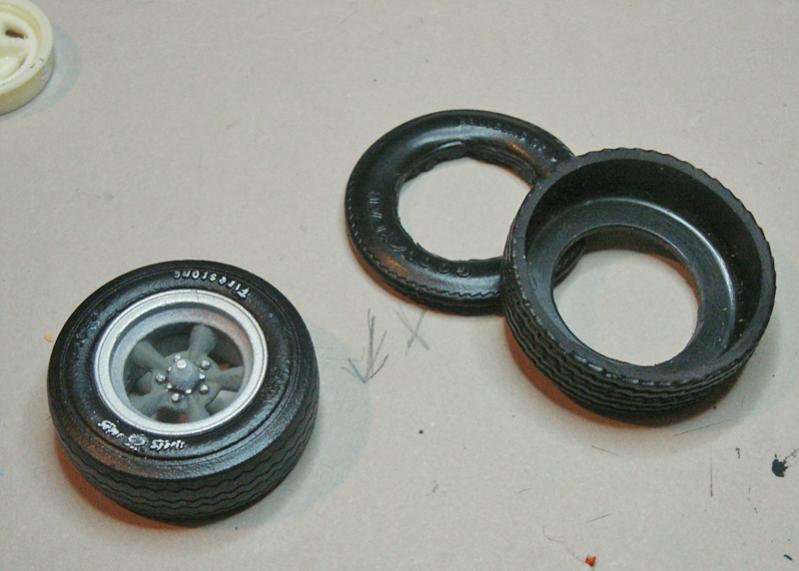
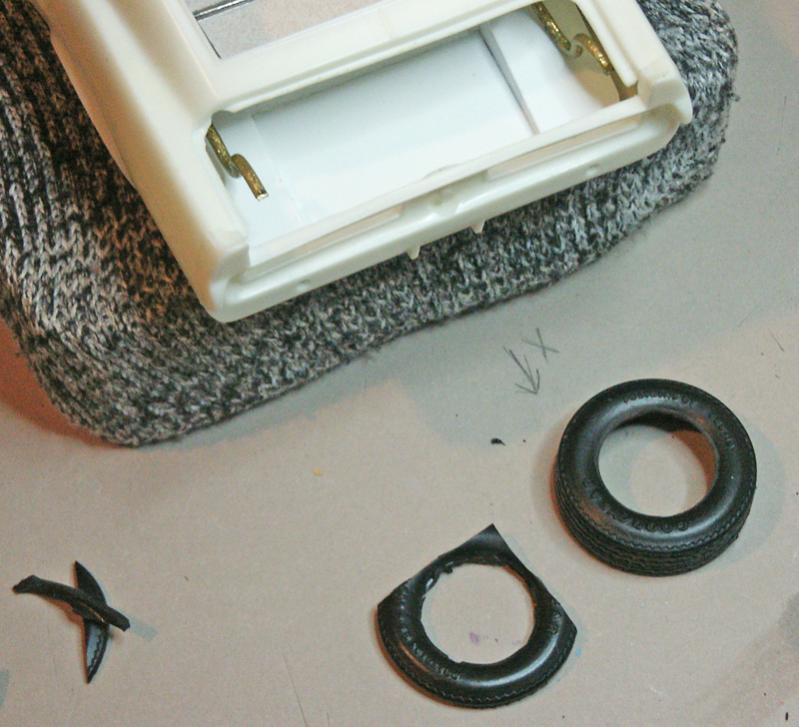
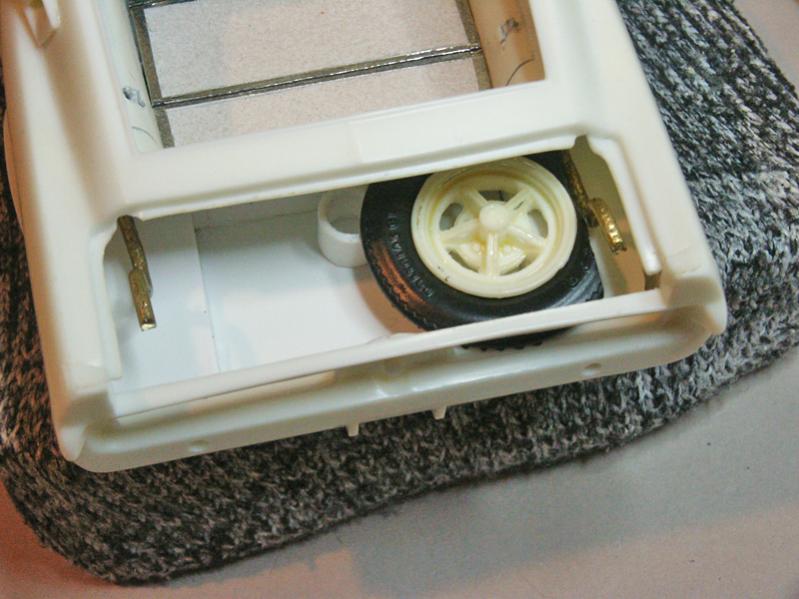
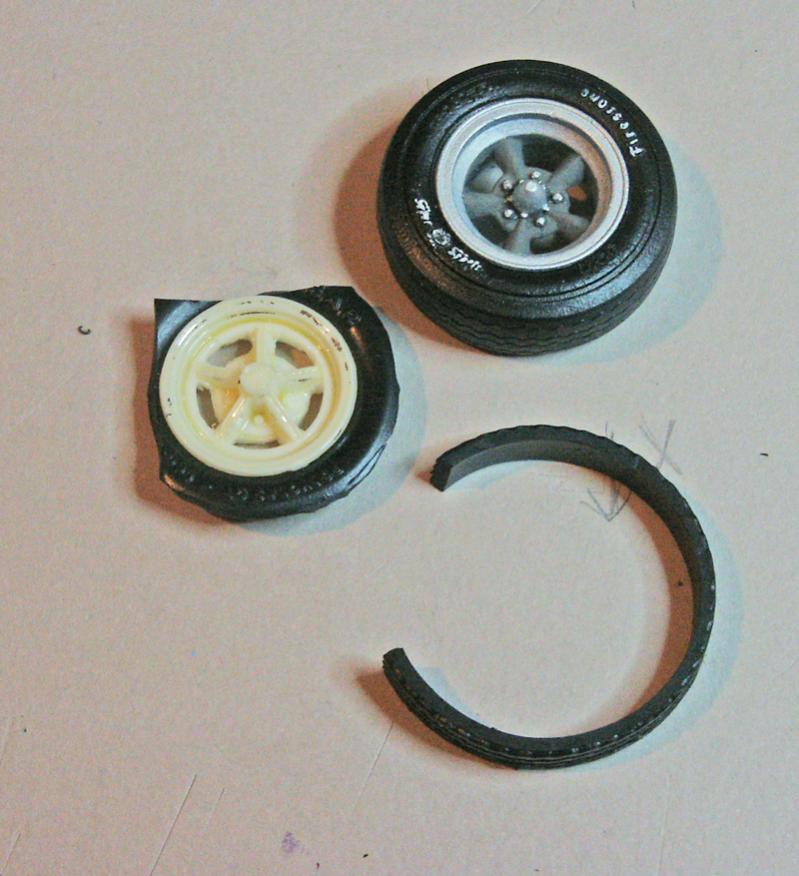
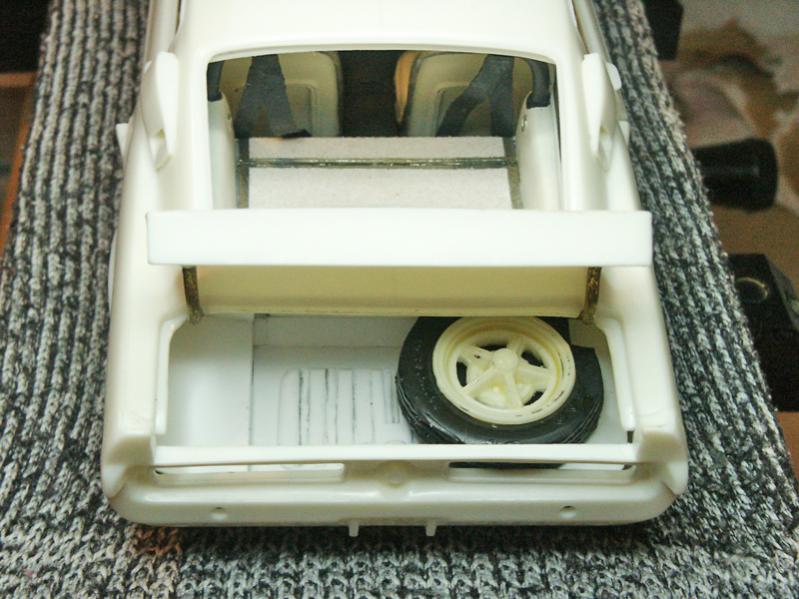
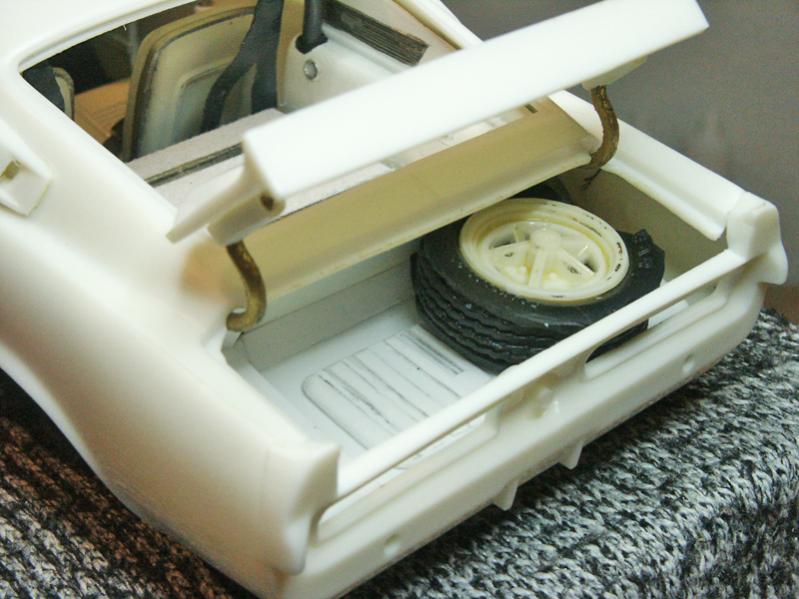
Finally, I was thinking ahead to the spare tire. Look at this. I didn't make the trunk any smaller, or the tire any bigger. Yes, I have read on it and some of the factory cars shipped with 5 Kelsey wheels and a full size spare, according to what I've read.
I'll just have to fake something that looks right and not question why it won't actually fit, lol!

-
12th September 2014, 23:23
#55
-
13th September 2014, 19:59
#56
-
14th September 2014, 02:43
#57
Re: AMT Shelby GT350 build
Well, it's weird the spare tire won't fit. I've not measured the model, but I have read owners say that the GT350 would carry a full size tire back there.
Doing some research on "delete kits" for the rear seat, and then you put the spare tire back in the rear window. These were mostly stock on the 1965s I think, but not the more comfy 1967s. So that would be in aftermarket territory.
Well, I ran across some video (and one photo) that show the elusive rear seat carpet color... as black! I had previously found this one photo which seemed to show the two forward sections of TAN carpet and a chrome hinge:
You can see that photo on this page, looking into the trunk. The view in question is through the rear window:
1967 Shelby GT500 Fastback - Auburn Spring
And that was all I ever found, and went with it. But researching the delete kits, I found these on GT500s:
http://www.nvsaac.com/photogallery/i..._500_624_k.jpg
And this video which shows the same, black carpet in the "parchment" interior:
http://www.youtube.com/watch?feature...&v=p8yY8ujcY0U
Now I am thinking that I may have misinterpreted what I was seeing in that first photo. Those two tan areas divided by chrome may not be the carpet on back of the folded seats... That is the TOP of the upright seat, with the open hinge across the top!
In short, I may need to repaint the rear carpet!
As for the spare, still thinking on that one. In a way I hate to do a delete kit in that nice parchment interior. Heck I wasn't even able find a REAL delete kit for sale to fit a 1967! Supposedly you can mod a 1966 kit to fit, but... I dunno.
-
15th September 2014, 03:13
#58
Re: AMT Shelby GT350 build
Today I repainted the carpet to black... well really dark gray, same as the front carpet. Also I had forgotten the seat back support plates! They are the small chrome plates in the rearmost corners of the rear deck.
-
22nd September 2014, 04:09
#59
-
22nd September 2014, 13:12
#60
Re: AMT Shelby GT350 build
Great work.
Have you allready considered using a 3D printer to make some parts?
Probably less fun than this?
 Posting Permissions
- You may not post new threads
- You may not post replies
- You may not post attachments
- You may not edit your posts
-
Forum Rules


 Reply With Quote
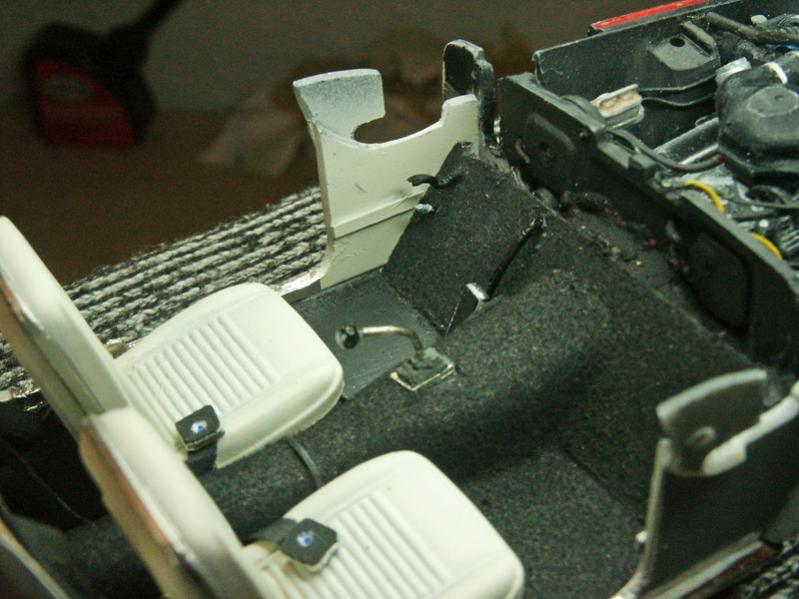
 Really nice work!